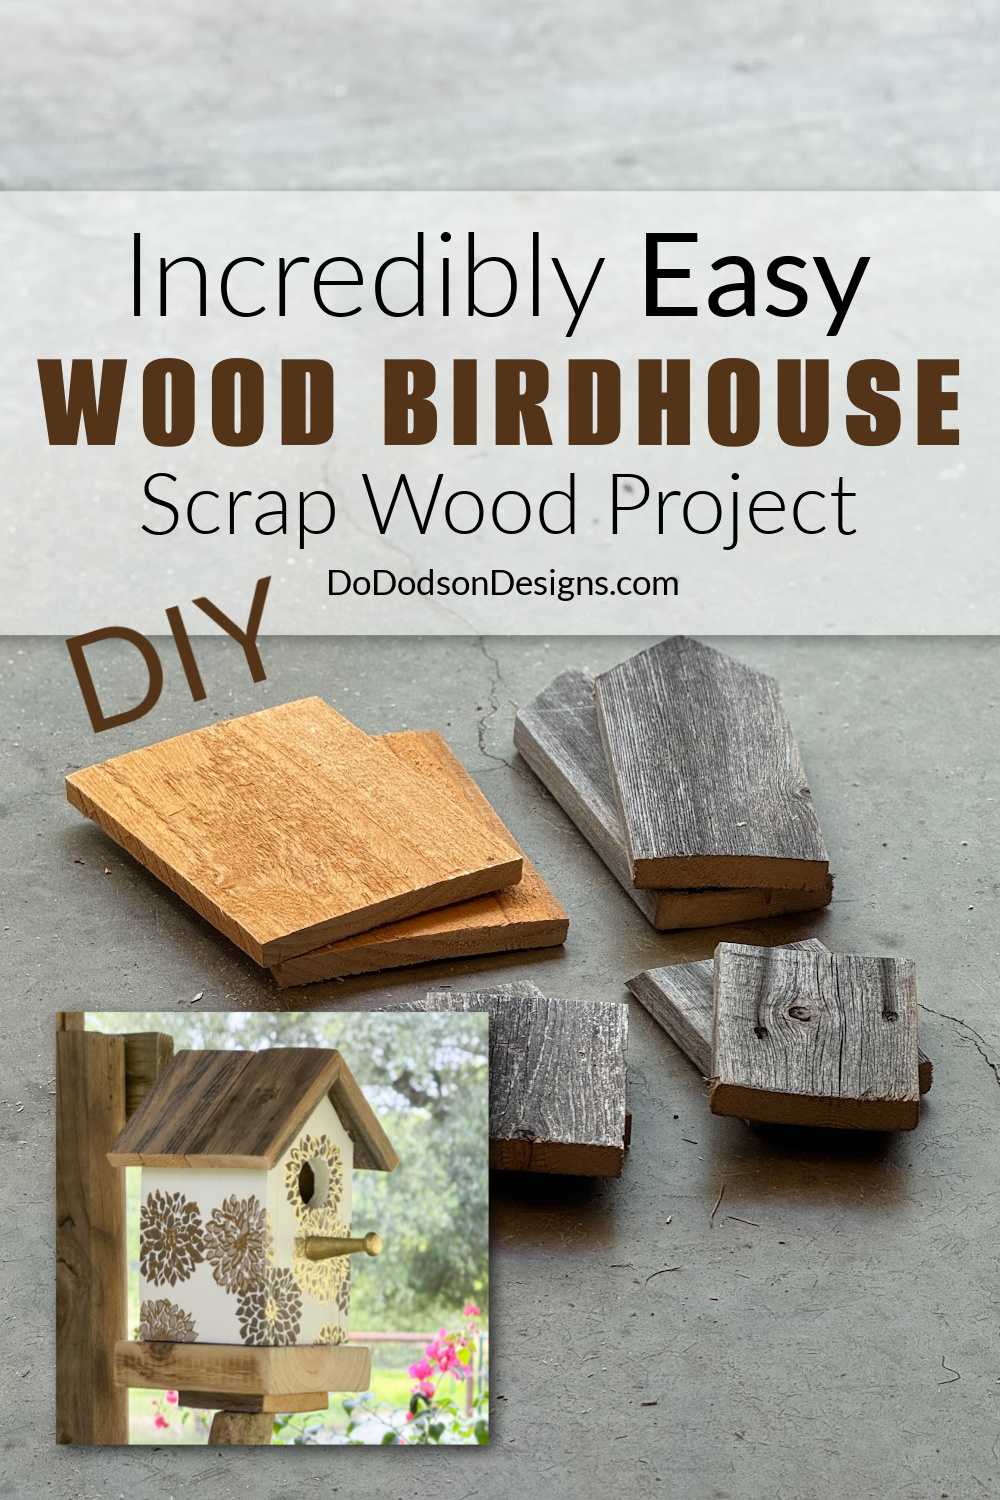
Looking for a fun and eco-friendly wood craft project? Learn how to make a charming DIY birdhouse from scrap lumber with this easy tutorial! Perfect for bird lovers and gardeners alike.
Thanks to Dixie Belle Paint Co. for sponsoring this post. While I was compensated to write this post, all opinions are my own.
* As an Amazon Associate, I earn from qualifying purchases and through other companies as well. You will not be charged extra when you purchase through these affiliate links, but any income I make helps me create more amazing DIY projects to share with you! To see my full disclaimer, click here!
Simple DIY Birdhouse
I’ve been spending a lot of time in my vegetable gardens this Summer and noticed that I have wild birds that love to perch on the garden fence and watch for their tasty treats. It’s easy access for my backyard birds, and I don’t mind sharing the bug buffet.
So, I decided to put a bird house in a place where they can hang out in the shade, under the garden shed, where it’s cooler. It’s next to the garden and has a water source to help them swallow up all those yummy bugs.
I love repurposing scrap wood, and making birdhouses is a great way to do that. You might not think of cedar fence pickets as a good material for making birdhouses, but they’re excellent. It’s a great way to keep things out of the landfill, and the materials are durable and naturally resistant to insects and decay. I love that it’s sourced from sustainable wood, and to top it off, it adds a rustic charm to your backyard. I happen to have plenty of fence pickets to play with, and I have a simple birdhouse plan to share with you.
Here are a few more fun DIY craft projects that you might enjoy below.

MATERIALS NEEDED: The following is a list of materials needed to make wooden birdhouses.
- scrap lumber
- cedar fence pickets or pine
- miter saw
- wood sander or sandpaper (sanding blocks)
- nail gun (hammer and nails)
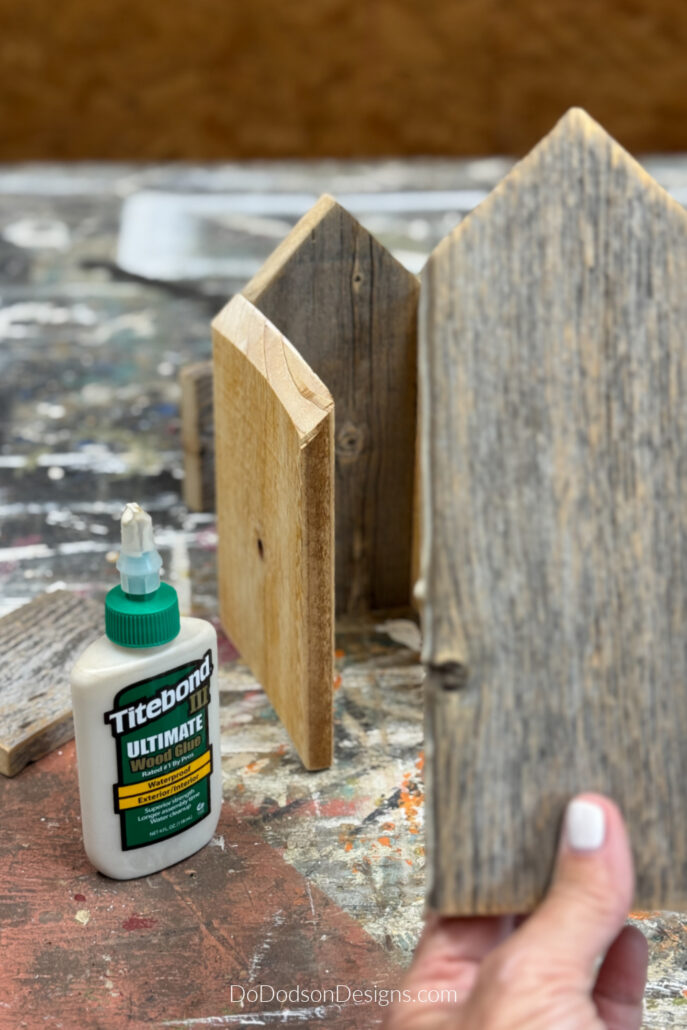
- exterior wood glue
- wood screws
- spade bit or hole saw
- painter’s tape
- synthetic paintbrush
- SILK All-In-One Mineral Paint (Elderflower, Truffle, French Vanilla)
- Market Stencil
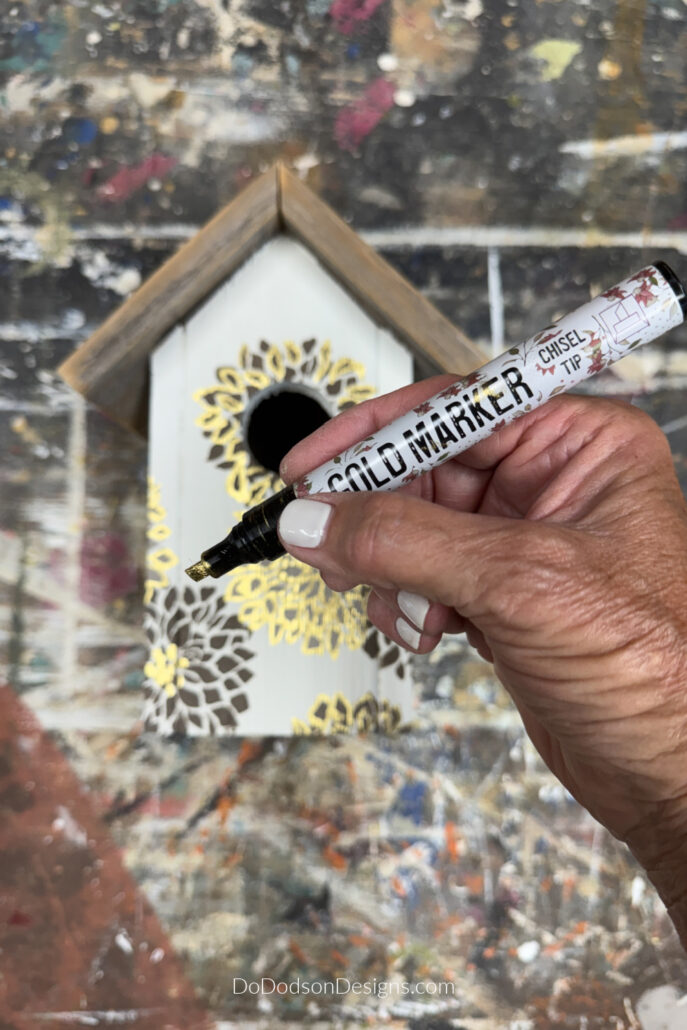
- GOLD Marker
Step-by-Step Instructions
You can use any piece of scrap wood, but I would suggest using cedar if you want your DIY birdhouse to stand the test of time.
If you choose to use pine, you can always add a wood preservative to the wood to protect it from the outdoor elements.
STEP 1: Cutting The Wood Pieces
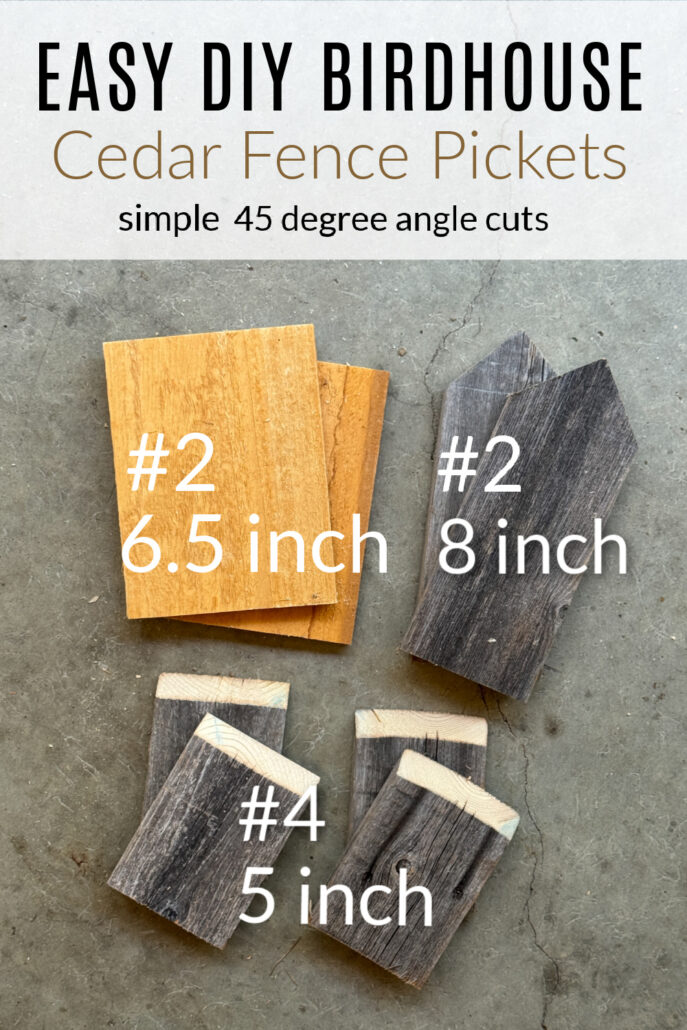
After gathering your wood, cut the following pieces of 1X3 pickets.
Cut four 5-inch pieces with one mitered edge at a 45-degree angle. These are for the roof, and when butted together at the roofline, they will form a 90-degree corner, making it easy to glue together. The opposite ends are straight cuts.
Cut two 8-inch pieces with a 45-degree roof pitch and straight cuts at the bottom. The back and front pieces are the same.
For the side pieces, cut two 1×5 pickets to 6.5 inches, with one edge cut at a 45-degree mitered edge. This is cut at the same angle as a roof piece.
For the bottom of the birdhouse to sit on, I used a treated 2×6 because I didn’t have a piece of cedar large enough for the base.
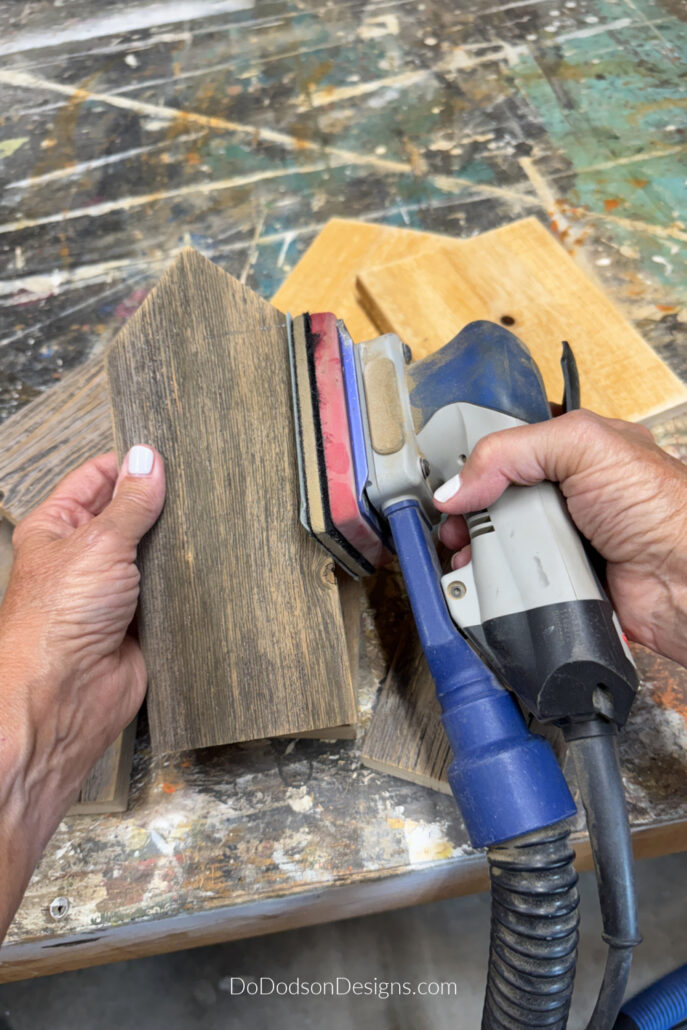
STEP 2: Sanding the Wood Pieces
After each piece is cut, use sandpaper or a wood sander (if available) to smooth the wood, removing any splinters that may remain. Scrap lumber is notorious for being brittle and easily splintering when cutting your DIY projects.
Start with a 120-180 grit and end with a 220 grit for the best finish.
STEP 3: Assembling The DIY Birdhouse
Using exterior wood glue, start assembling the base of your DIY birdhouse. It can be a bit tricky, and you’ll wish you had two more hands.
Wood clamps can help, but are not necessary. I found that if I glued a few pieces together at a time and let them dry slightly, I could manage without them. Wood glue dries fast.
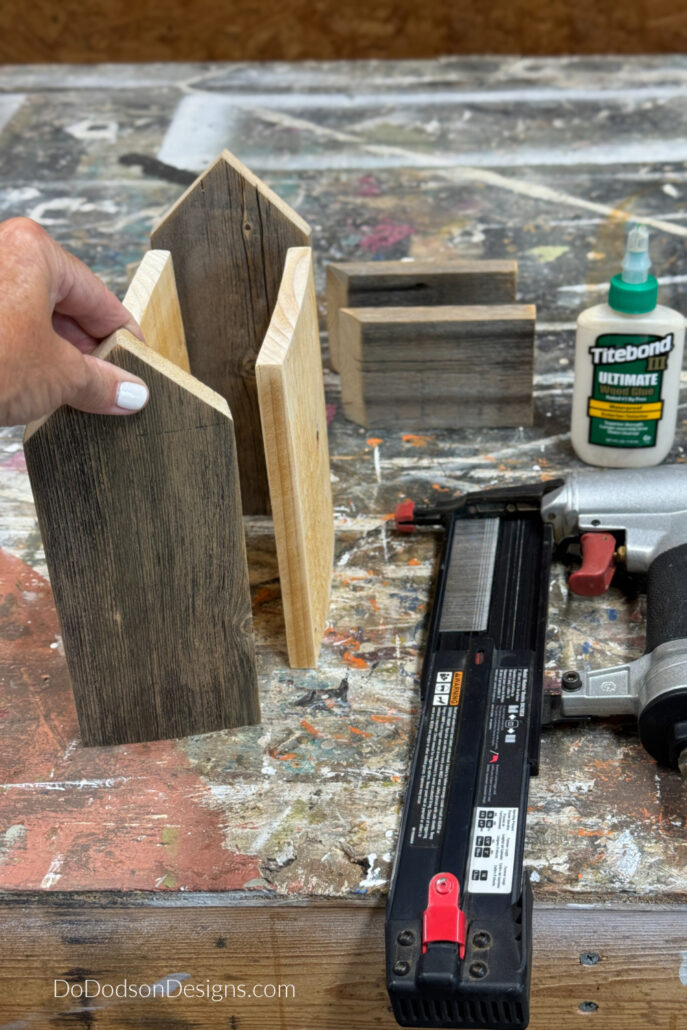
Once you have assembled the base of the DIY birdhouse, secure the wood with a hammer and nails or a nail gun. This will give it extra strength.
Attach the roof pieces last. It’s okay if they overlap a little. It provides the roof with a slight overhang.
STEP 4: Cutting A Small Hole For The Birdhouse Door
Cut a small hole in the top 1/3 of the front board to make an opening for the birds to enter the dwelling. I used a 1and 3/8 hole saw. You can also use a jigsaw or spade bit.
But if you’re making the DIY birdhouses for decoration only, you can skip this step and paint a black circle to create the illusion of an opening.

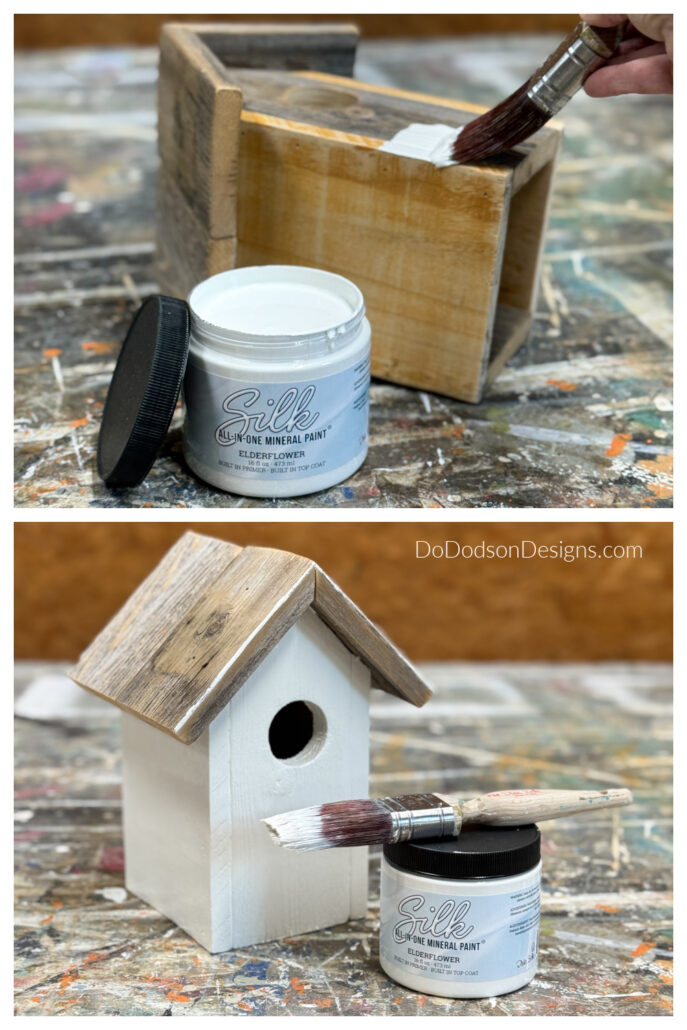
STEP 5: Painting Birdhouse Designs (Color Choices)
For my DIY birdhouse, I chose three beautiful neutral colors from the new release SILK All-In-One Mineral Paint Line.
The base color is Elderflower. Dixie Belle’s SILK All-In-One Mineral Paint has all you need combined into one paint. It has a built-in primer/stain blocker and a topcoat. It’s an excellent option for both furniture and smaller DIY projects, such as this one.
I applied two coats of the SILK paint for complete coverage and allowed them to dry completely.
Adding A Multi-layered Stencil Design
Stenciling is a quick way to add a design to any surface. However, did you know that you can overlay the same pattern and use different colors to achieve a layered look?
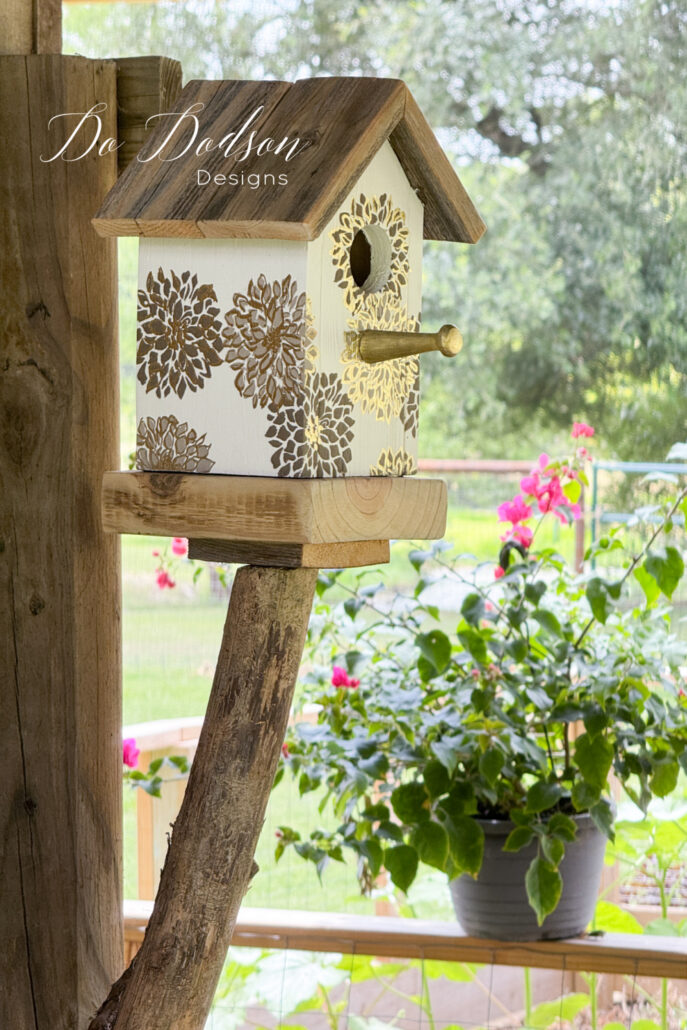
When it came time to decorate this tiny birdhouse, I had so much fun! I chose three colors from the new release, each one more beautiful than the next. I started with a light base color of Elderflower, and then I stenciled the flowers using a darker layer of Truffle, overlapping it with French Vanilla.
It added depth and dimension to the design.

This is a great way to add floral charm, and it doesn’t take long at all. SILK All-In-One Mineral Paint combines all the extras into one, including a built-in primer, stain blocker, and topcoat. It’s a one-and-done paint.
It’s the perfect product for projects like this, whether you’re a seasoned pro or just starting with DIY. You get all the versatility you need, and the colors are just beautiful!
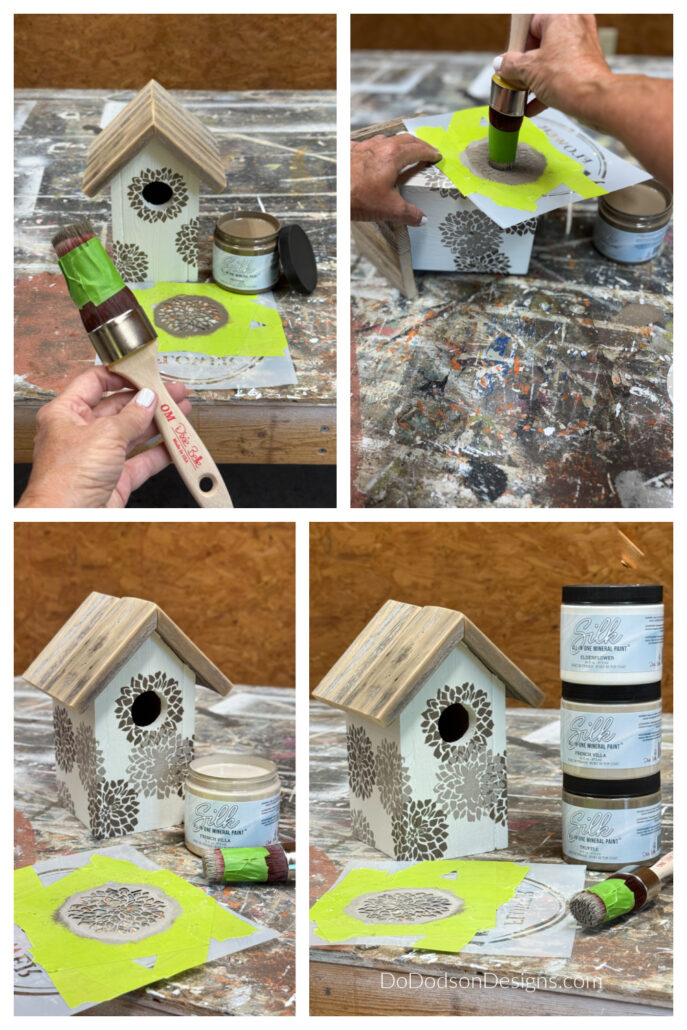
To complete the look, I used a chisel-tip gold marker to create highlights on the flower petals.
STEP 6: Adding A Perch To Your Birdhouse
Adding a perch for your feathery friends can be as creative as you like. Some suggestions would be anything you can secure from the front side. Old door knobs, cabinet pulls or knobs, pieces of scrap wood, a bent spoon, wooden dowel, twig, etc. The ideas are endless.
I added a wooden Shaker peg with screw leftover from a recent project. I always keep the extras when I DIY, because you never know when they’ll come in handy.
It, too, was painted with the gold marker to give my birdhouse design a cohesive look.
Should I Put Anything Inside The Birdhouse?
Generally, you don’t need to put anything in a birdhouse. Nesting birds will create their own comfy nest so that the eggs they lay will be protected. Mother knows best!
My birdhouses are more for decoration, but I’ll be happy if they do build a nest inside to start a family.
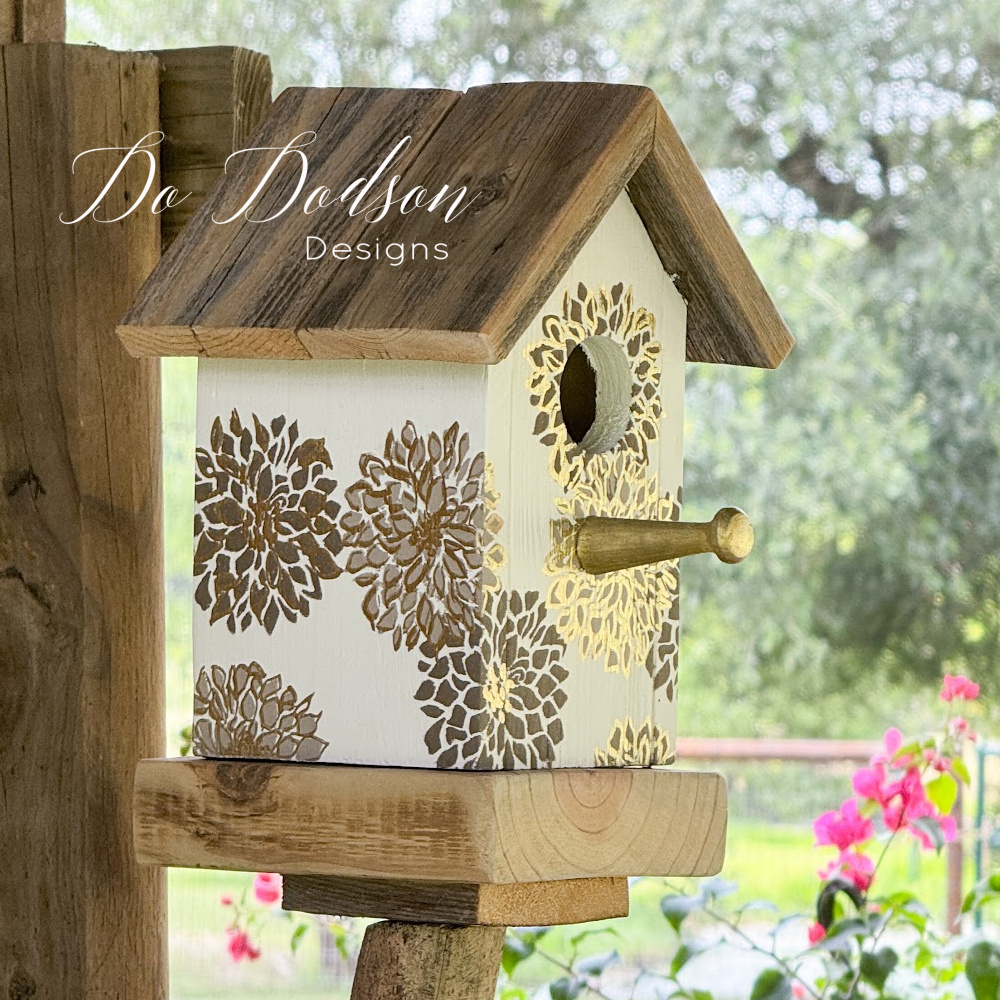
Beautiful DIY Birdhouses In The Garden
Isn’t it beautiful? My backyard birds are going to be thrilled with their new DIY birdhouses. Well, maybe.
Even if the birds don’t come to my tiny corner of the garden, I still get to look at this beauty every morning with my coffee as I piddle around it.
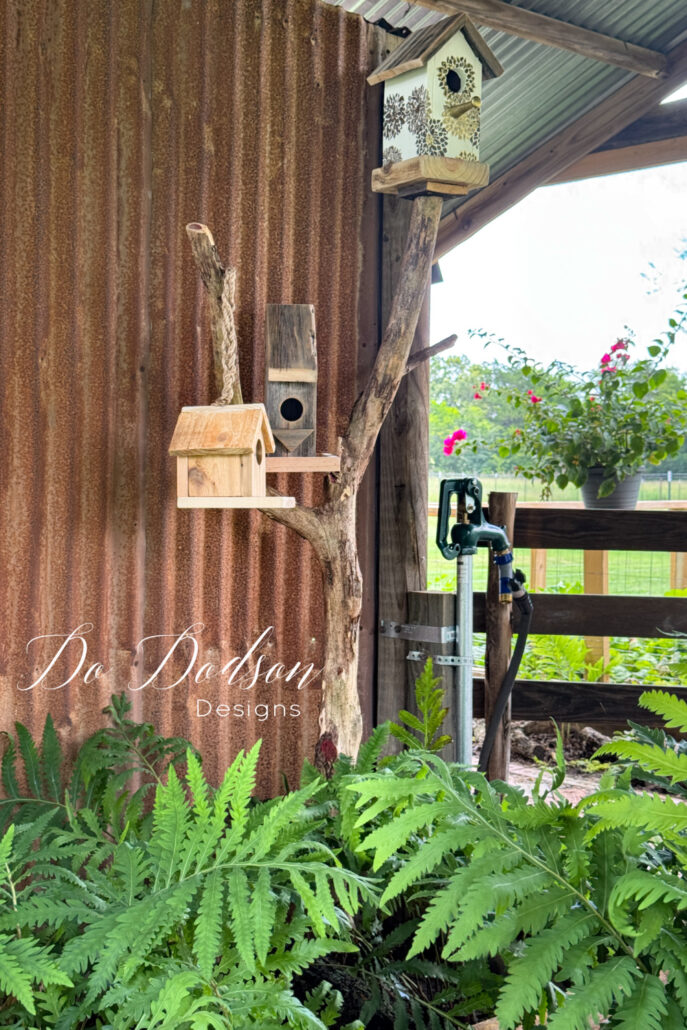
I plan on adding more of these DIY birdhouses to the garden and have a few empty spots left on this cedar post, which I found in the woods. It made a great birdhouse mounting post.
Thank you for hanging out with me today, and I hope this inspires you to create these fun little houses. I’m sure your birds will be grateful.
Love this DIY project? Please let me know in the comments, and don’t forget to share with your DIY-loving friends and on Pinterest! I always love hearing from you.
Until the next project… xo, Do
This is a DESIGNER bird house, Do! 🐦⬛🏡 I have two old wood bird houses at the back of my home. Now I want to rip them old things down and do this! Pinned! XOXO Have a great week, my friend! 🤗
You totally should, Denise!
Give them your special touch. They will be fabulous! I can’t wait to see what you do with yours. xo