I really didn’t care for our metal napkin holder and it was a sore subject at the dinner table with my hubby. It didn’t go with my table decor! He doesn’t always understand my need to be surrounded by pretty things, even at the dinner table. It took a bit of convincing but he eventually agreed to my idea of a DIY napkin holder made from some scrap wood.
Thanks to Dixie Belle Paint Co for sponsoring this post. While I was compensated to write this post, all opinions are my own.
* As an Amazon Associate, I earn from qualifying purchases and through other companies as well. You will not be charged extra when you purchase through these affiliate links, but any income I make (small commission) helps me create more amazing DIY projects to share with you! To see my full disclaimer, click here!
The Good News!
You don’t have to have a lot of money to make beautiful, functional home decor. This project will cost you very little to make or maybe nothing if you already have the supplies on hand. You won’t even need fancy tools.
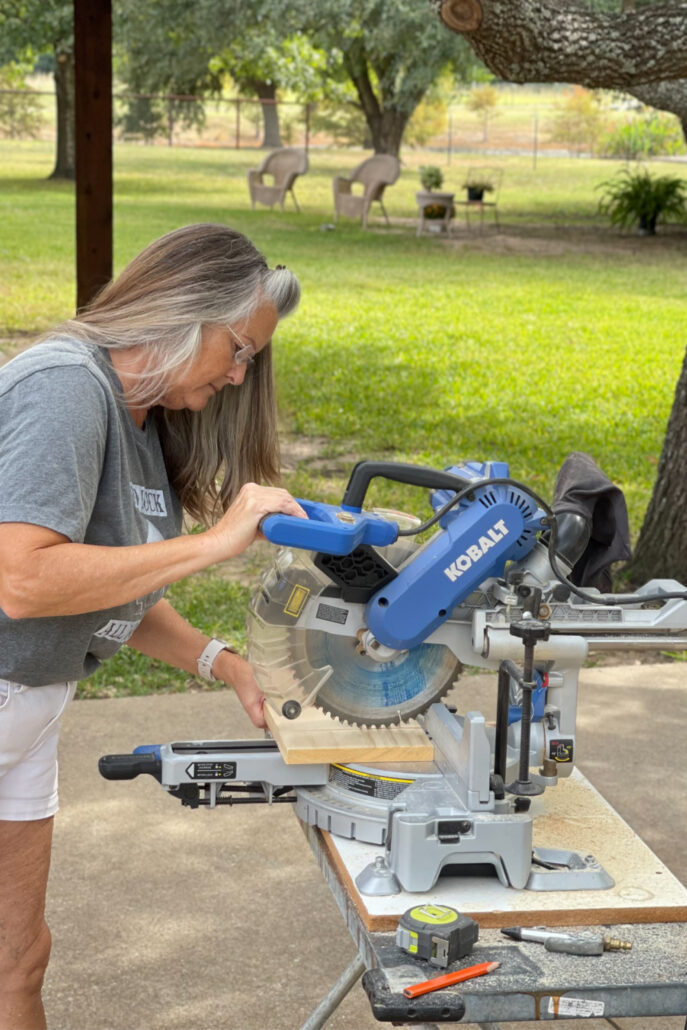
I do have a chop saw but you can do this with basic woodworking equipment. All you need is a saw and basic woodworking skills. If you can cut a board, you can do this.
And if you don’t have a saw, ask your neighbor to cut the board for you. It’s three simple cuts.
You can even use your leftover spray paint from the craft store you have sitting on your shelf. Again, use what you got and DIY the easy way.

What you’ll need to make this easy DIY napkin holder.
SUPPLY LIST:
- chop saw or your neighbors saw
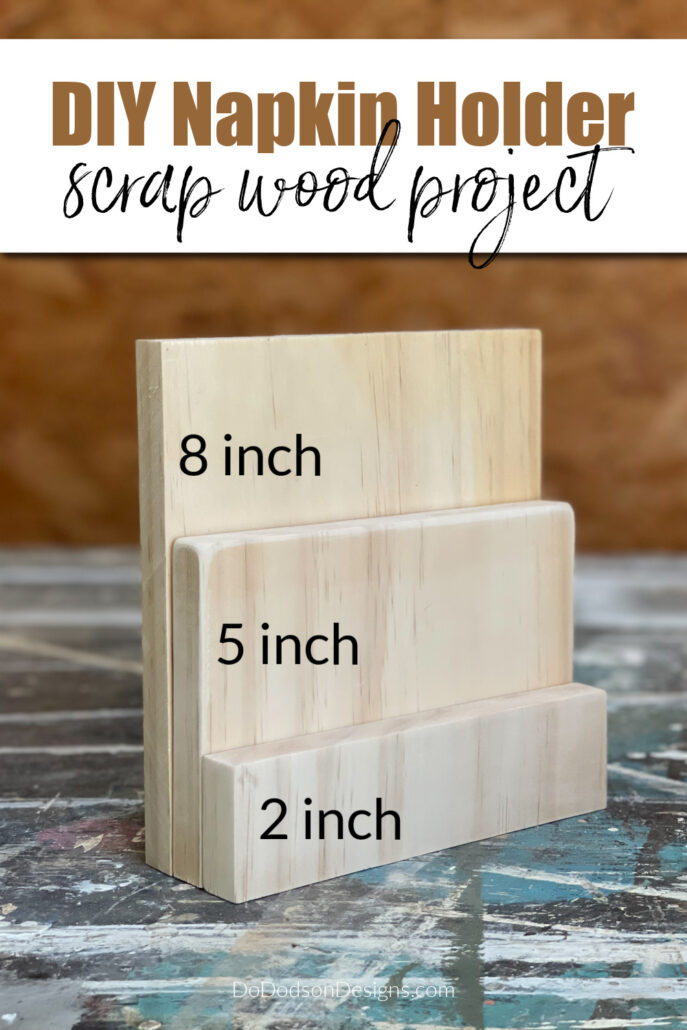
- 1 x 8 scrap wood (I used poplar wood)
- 1 8-inch piece
- 1 5-inch piece
- 1 2-inch piece
- ice pick or scratch awl tool
- wood sander or 220-grit sanding block
- wood glue
- wood clamps
- Golden Ash gel stain
- Weathered Gray gel stain
- odorless mineral spirits
- Gator Hide clear topcoat
Fabric Napkins V/S Paper Napkins
Whether it’s a dinner party or a family meal, I see no reason why you can’t use paper napkins for both. It’s all in how you display them, right? You can be fancy with both. Have you looked at all the choices of paper napkins lately? Go simple with the classic white (my style) or more decorative with a splash of color to match your table setting. Lots of options!
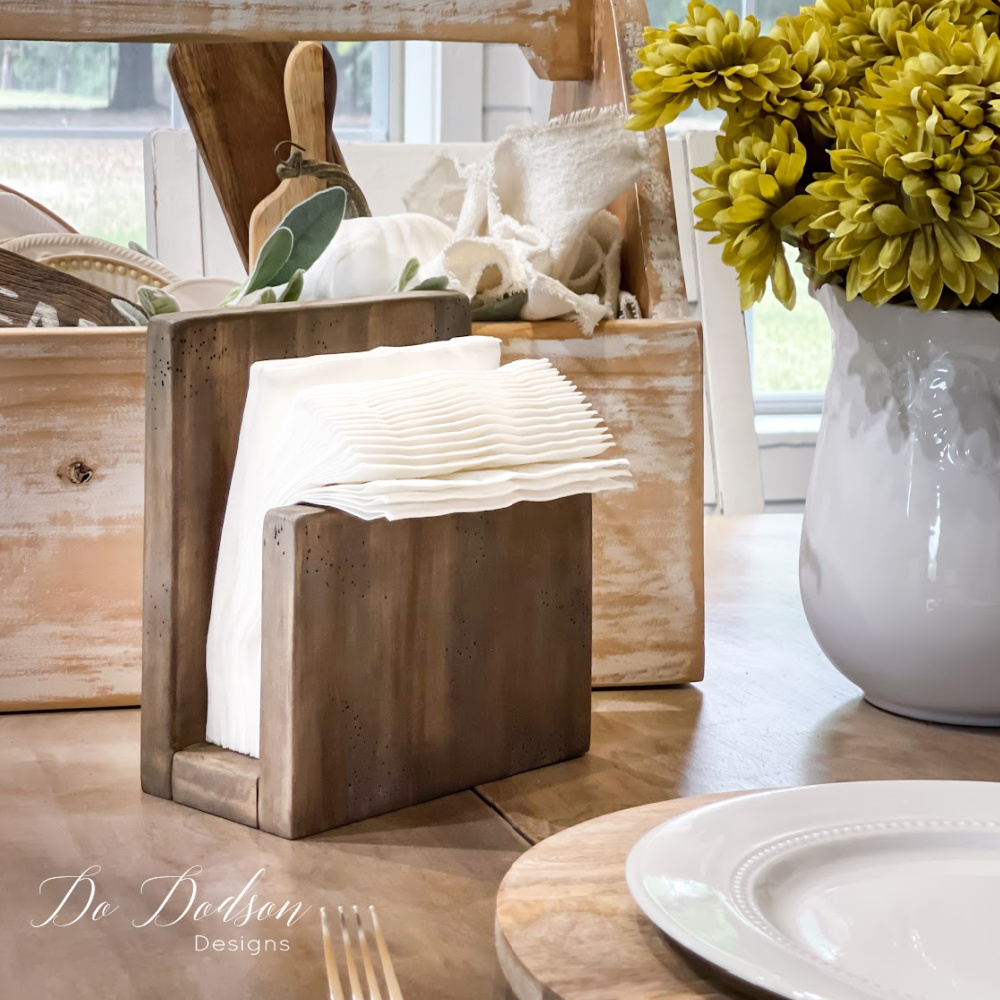
Making a simple DIY napkin holder is the answer and can be the perfect addition to complement any table setting.
DIY Napkin Holder – 4 Simple Steps
If you have scrap wood laying around, I say use it! I like to use simple materials and for this DIY project I’m using a 1×8 poplar wood board leftover from a previous project but you can use whatever you have. The size of the board depends on the dinner napkins you plan on using and we use larger size napkins. We’re messy foodies.
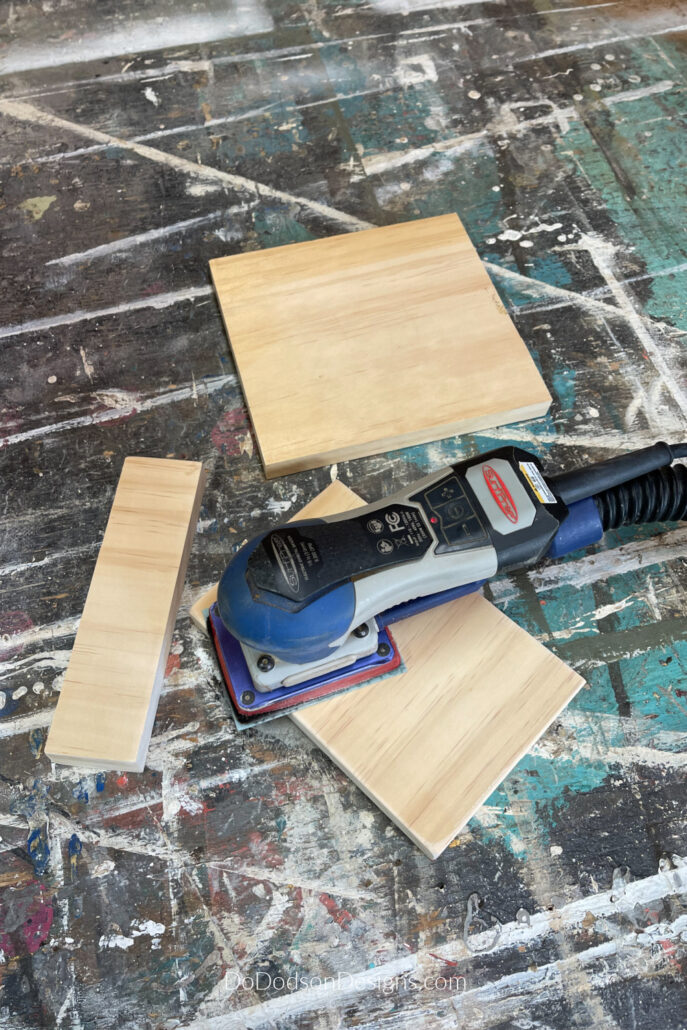
STEP 1: Cut your wood to the dimensions below or adjust the scale to fit the napkins you use on a daily basis.
STEP 2: Next, sand the wood with 220 grit sandpaper to smooth any rough edges on the wood. After sanding the wood, wipe away any wood dust. This will prepare the wood for staining but you can always choose to paint this simple project with chalk, acrylic, or spray paint. Use what you have!
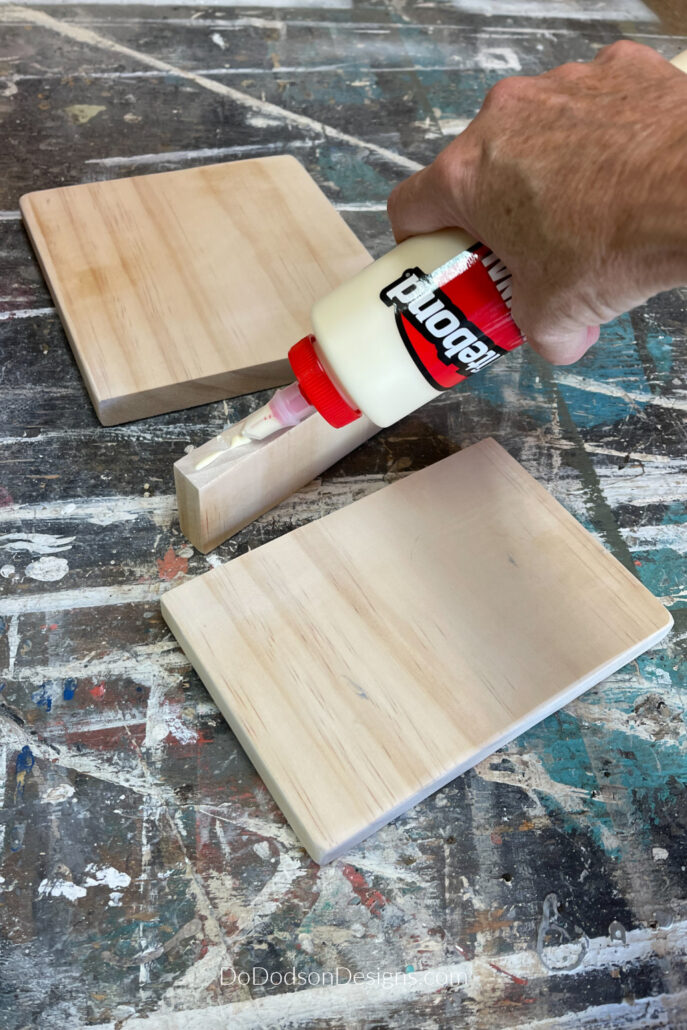
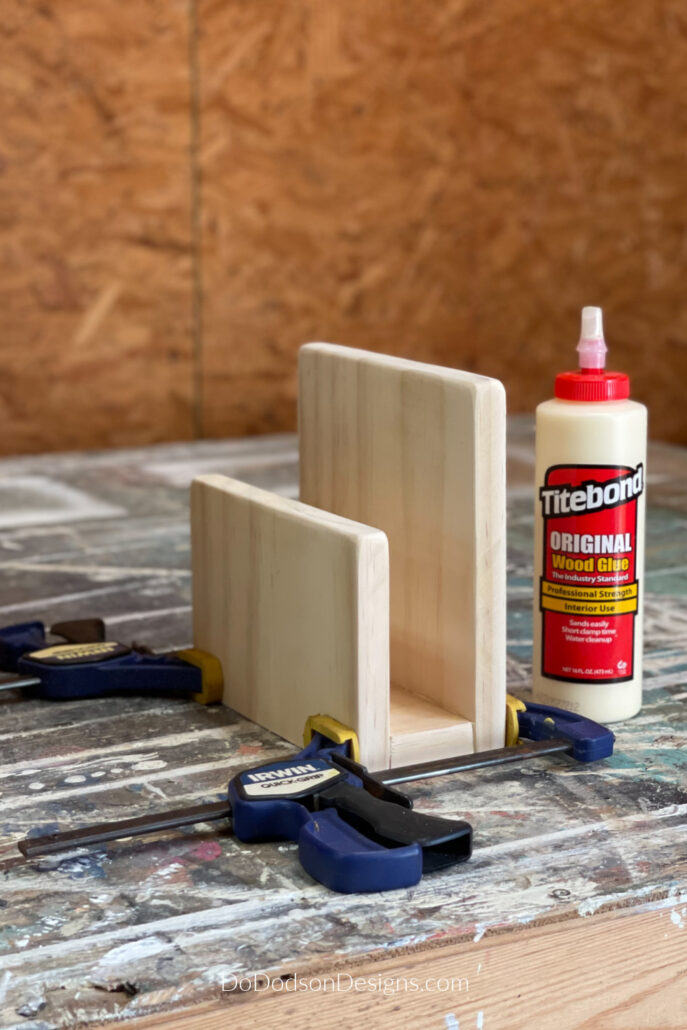
STEP 3: Use a little bit of wood glue to secure the smallest wood piece to the back and front pieces. Be careful not to overuse the glue. When wood glue comes in contact with raw wood a small amount will absorb into the wood and can prevent the paint or stain from adhering.
Wipe away any additional wood glue immediately with a damp cloth but do your best to not let it seep out onto the outer part of the wood that you’ll be painting or staining.
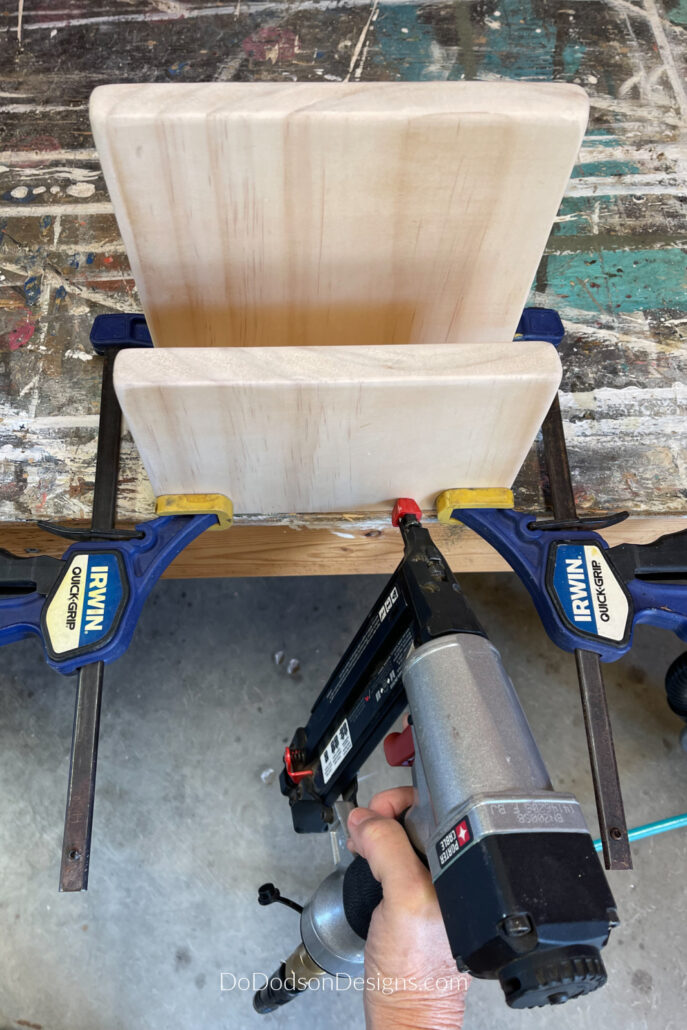
Add wood clamps to hold the pieces in place to ensure the wood and glue makes a good connection while the glue dries.
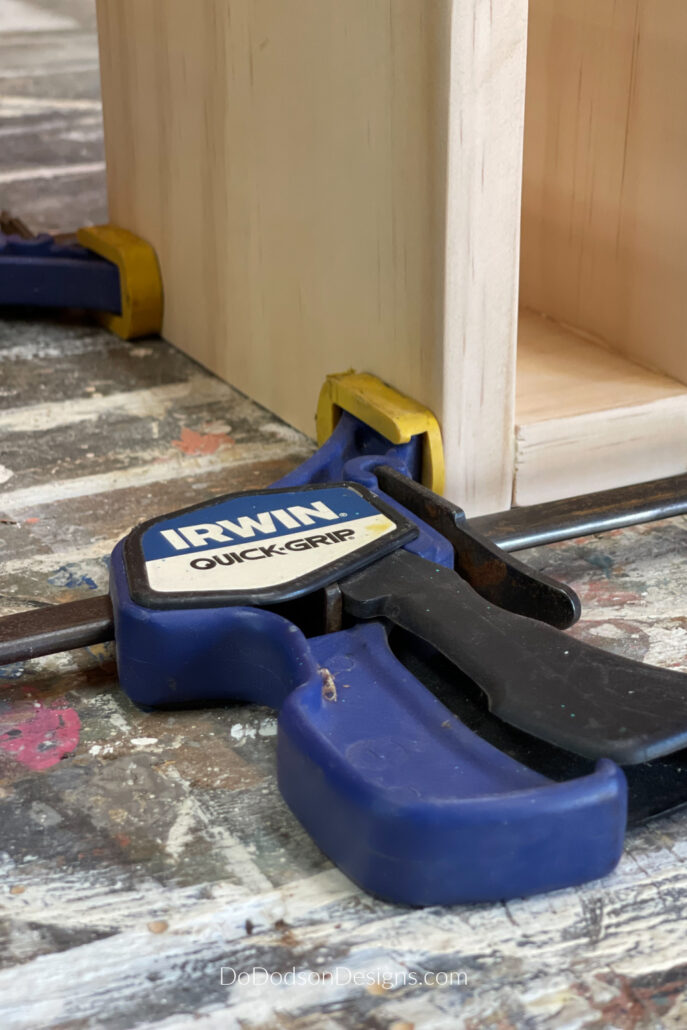
If you don’t have wood clamps, add a few nails to hold the boards in place. It’s totally optional but more is always a good thing, especially when you have curious Grands with little fingers at the table.
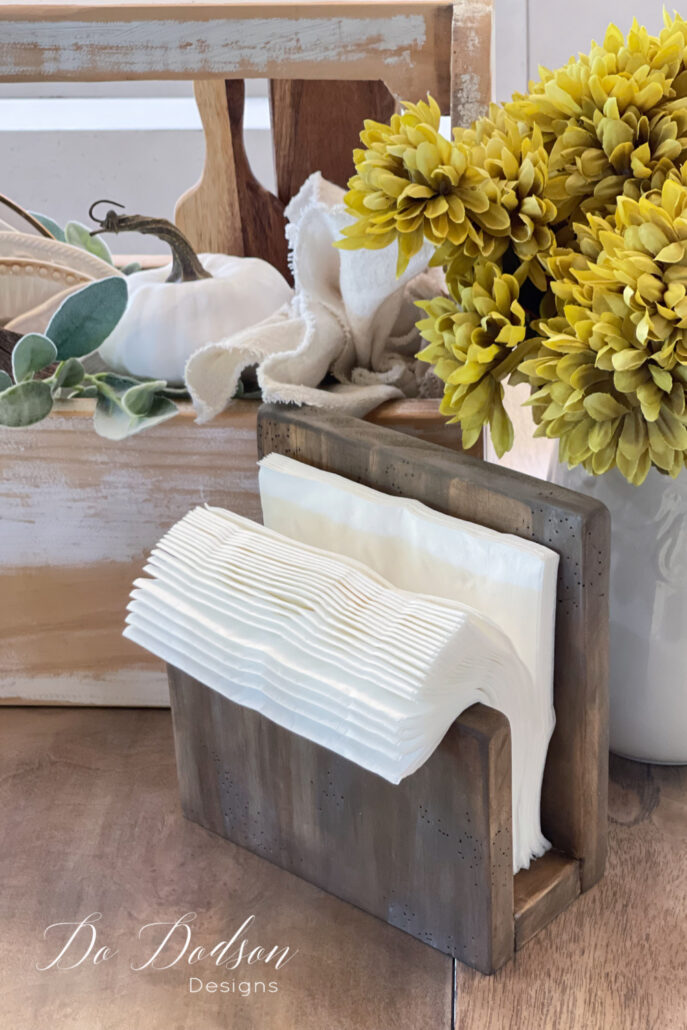
STEP 4: Paint, stain or go all natural with your new DIY wooden napkin holder.
How To Get A Weathered Wood Finish On New Wood
While I love a raw wood finish, I decided to make the hubs happy with his favorite manly weathered wood finish. Well, I like it too.
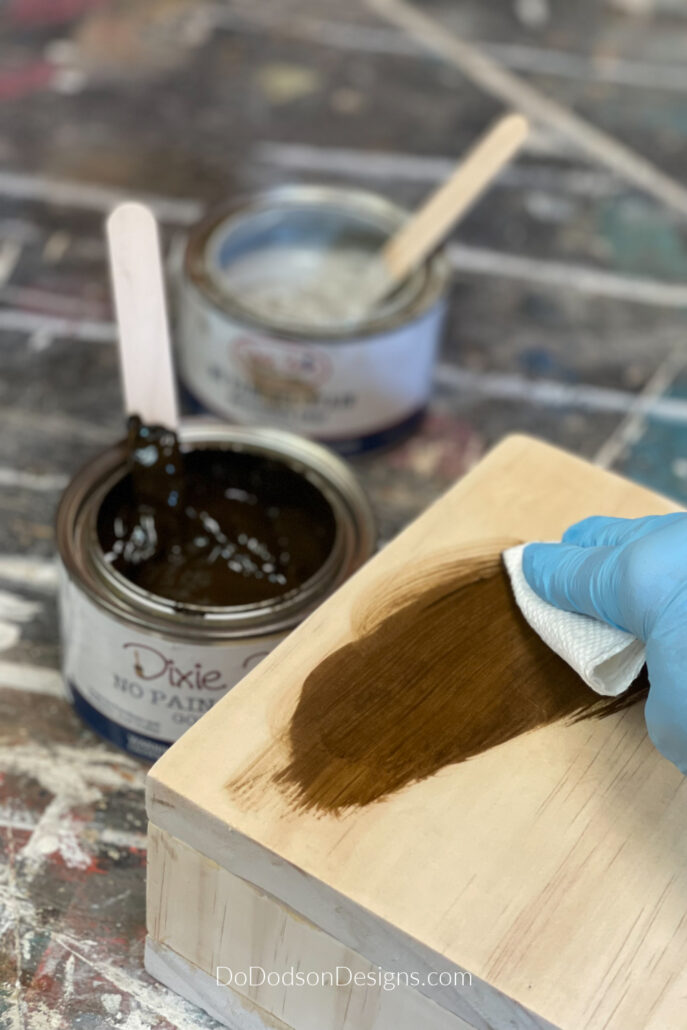
To get a weathered wood finish on natural wood I used two oil-based gel stains made by Dixie Belle Paint Co.
Before I get started, I missed an important step that I will explain below. Scroll down to the next section and then come back here and I promise it will all make sense.
1. Start with applying Golden Ash gel stain over the wood with a staining pad or a soft cotton cloth. Quickly wipe away any remaining stain on the wood with a clean lint-free cloth. This is important if you want lighter-colored wood.
2. Next, apply the Weathered Gray gel stain over the previous stain (before it dries) sparingly. Instead of full coverage, I applied the gray in different areas where I wanted the gray to show, wiping it on and making streaks in the direction of the wood grain. Doing this resulted in a darker-than-I-expected look. No worries. Here’s how to fix that.
3. Using a small amount of odorless mineral spirits on a clean cotton cloth, I wiped away the darker areas. Mineral spirits are used to thin oil-based products so this is a great solution if you come across this problem.
4. Allow the gel stain finish to dry at least for 24 hours and then apply a topcoat if desired. It’s not necessary if you’re using Dixie Belle’s No Pain Gel Stain. It’s optional.

How To Make Realistic Worm Holes In Wood
I wanted to make the new wood look old and give the wood napkin holder a bit of character to go with my farmhouse style. What better way than to add some good ole fashioned worm holes? It’s super easy to do.
These holes are usually created by insects/worms and they focus more on the center of one area and gradually trail out. But I’m going to be the creator today.
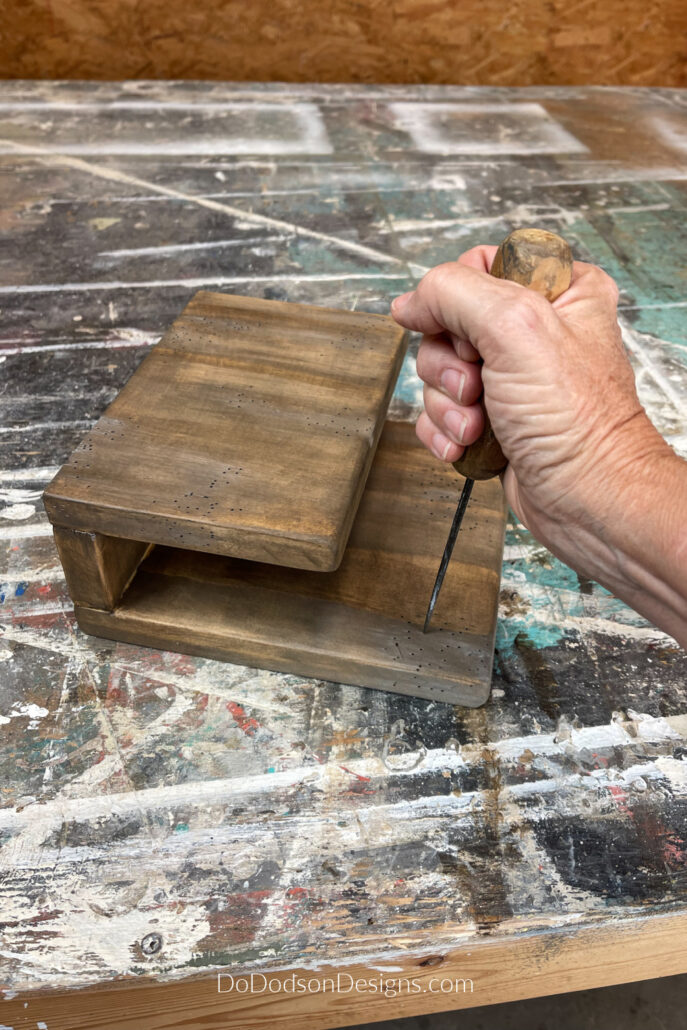
Using my Grandfathers ice pick (one of my most cherished tools) I poked holes in random concentrated areas with the center holes being a bit larger and smaller holes leading away from the center of the make-believe infestation. Use more pressure on the pokey tool to create larger holes and less to create smaller ones.
This technique should be done prior to staining the wood and using a dark stain first to fill the holes first. Obviously, I didn’t do that and had to go back and correct this.
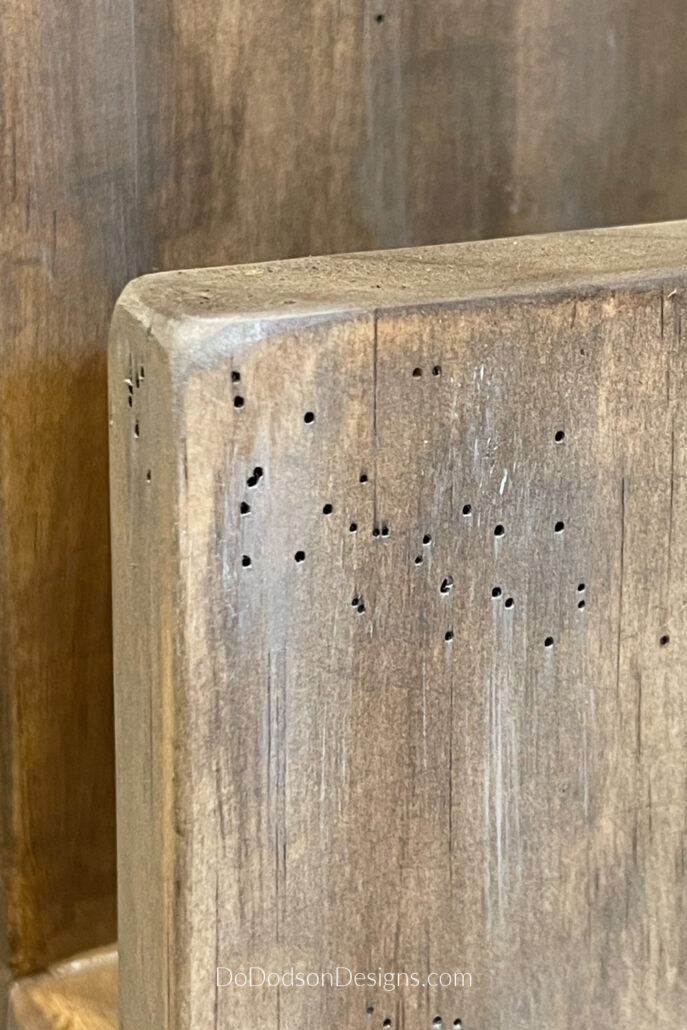
Applying a lighter stain on top of a darker stain will result in the holes appearing much deeper and really standing out.
I LOVE THEM and it’s a great way to take out any frustration that you may be experiencing. LOL, especially if you missed this step like I did and had to redo it.
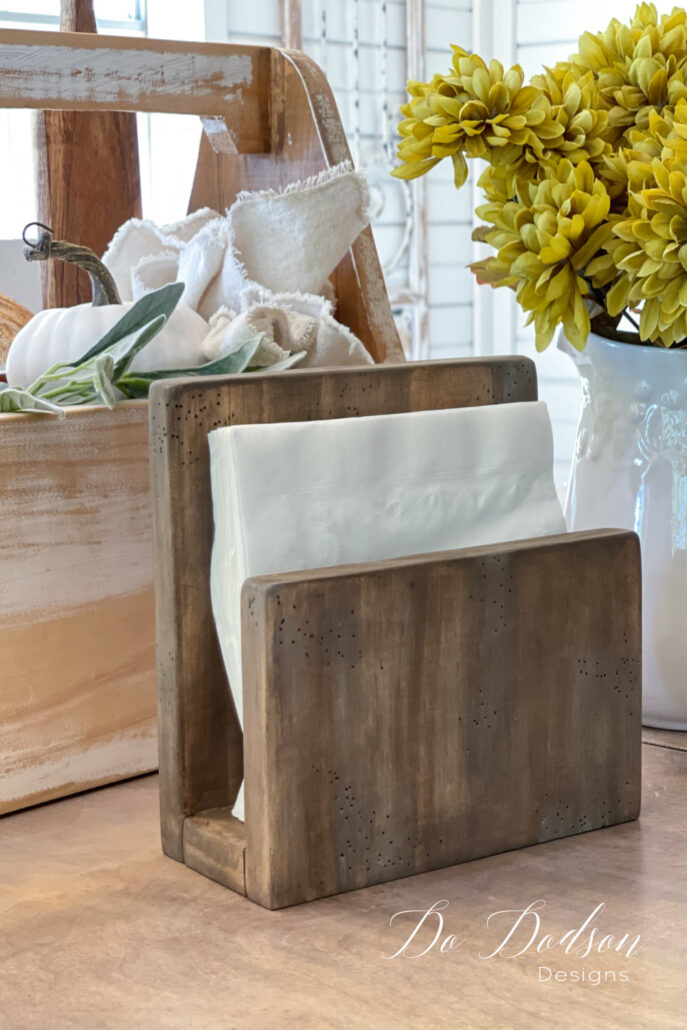
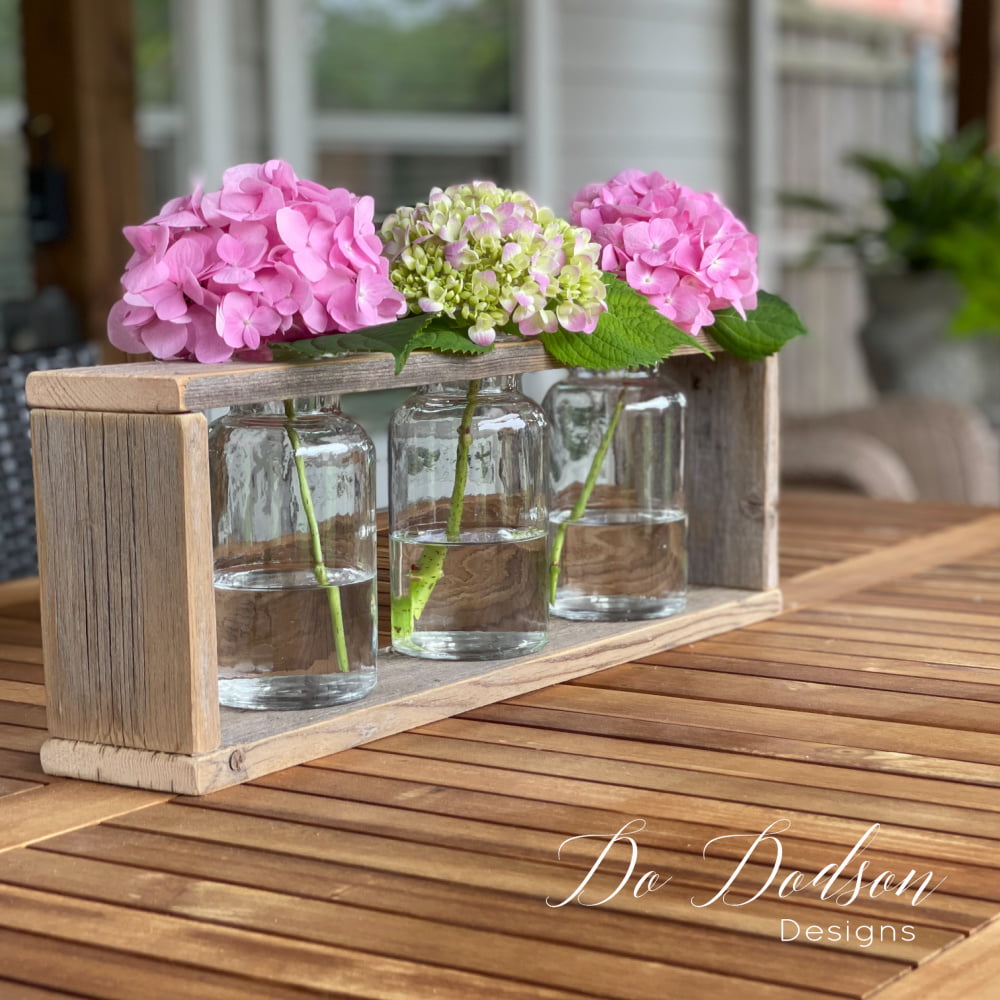
This simple but modern DIY napkin holder is will be perfect for everyday use as well as for those special occasion dinners.
Dining Room Table Napkin Holder – Rustic Farmhouse Style
This was a simple way to make a modern farmhouse DIY napkin holder that is perfect for everyday use as well as for those special occasion dinners.
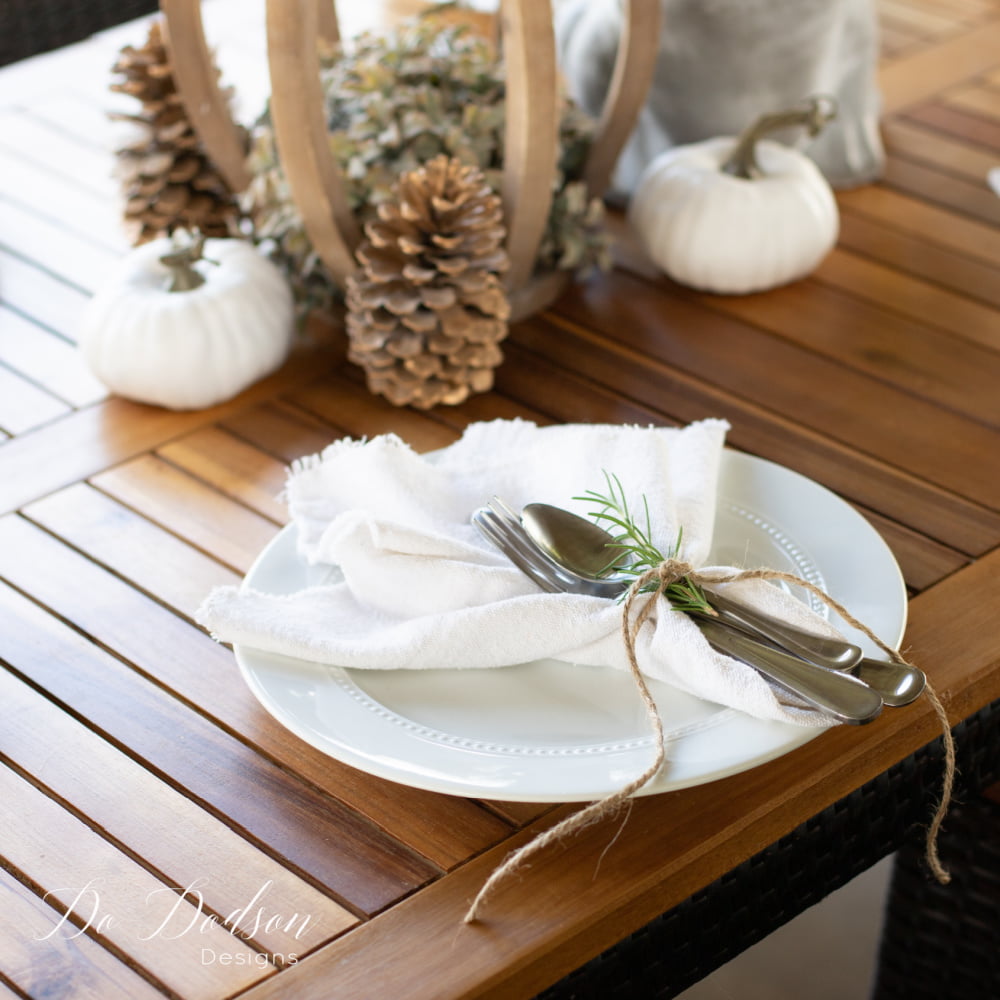
I have plans to make DIY napkin rings to match this project. Something a little more special for those dinners where I prefer using those cloth napkins and I promise to share that too when I get around to it.
I’m very proud to have my very own wooden napkin holder I made with my own two hands. It’s the little things.
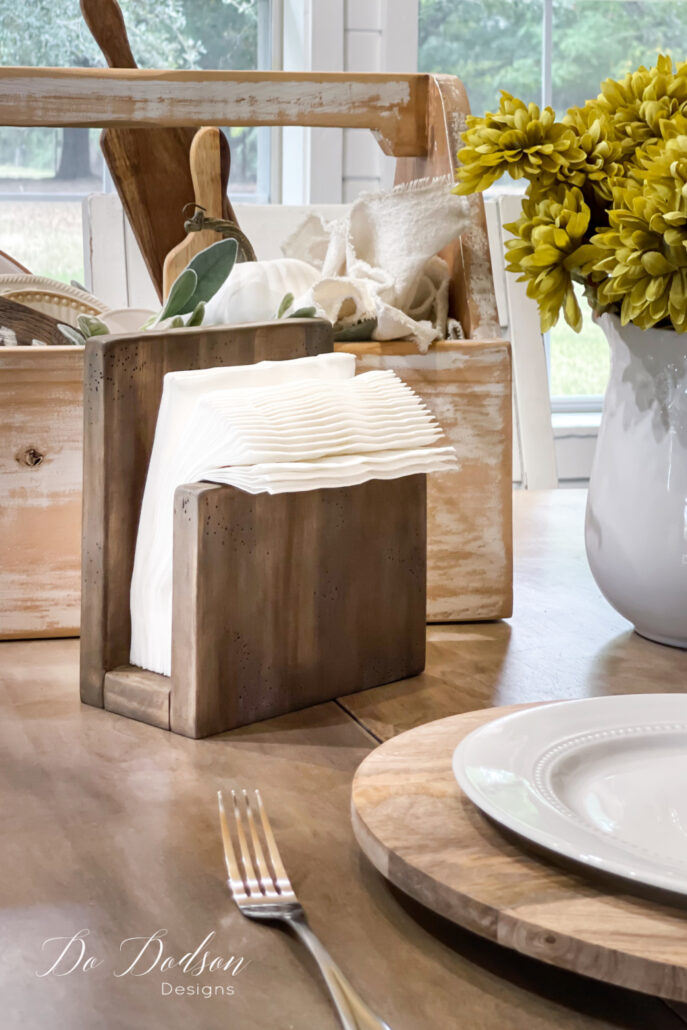
So, what do you think? Is this something you would use on your everyday table? I think it’s a beautiful piece and Mr. Honey Do can’t argue since I added that rustic finish he loves. Maybe dinner time will be a little more pleasant without me complaining about the ugly napkin holder that doesn’t match the place setting. 🙂
And I can’t help but think these would make great gifts. We all have a family member that loves handmade gifts. A simple napkin holder may be just the thing they need or want.
Hey, thanks for joining me today and I hope you enjoyed my napkin holder DIY tutorial. As always, I’d love to hear from you or just say hi so that I know you were here. Don’t forget to pin and share.
Until the next project… xo, Do