
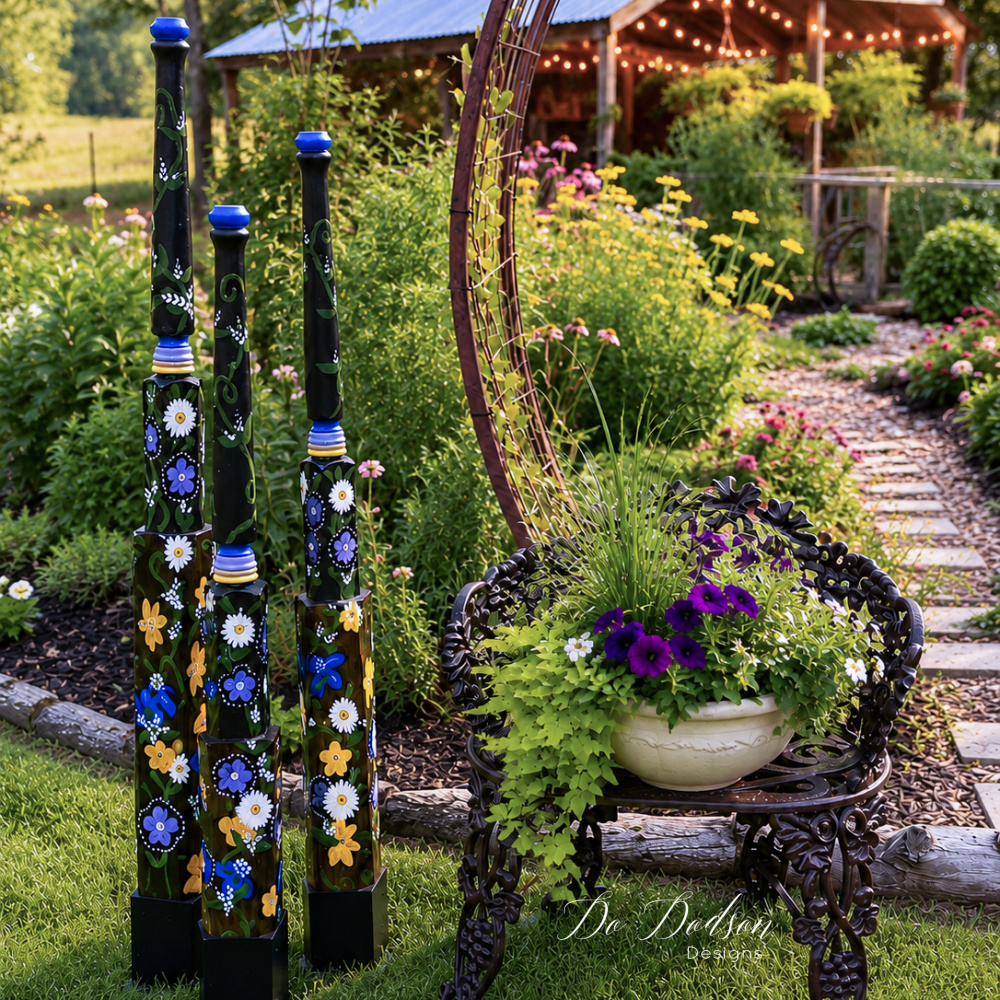

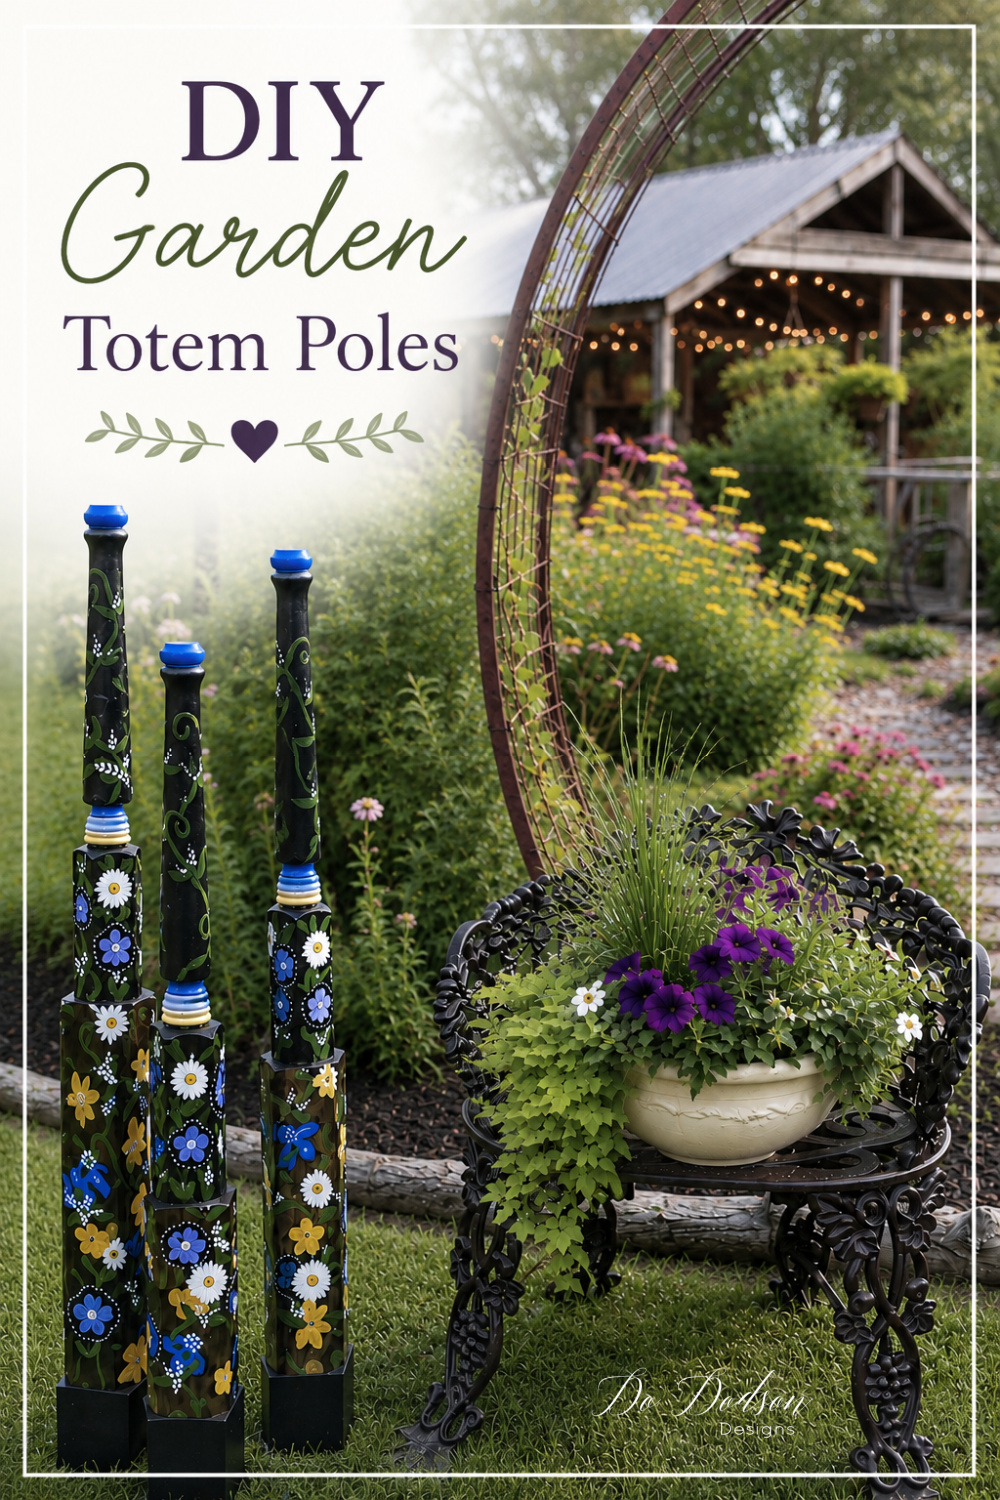
Looking for a fun and creative way to add personality to your garden? DIY garden totem poles are a fun project because they’re colorful, unique, and customizable to fit any style. Whether you love bright cottage garden colors, whimsical designs, or farmhouse-inspired decor, hand-painted garden totem poles are an easy way to create a beautiful focal point in your outdoor space. The best part? No two are ever exactly alike.
🫶🏼 I would like to extend a special thank-you to Janie Jones, one of my wonderful readers, for the inspiration behind this post!
* As an Amazon Associate, I earn from qualifying purchases and through other companies as well. You will not be charged extra when you purchase through these affiliate links, but any income I make helps me create more amazing DIY projects to share with you! To see my full disclaimer, click here!
What Are Garden Totem Poles?
Garden totem poles are decorative vertical garden accents made by stacking various items such as flower pots, wooden pieces, vintage dishes, glassware, watering cans, or found treasures onto a sturdy pole or rod. Once assembled, they become eye-catching pieces of garden art that add height, color, and character to flower beds, patios, and pathways.
You can also hand-paint your own custom designs onto a wood totem pole for a more artistic, personalized touch. Hand-painting your garden totem pole allows you to create a one-of-a-kind piece that reflects your personality and gardening style.
Just in case you’re wondering if you can purchase these? Well, yes, but… have you seen the prices for garden totem poles on Amazon lately? Most are just mass-produced plastic! We can definitely do better by creating our own unique, high-quality art at home.
Why You’ll Love This Project
There are so many reasons to make your own garden totem pole:
- Uses thrift store and repurposed items
- Adds height and interest to garden beds
- Creates a colorful focal point
- Budget-friendly outdoor decor
- Easy to customize with paint and designs
- Makes a great conversation piece
If you enjoy creative DIY projects and gardening, this project combines the best of both worlds.
Designing Your Hand-Painted Totem Pole
This is where the fun begins. Think about the overall style you want for your garden. Do you want one large totem pole, or perhaps a grouping of three? Do you love bright cottage colors? Soft farmhouse neutrals? Bold floral patterns? The possibilities are endless.
Here are a few ideas I think you’ll like for designs:
Floral Garden Theme Totem Poles
Paint flowers, leaves, butterflies, and bees on each section. Use cheerful colors like yellow, pink, lavender, and turquoise for a cottage garden look.
Farmhouse Style Garden Totem Poles
Use soft whites, sage green, black accents, reclaimed wood, and distressed finishes for a more rustic appearance. Scrap wood pieces work beautifully for this style.
Whimsical Garden Art Garden Totem Poles
Create playful patterns such as polka dots, stripes, checkerboards, or colorful swirls.
Nature-Inspired Designs Garden Totem Poles
Paint birds, dragonflies, sunflowers, wildflowers, or vines that complement your existing landscape.
Hand-painted details transform ordinary objects into beautiful homemade garden art.
SUPPLY LIST:
The supplies will vary depending on your design, but here are the supplies I used for this project.
- 4X4 wooden blocks, table legs, or spindles
- Construction adhesive
- Vintage dishes or bowls (optional)
- Chalk-based paint
- Paint Brushes |Artist Brushes (for the tiny detailing)
- Exterior Sealant
- Decorative embellishments or anything you can imagine
- Fence Post Anchors or rebar (for staking in the ground)
STEP 1: Constructing The Garden Totem Poles
To begin your project, gather your materials. Don’t be afraid to select random items.
For these totem poles, I’m keeping it simple. Well, at least the base colors.
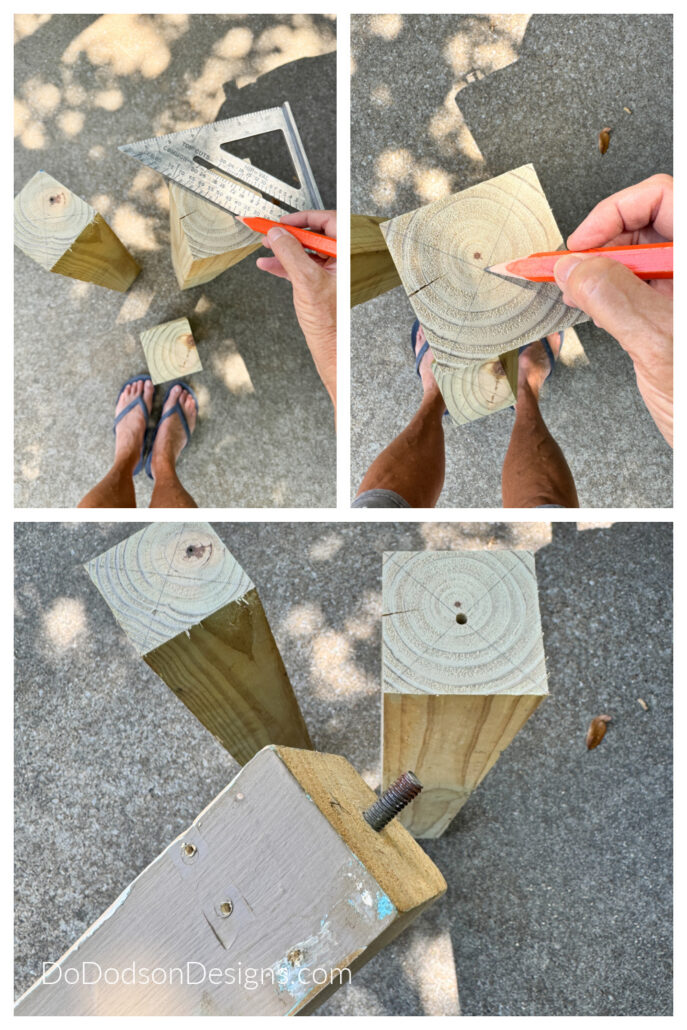
I chose to use recycled scrap wood and vintage table legs—a lucky find that I’ve been saving for just the right moment. It’s ironic how these random pieces finally found their perfect purpose! I knew I’d find a use for them at some point. 🙂 And a BONUS… they still had the hanger bolts in them!
I used 4×4 pressure-treated posts of varying heights for the base. It is recommended to use your heaviest pieces at the bottom to provide a solid, stable foundation for the finished totem pole.
Next, I found the center of the 4X4 blocks and marked them using a speed square and a pencil. Carefully drill a hole just a bit smaller than the hanger bolt. Next, I added some construction adhesive to the hole and twisted the legs into the base.
*TIP: You can also stack your pieces onto a metal rod or garden stake by drilling holes through the center of each section. Adjust the arrangement until you’re happy with the overall design. This makes for a very strong hold, and I would have done that had I not been fortunate with what I had on hand; the table legs were not heavy at all and could be held in place with the hanger bolts and construction adhesive.
STEP 2: Preparing The Wood For Paint
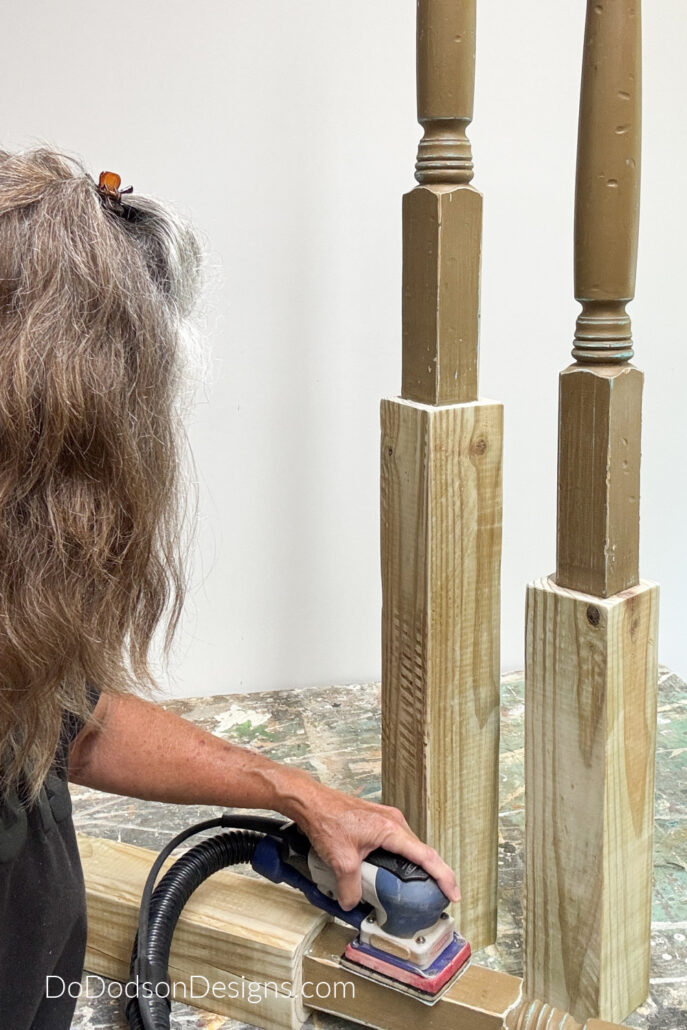
Clean the wood pieces thoroughly and lightly sand any glossy surfaces if needed. Because the vintage legs had been painted by me previously, I knew I didn’t need to do more than scuff-sand them. I’ll be using a similar paint over the existing finish.
Wipe away any remaining wood dust with a soft, damp cloth.
How to Paint Your Garden Totem Poles
STEP 3: Apply The Base Color to the Garden Totem Poles
The 4X4 wood base of the totem poles will be getting a dark stain. The wood is pretty, and I like the idea of a wood background for my painted floral art.
I applied one coat of walnut gel stain and wiped away any remaining stain with a soft, clean cloth. The result is a gorgeous, rich dark color.
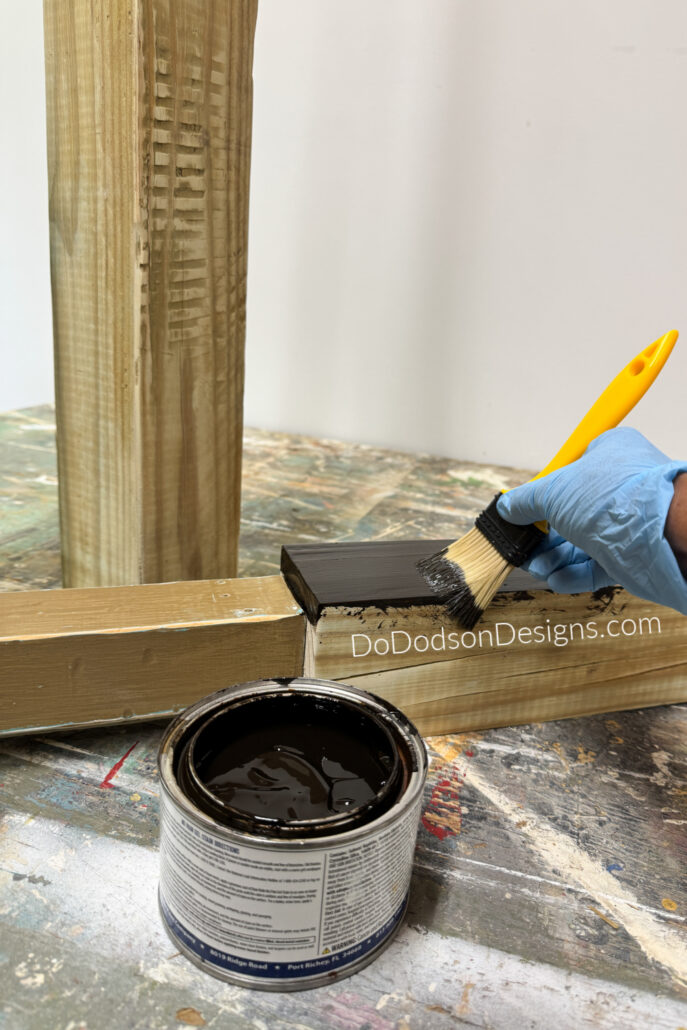
Next, I painted the top part of the garden totem poles with a black-with-brown-undertones chalk-based paint called Coffee Bean. I love this color! The paint covered in one coat, but it can take two to three coats with lighter colors.
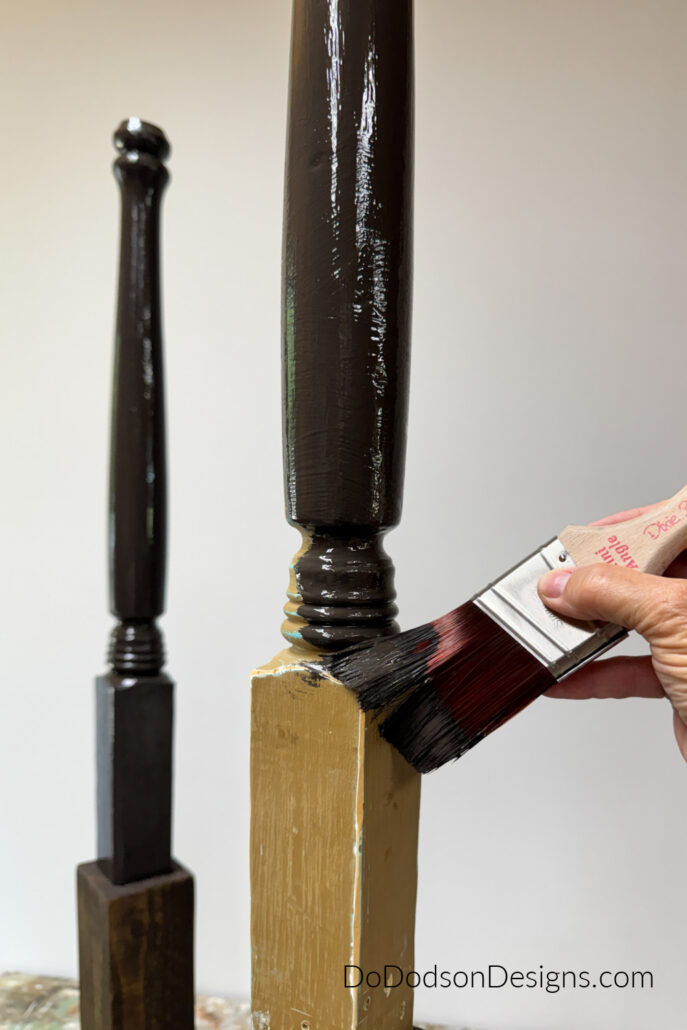
STEP 4: Add Decorative Details
While I certainly wouldn’t classify myself as a professional artist or an expert at painting intricate flowers, I am simply a creative soul with a paintbrush in hand and some spare time to experiment. I have found that you don’t need formal training or years of experience to produce something beautiful; you just need the willingness to pick up a brush, play with some vibrant colors, and let your imagination take the lead on the canvas of your choice.
When it came to the flower detailing, I pulled out every paint color I owned—and then some! I picked up my artist brushes and just started painting. I began by layering on bold, vibrant flowers, followed by delicate vines, then went back in to add even more overlapping blooms for a rich, multi-layered look.
*TIP: Use smaller artist brushes to paint flowers, leaves, patterns, or inspirational words. Don’t worry about perfection—the handmade charm is what makes these projects special.
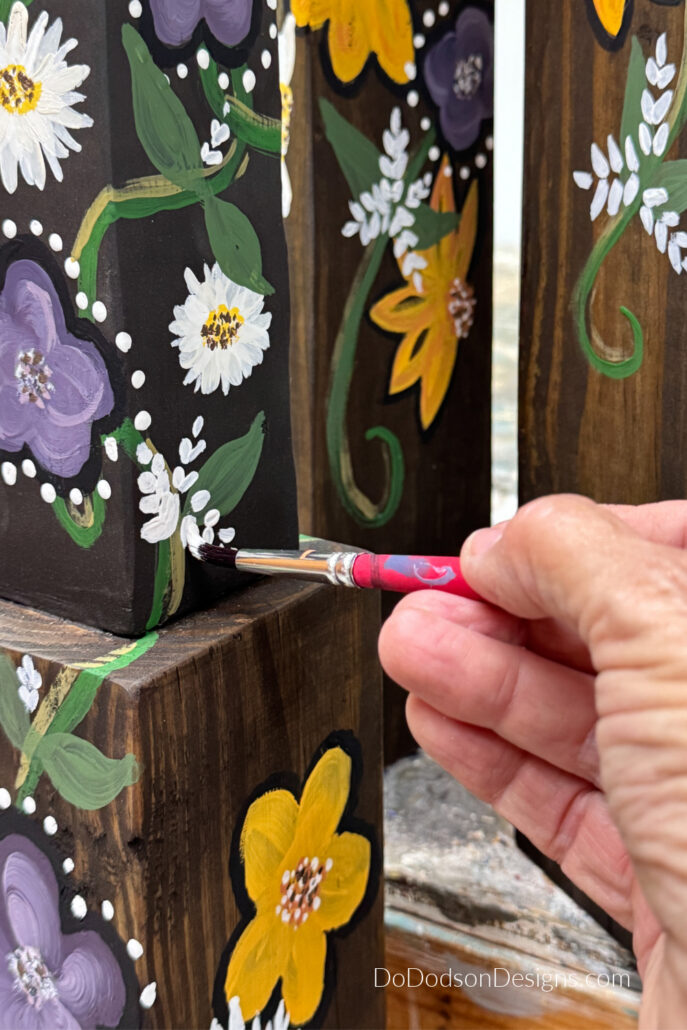
And here’s the finished look! It was hard to know when to stop, and so many times I get carried away and overdo it. I’m glad I stopped when I did.
I kept the floral patterns sparse near the top, focusing more on trailing vines to create a sense of visual flow and movement. At least, that’s what I’m telling myself! 😉

STEP 5: Sealing the paint for Outdoor Use
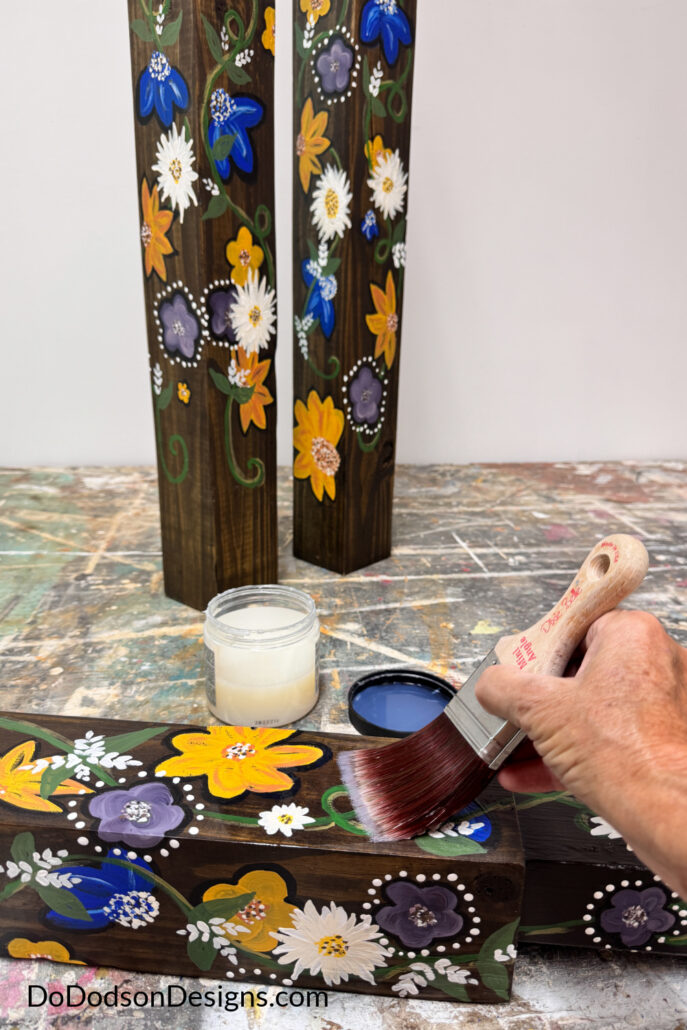
Once everything was dry (overnight), I applied multiple coats of a water-based, water-resistant sealer to protect my yard art from rain, sun, and changing weather conditions.
STEP 6: Installing The Garden Totem Poles
This may seem like a bit of overkill for these DIY garden totem poles, but I wanted a way to protect them from someone other than myself.
Occasionally, I “let” my hubby mow the lawn and use the weed eater. Because I am unsure of where I will be placing these (and because I change my mind a lot), I opted to use these powder-coated fence post anchors.
They were easy to put together, using four bolts and wood screws.
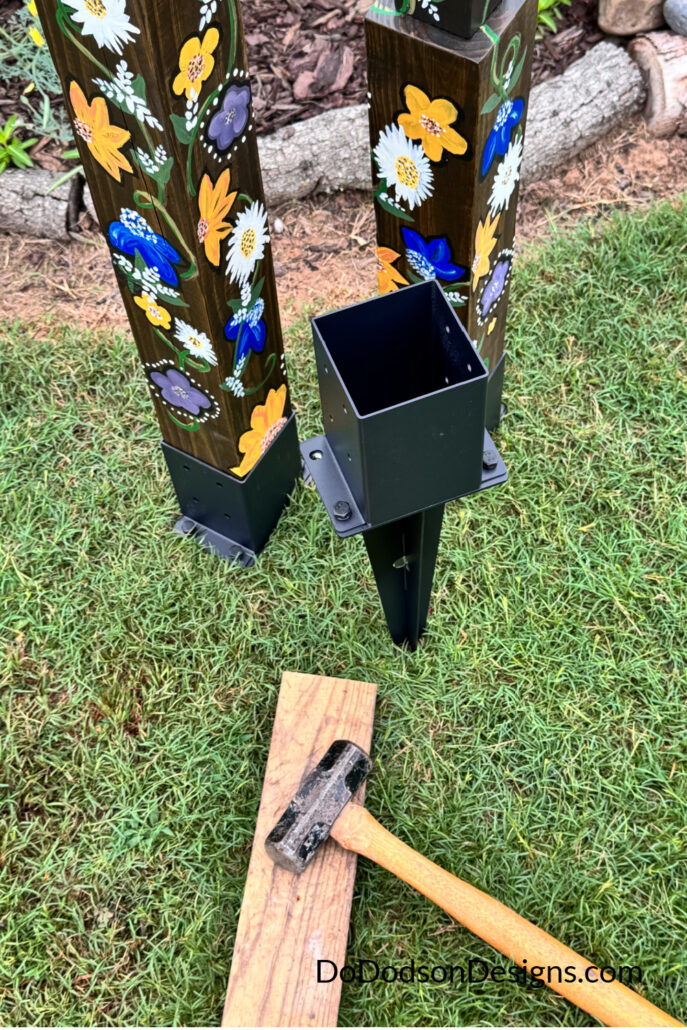
Once assembled, find the location and hammer it into the ground (grab a BIG hammer) using a piece of wood over the top of the anchor to protect the metal edges.
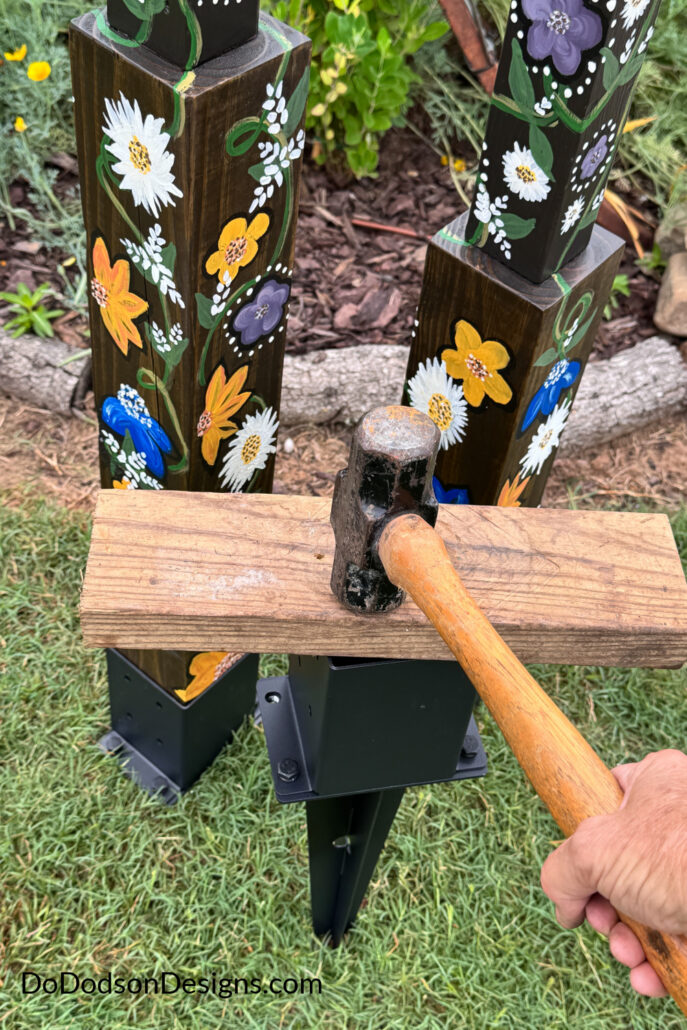
Because these garden totem poles are heavy enough and, as I said, I change my mind a lot, I didn’t add the wood screws into the base to secure them. Honestly, for what I’m using them for, I see no need to secure them. They will NOT blow away.
And on a positive note, this keeps them safe from any accidental encounters with the lawnmower or weed eater!😄

More Garden Inspiration
Looking for more ways to express your creativity in the garden? If you enjoyed this project, you might also love these other DIY ideas that are sure to elevate your outdoor space:
Garden Totem Poles Garden Side
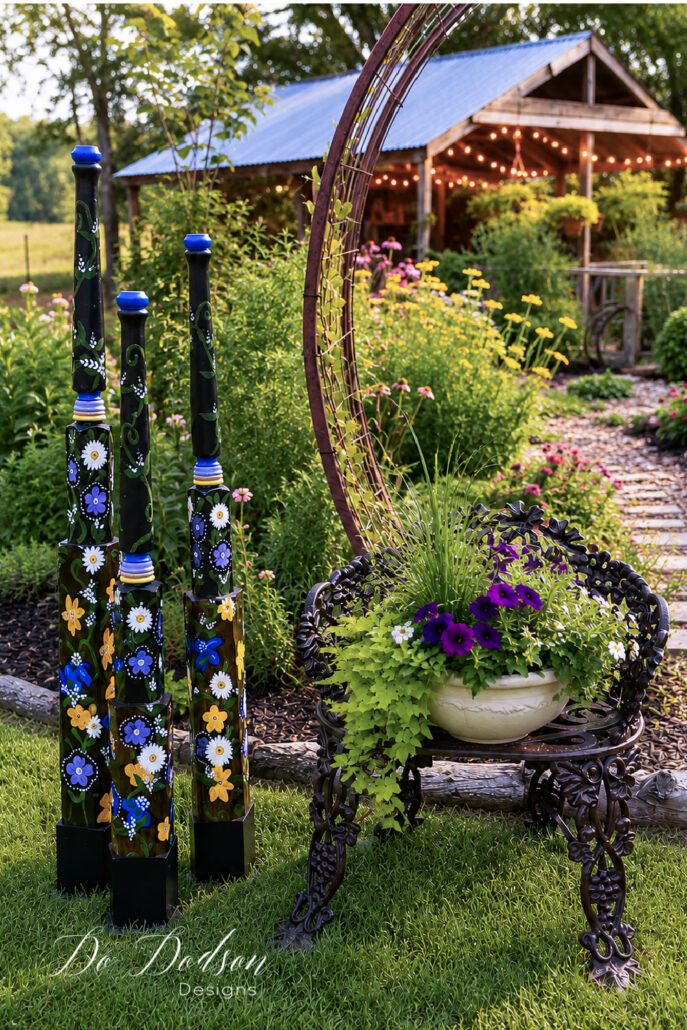
After the installation, I think I like the location. Perhaps my best bet is to expand the flower bed! Sounds like a good excuse to me.
This country cottage garden is currently in its first year of growth. I began the project in the fall of 2025, deciding that my enclosed vegetable garden (centered) and shed were the perfect spots for an expansion.
This section represents phase two of my five-part garden expansion plan, with phase three officially kicking off this fall. It has become quite the obsession, and I am thrilled to share that I have officially signed up for a Master Gardener course for next year. I am so excited to see how it all grows! 🪴🫶🏼
I would love to know if you’d like to see more details about my garden. Please leave a comment and let me know, and I would be happy to share more with you!
My Thoughts On These DIY Garden Totem Poles
Creating garden totem poles DIY yard art is a wonderful way to combine gardening, painting, and upcycling into one creative project. By using recycled, scrap wood, and thrifted materials, you can create one-of-a-kind garden poles painted by hand that reflect your personality and style.
The best projects are often the ones that give new life to old treasures, and these beautiful pieces of homemade garden art do exactly that.
Have you ever created a garden totem pole using thrifted finds or scrap wood? I’d love to hear about your ideas and see how you’ve transformed everyday materials into something beautiful for your garden. Leave a comment below and share your creativity!🪴And don’t forget to PIN and share this artsy fartsy idea with your friends and family. 🙂
Until the next project… xo, Do
These are Gorgeous. Fabulous job.
Thank you, Rebecca! I appreciate your feedback. Have a wonderful weekend. 🙂 😘
I’ve never heard of garden totem poles and I love this idea! The best part is the personalization and creativity you added! Pinned! Enjoy your weekend my friend. XOXO
Thank you, friend! 🙂 I was totally all in on this one and the painting was the best part. The freedom of creativity! Thanks for sharing and enjoy your week. xo
Your totems are beautiful! I can’t wait to make a set for my garden! I’ve read this article at least four times and I’ve got my paint ordered. Can’t wait to work on this!
Yay! I’m excited for you, Janie and I can’t thank you enough for the idea and inspiration. I’ve had a few locals wanting to purchase them. I would totally sell them if I wasn’t so in love with them. Maybe if I get tired of them… naaaaaaah. I can’t wait to see yours. Please share them with me. xo 🙂
Do! These are just phenomenal! I always enjoy your projects and have tried several but these… I REALLY like these!!! What a great idea, not overly complicated or expensive. Just wonderful!!!
Hi Tess! I love them too! I was certainly interested when I learned they were a thing in the garden. 🪴 My garden feels fancier after adding them. 😂 Thanks for sharing your thoughts with me. Let me know how yours turn out. I’d love to see. 🙂