
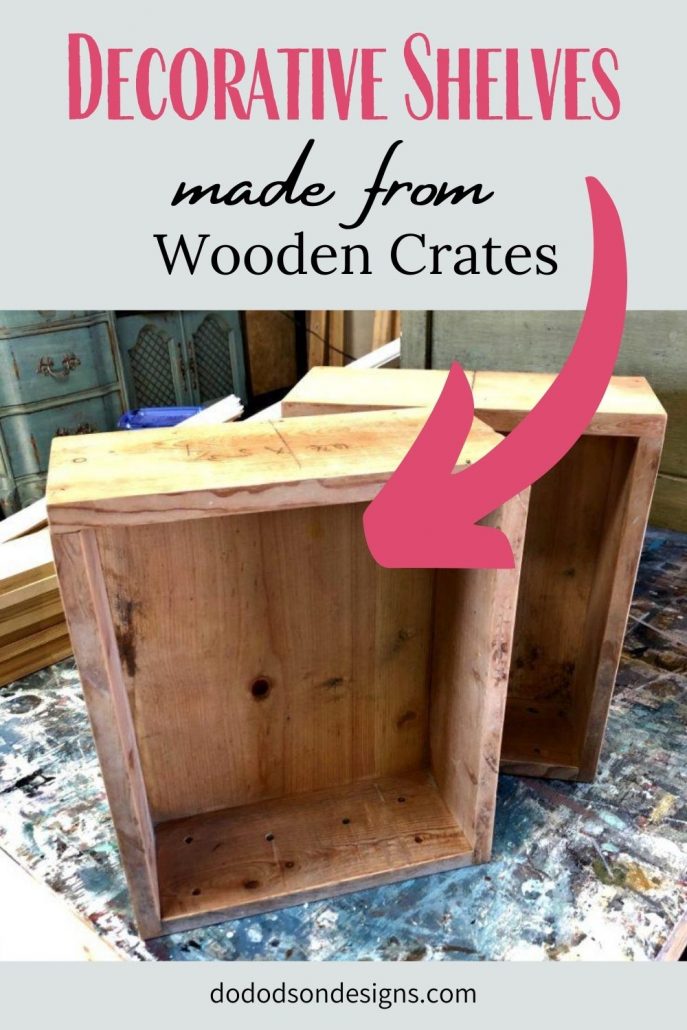
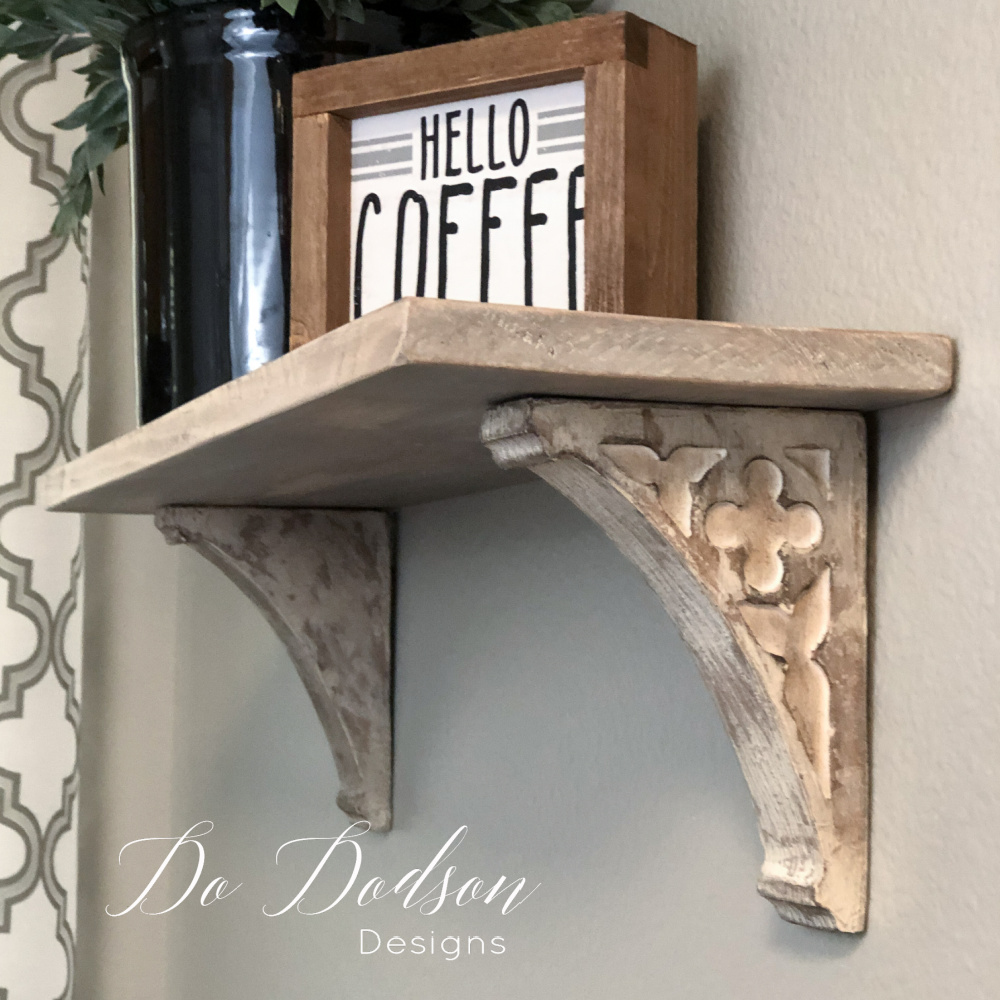
I’ve had these old wooden crates that I picked up at an auction for $1. I had no clue what I was going to do with them, but I was pretty sure something would come up. For $1, I couldn’t pass that up! It didn’t dawn on me until I started looking for decorative shelves for a small space. And I was right! This one is on my top 10 easiest DIY projects list. It was effortless.
This post contains a few affiliate links to help you find the products I use. You are not charged extra to use any of the links, but any income I make will be used for more fun projects! To see my full disclaimer, click here.
DIY Simple Decorative Shelves
A few weeks ago, I decided that Mr. Honey Do and I sharing the office was getting a tad bit tight. And it didn’t help that I was always trying to redecorate HIS space. He’s NOT a fan of my decor! Basically, I got kicked out. HA!
I have a large room above my Furniture Studio that has never been used to its full potential. I planned to use it for storage when we built it, but the stairs changed my mind quickly. Those stairs needed to lead to something special.
So, the process of transforming it has begun. A guest room/temporary office (until guests arrive) always needs decorative shelves. We as creatives are inspired by pretty things. Therefore I MUST have a pretty space to work in.
SUPPLY LIST:
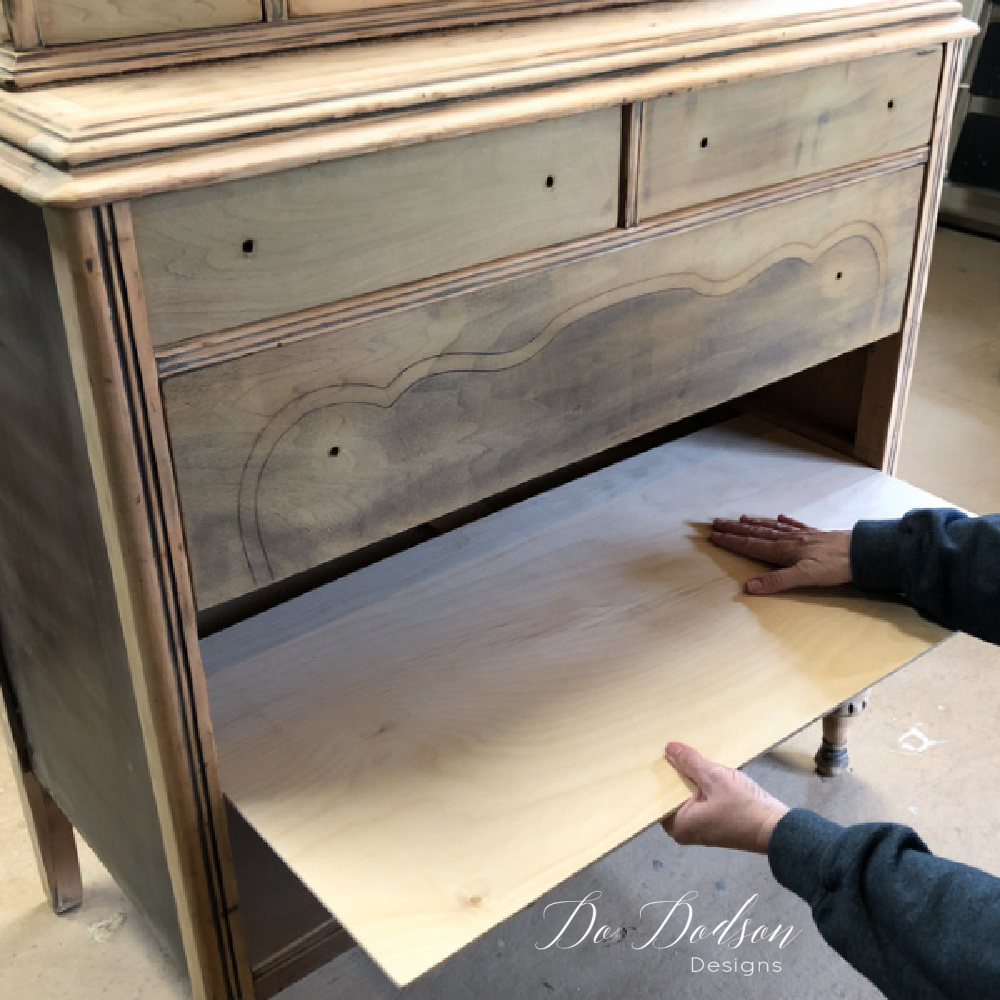
- Any size wood box, crate, or leftover dresser drawers
- Makita Rotary Sander
- Wood Filler for hole repairs
- Cheesecloth
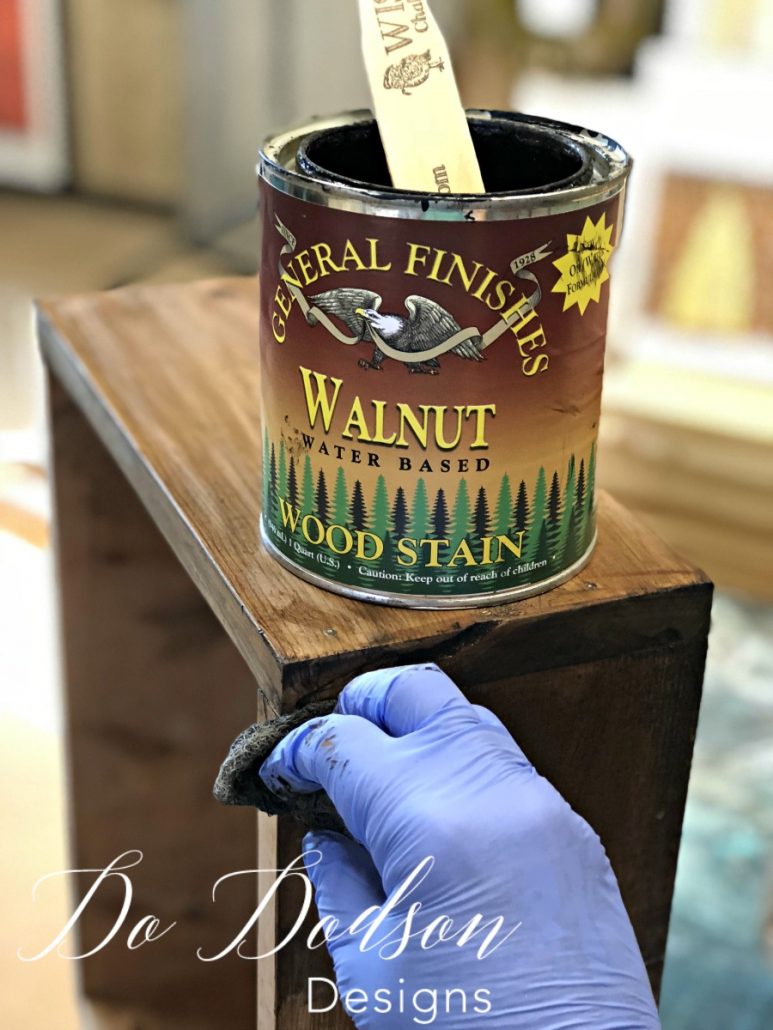
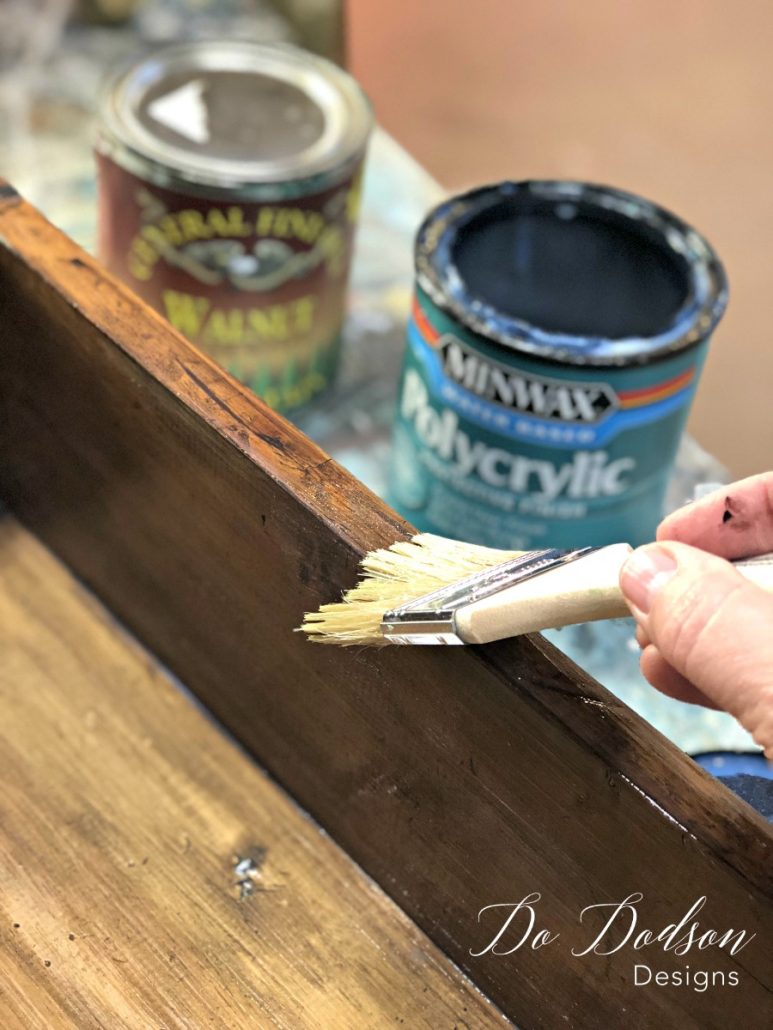
- General Finishes Walnut water-based stain
- Chip Brush
- Gloves
- Minwax Polycrylic Top Coat
- Heavy Duty Picture Hangers
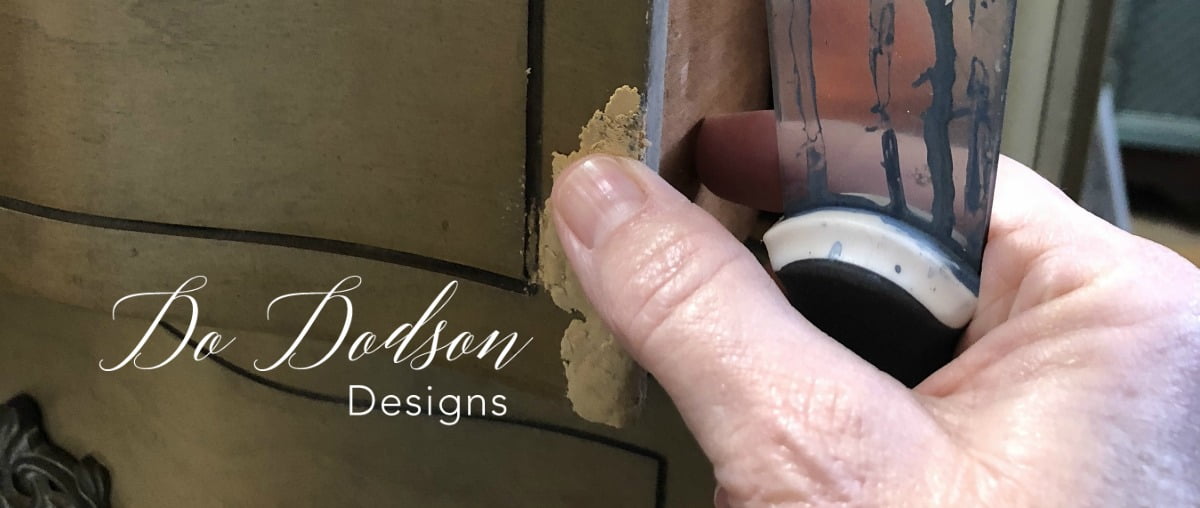
Before staining the wood, I filled all the holes with wood filler and allowed it to dry. If you don’t have holes, skip this step. Then I sanded the whole box with my Orbital Sander with 220 grit sandpaper. Be sure to wipe all the dust off before staining using a damp paper towel. Quick and simple.
Staining The Wood On Decorative Shelves
With the cheesecloth (or soft cloth), apply the water-based Dark Walnut Stain to the wood and allowed it to dry. This should dry pretty quickly. But, not all stains are water-based like this one. That is why I chose a water-based topcoat, no worries.
You know what “THEY,” say… oil and water don’t mix. The general rule is water on water and oil on oil when your refinishing wood surfaces. Of course, there are exceptions to every rule, and I have found that using a water-based topcoat over an oil-based product is okay as long as you give amply dry time for the stain. So if you’re using an oil-based stain, allow it extra time to dry before applying a water-based topcoat.
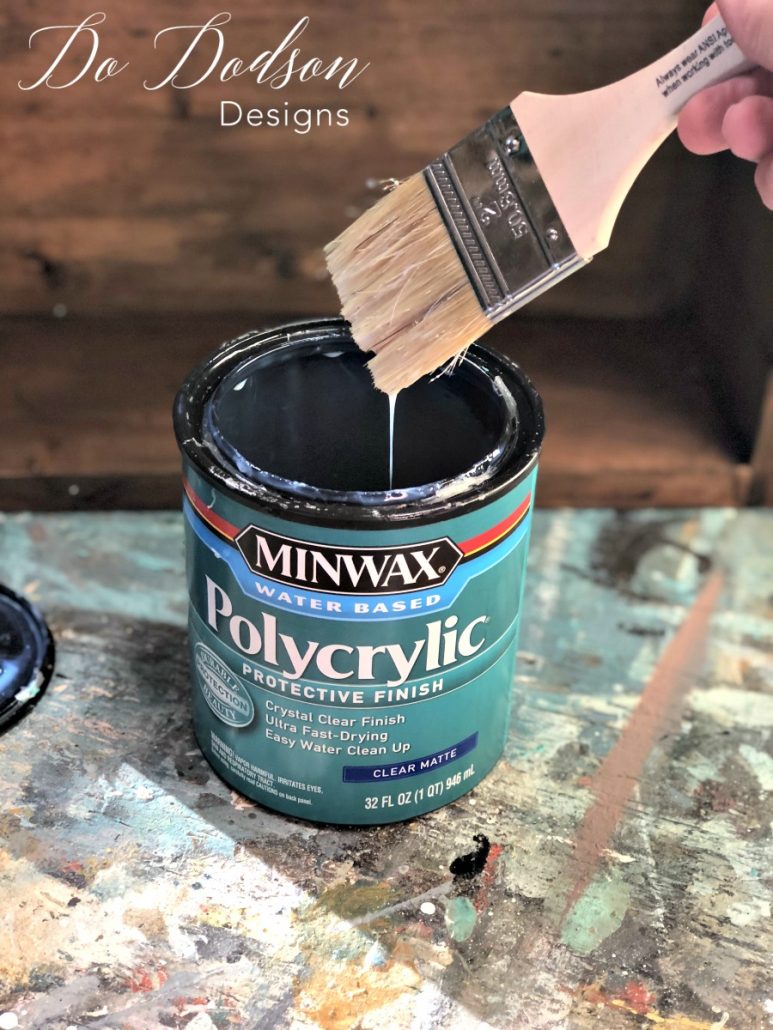
Sealing The Wood After Staining
Minwax Polycrylic topcoat is my go-to for an easy DIY project like this one. I applied one coat to the decorative shelves with a “disposable” chip brush. Seriously, these brushes are a one-time use for me. I don’t particularly appreciate cleaning brushes.
After the shelves had dried, they were ready to be hung. I used a heavy-duty picture hanger and screwed them to the back of the decorative shelves for hanging on the wall.
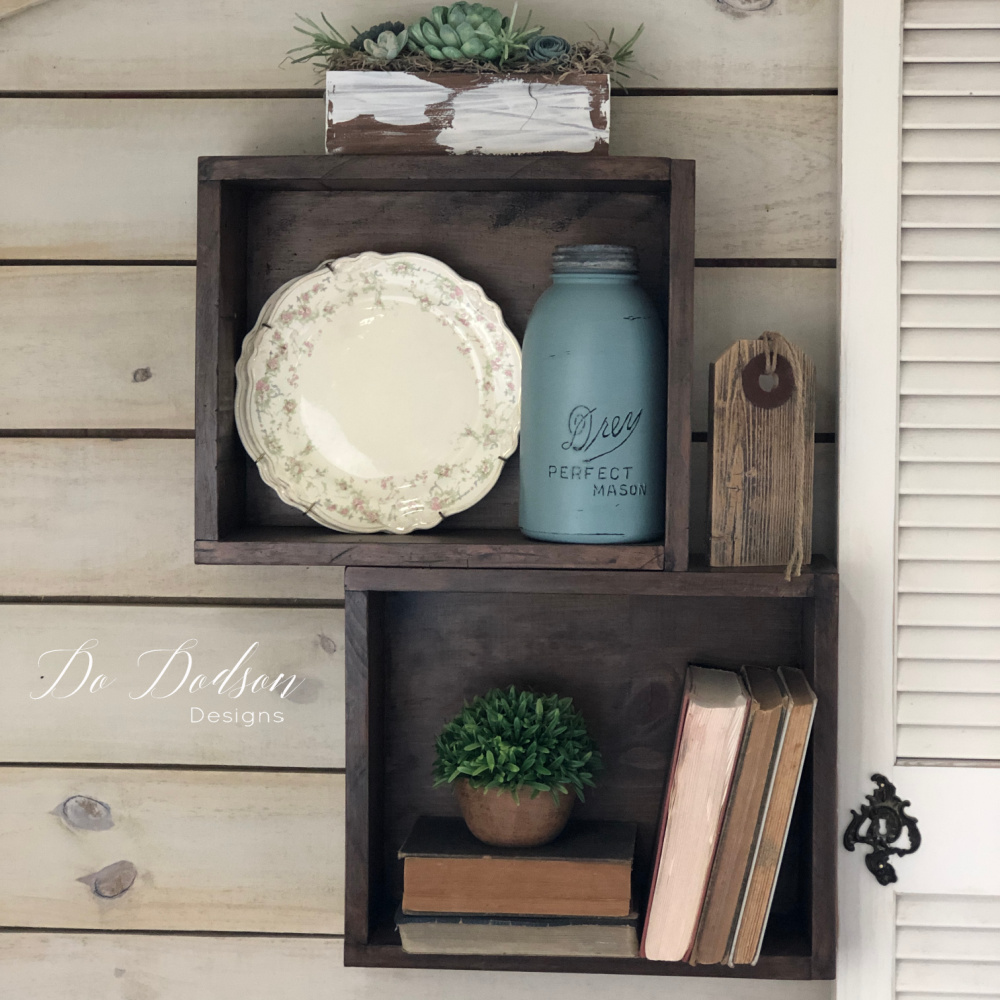
Fill With Your Favorite Farmhouse Decor

Thanks for joining me today for this simple, budget-friendly project using wood crates as decorative shelves. They’re perfect for my small space and hold some of my most priceless memories. They turned out super cute, and I couldn’t be happier! Please feel free to comment with your thoughts on this project below. I get the warm fuzzies, and it really makes my day to hear from others with similar ideas.
Until the next project… xo, Do
