
Follow these basic steps of furniture painting and NEVER have to repaint your furniture because of a failed finish! Today, I’m sharing the basics of furniture painting so you can be sure that when you paint your furniture, you are doing everything possible to create a beautiful, lasting finish the first time. No shortcuts allowed! Trust me, I’ve learned the hard way. Shall we?
This post contains a few affiliate links to help you find the products I use. You are not charged extra to use any of the links, but any income I make will go toward more fun projects! To see my full disclaimer, click here.
Furniture Painting Made Easy | Basics
Today, I’m going to guide you through the essential steps of painting repurposed furniture, breaking down the process into easy-to-follow instructions. While the overall method is surprisingly straightforward, it’s absolutely crucial to dedicate the necessary time to properly prepare your furniture before you even pick up a paintbrush. Skipping this vital step can lead to less-than-ideal results, so let’s ensure your project turns out beautifully from start to finish!
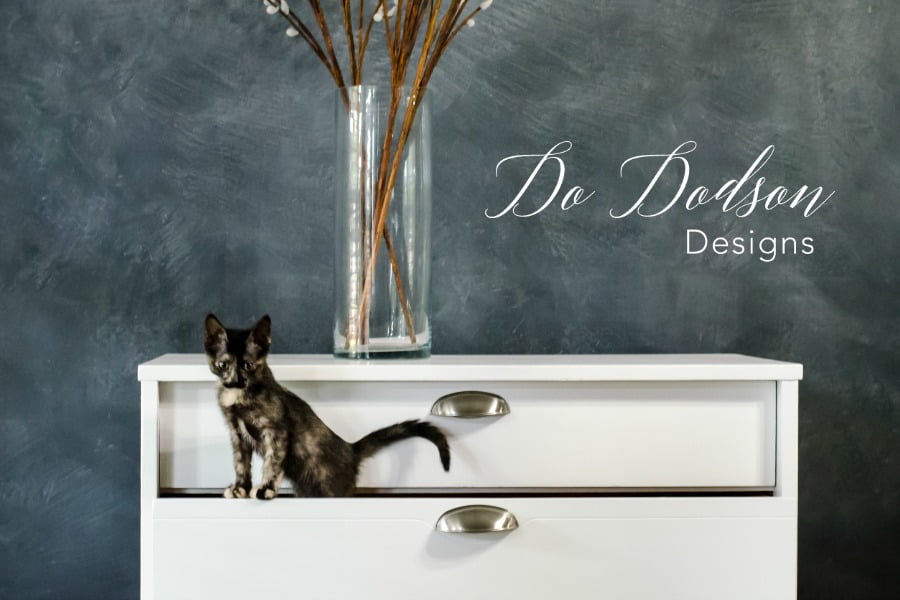
Well, it wouldn’t be normal if I didn’t have another set of eyes in the studio. Hmmm, I wonder if she could prep for me? For some strange reason, she likes this piece. Silly kitten.

Supply List
Here’s what you will need to accomplish a beautifully painted piece of furniture.
- White Lighting wood furniture cleaner
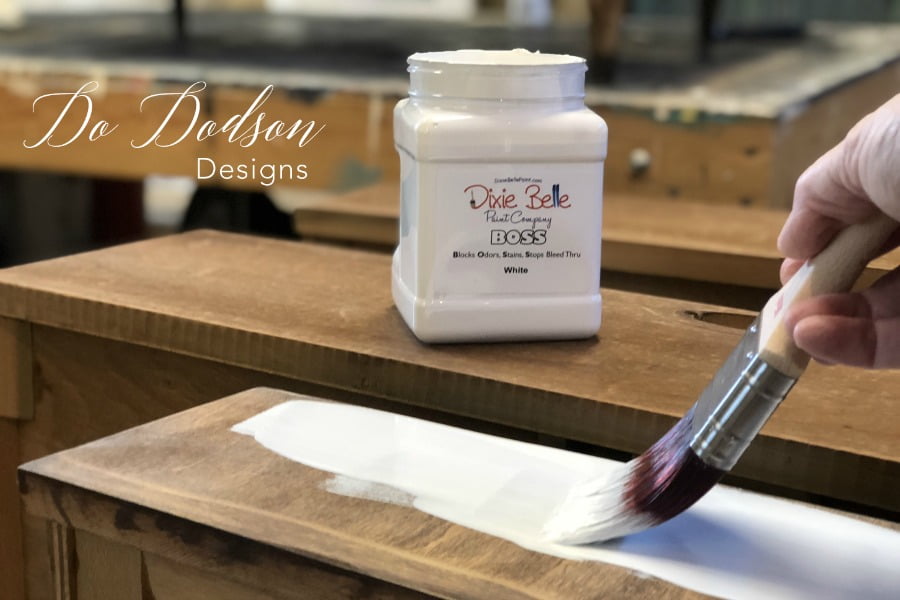
- BOSS (block odors and stains) prevents bleed-through, especially with white paint!
- Mini Angle Paint Brush
- Cotton Mineral Chalk Paint
- Gator Hide (water-resistant sealer)
- Spray bottle (for White Lighting solution)
- Fine Spray Mist Bottle (for water)
- Hardware
Prepping Before Furniture Painting
STEP 1: I start by removing dirt, grime, food, oils, and other buildup that can accumulate on furniture and prevent the paint from adhering properly. I use a product called White Lightning by Dixie Belle Paint Co. It comes in a crystal form. I simply mix it in warm water and add it to my spray bottle. Then I spray a liberal amount of the solution over the exterior of the furniture. Only the paintable parts. With a soft cotton cloth, I wipe back all the built-up gunk. Even if you think your furniture is clean, I challenge you to try this. It removes the stuff you can’t see, and that’s important for a great finish. You may need to repeat this step several times until it is clean.
Next, you will want to remove any residual White Lightning (wood furniture cleaner) from the wood using water. I like a spray bottle filled with water once again because it’s fast and easy.
STEP 2: Now that your furniture is all clean, it is a good time to inspect the piece. Does it have any rough areas that need to be sanded? This step isn’t necessary if your piece is in good condition. If the finish is old and uneven, use 220-grit sandpaper to smooth rough areas, then wipe down with a cotton cloth to remove any leftover dust from sanding.
Applying A Stain Blocker |Always a good Idea
STEP 3: Next, apply 1 to 2 coats of a high-quality primer/stain blocker. My go-to choice is Bonding BOSS by Dixie Belle Paint Co., and I absolutely love it! It’s available in clear, white, and gray, but since I’m painting this particular piece a beautiful shade of white, using the white version of BOSS just makes perfect sense. Applying the white BOSS primer will not only make covering the dresser with white chalk mineral paint incredibly easy, ensuring a flawless finish, but it also acts as a crucial protective barrier against any pesky stains or stubborn wood tannins that might otherwise seep through and ruin all of your hard work, keeping your project looking its absolute best for years to come.
Furniture Painting Made Easy With Dixie Belle
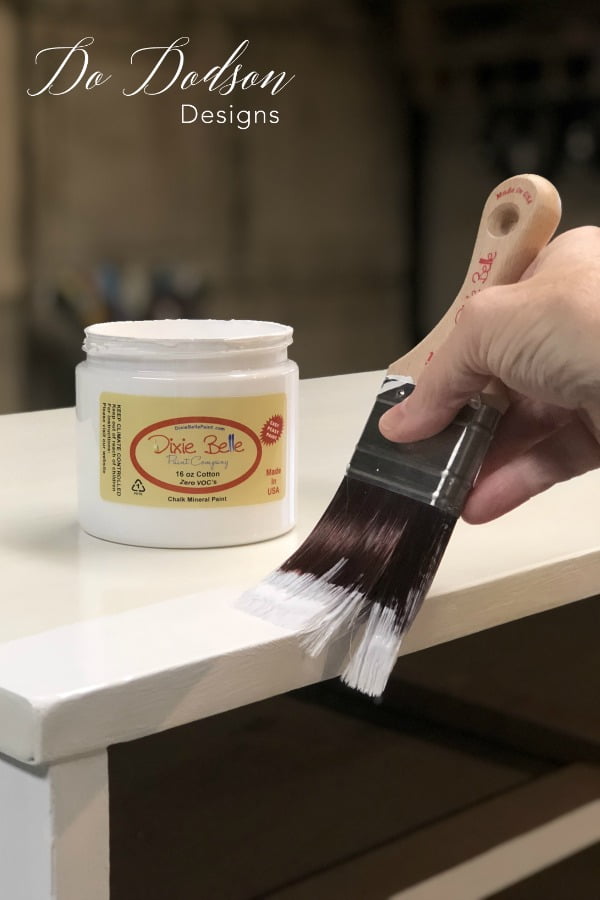
Today’s furniture painting projects are simpler and more accessible than ever before! The advancements in paint technology have revolutionized the process, and I am thrilled to share that my absolute favorite and go-to choice for achieving stunning results time and time again is Dixie Belle’s Chalk Mineral Chalk Paint. What makes this paint so special? Simply put, it’s smooth, creamy, and incredibly easy to apply, making even the most ambitious furniture makeover dreams a reality, no matter your skill level.
STEP 4: Apply two to three coats when painting. When using a lighter shade, it will take three coats for full coverage. The paint will fully cure in 30 days, and no sealer is necessary if you love a matte finish. But because it’s white, I suggest using a good topcoat for extra protection. Even a beginner can master this look! That’s it! It’s good to go!
Get A Smooth Paint Finish Every Time
Want to learn how to get a smooth finish on your painted furniture with chalk mineral paint? CLICK HERE for the video. 🎥
Furniture Painting Inspo
Want more painted furniture inspiration? Check out the links below.
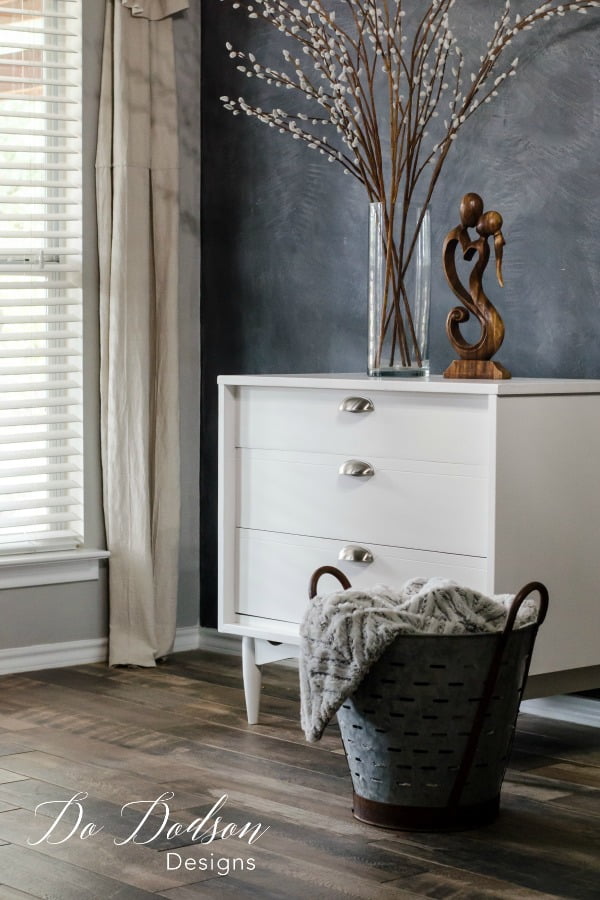
A Classic Look That’s Hard To Beat
Even after the meticulous painting process was finished and the beautifully transformed furniture piece was carefully moved back into my home, it seems my little, silly kitten remains utterly captivated! The photobombing antics are truly reaching new heights of adorable chaos – a perfect testament to the piece’s irresistible charm and our furry friend’s unwavering affection! Silly kitten.
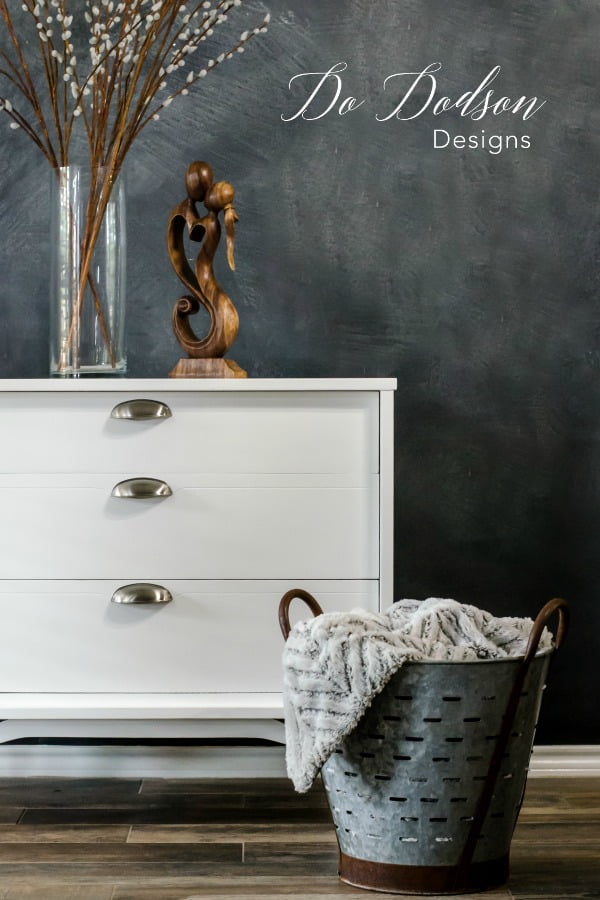
New Hardware | New Look
This project was a custom-painted furniture order that was a little outside my norm. The hardware wasn’t what I would have chosen for this Mid-Century Modern side table. My painted furniture designs are not average or basic. I like “a little more.”
But, I firmly believe that the careful selection of hardware by my client and the thoughtful placement of it were absolutely instrumental in infusing this refurbished piece with a fresh, charming, and undeniably authentic country vibe. This simple yet impactful choice truly transformed the furniture into something that is not only aesthetically pleasing but also deeply unique and special, capturing the essence of rustic elegance and timeless charm.
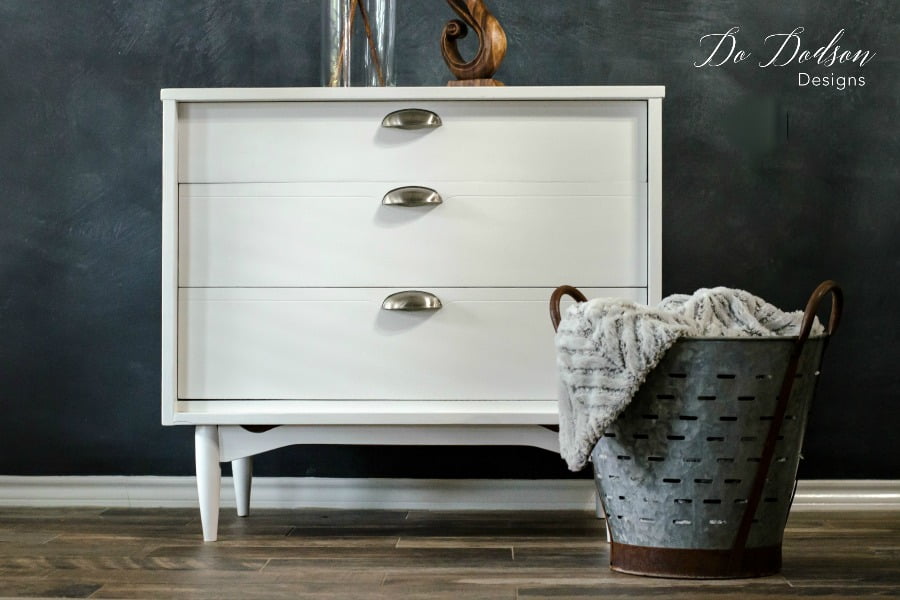
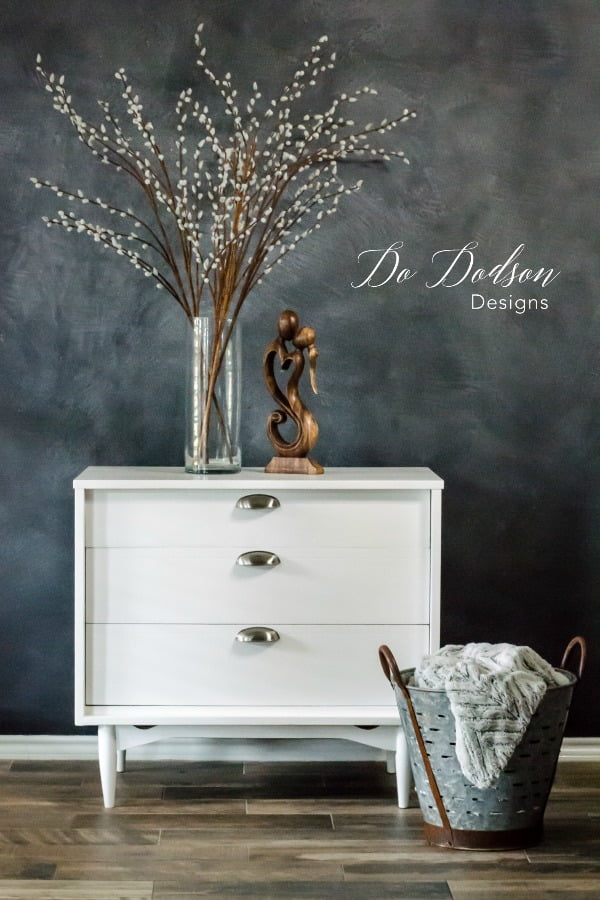
Simple White Elegance
I am absolutely thrilled with how this Mid-Century Modern piece has been transformed, infusing it with such a charming country vibe. It’s truly remarkable how white furniture paint and cup pulls can bring about such a significant and delightful change. This fusion of modern and country aesthetics is simply enchanting, creating a look that is both stylish and heartwarming. Personally, I find myself drawn to this “country girl goes to town” aesthetic, and yes, without a doubt, that perfectly describes my own personal style! Ha!
Did you know that white is one of the hardest shades to paint with? I’ve got some help to take it to another level. CLICK HERE to watch my FREE video tutorial. 🎥
I truly hope that you found this simple yet straightforward furniture painting tutorial incredibly helpful and that it empowers you to confidently tackle your own furniture makeover projects, resulting in beautiful, long-lasting results you’ll be proud to showcase in your home for years to come. Happy painting!
Until the next project… xo, Do