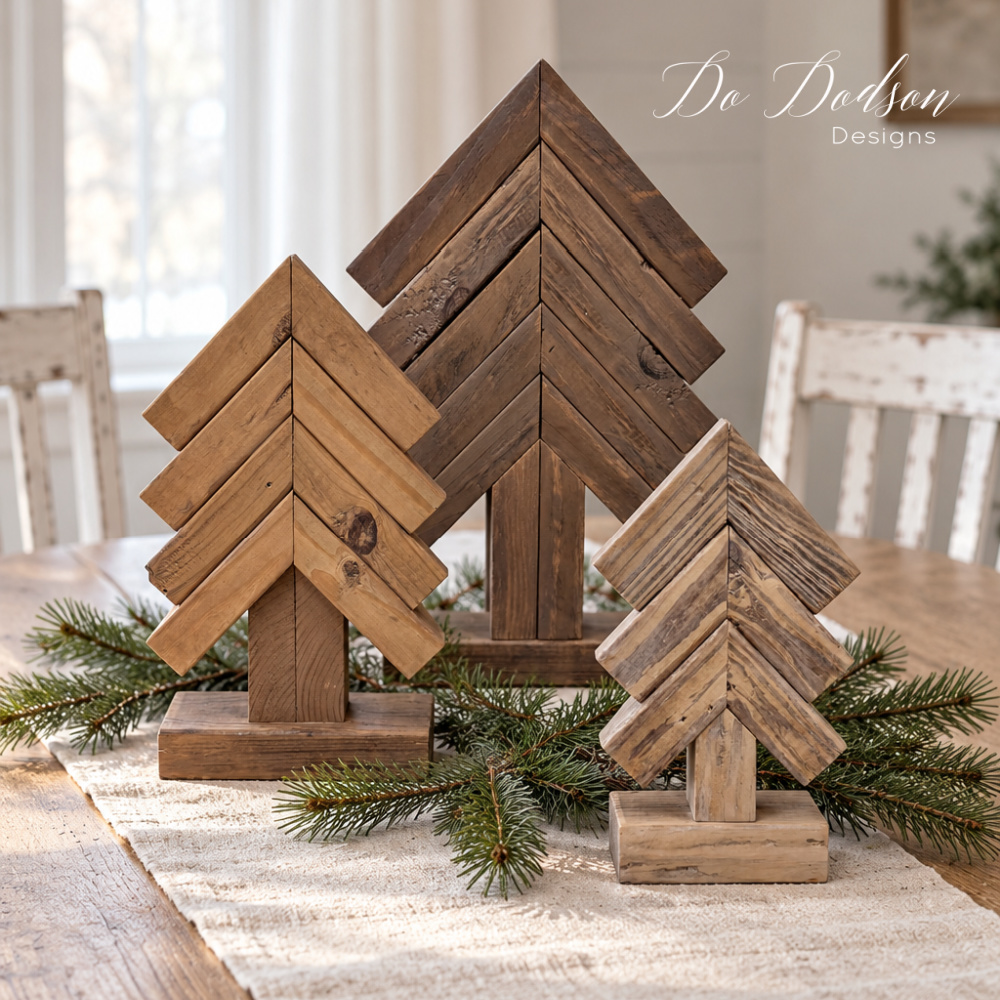

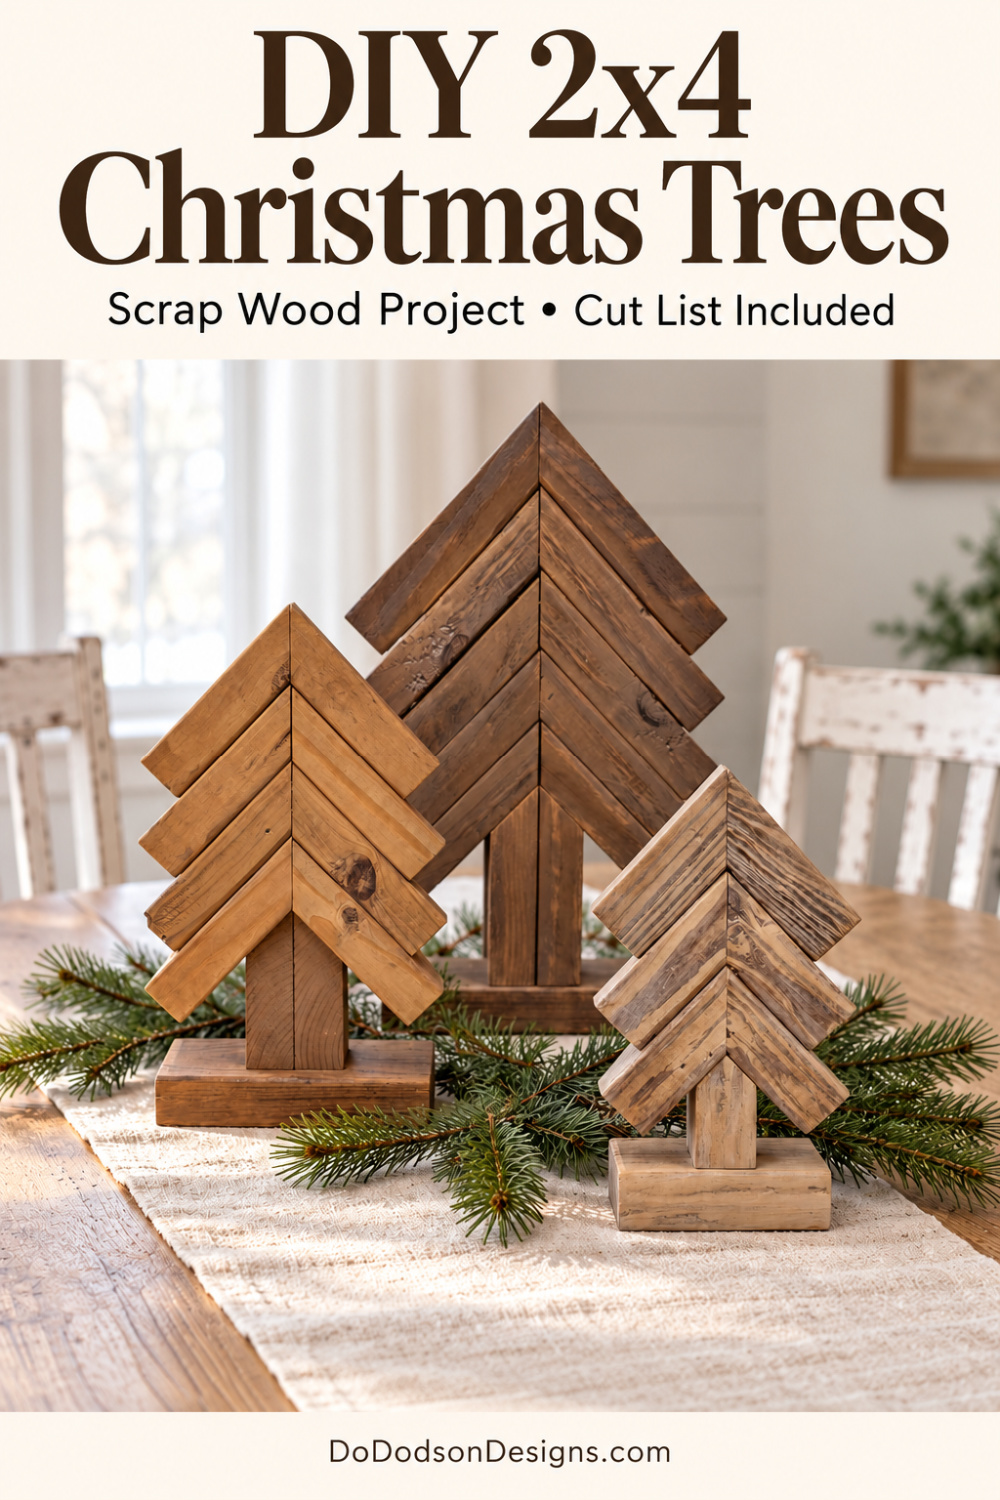
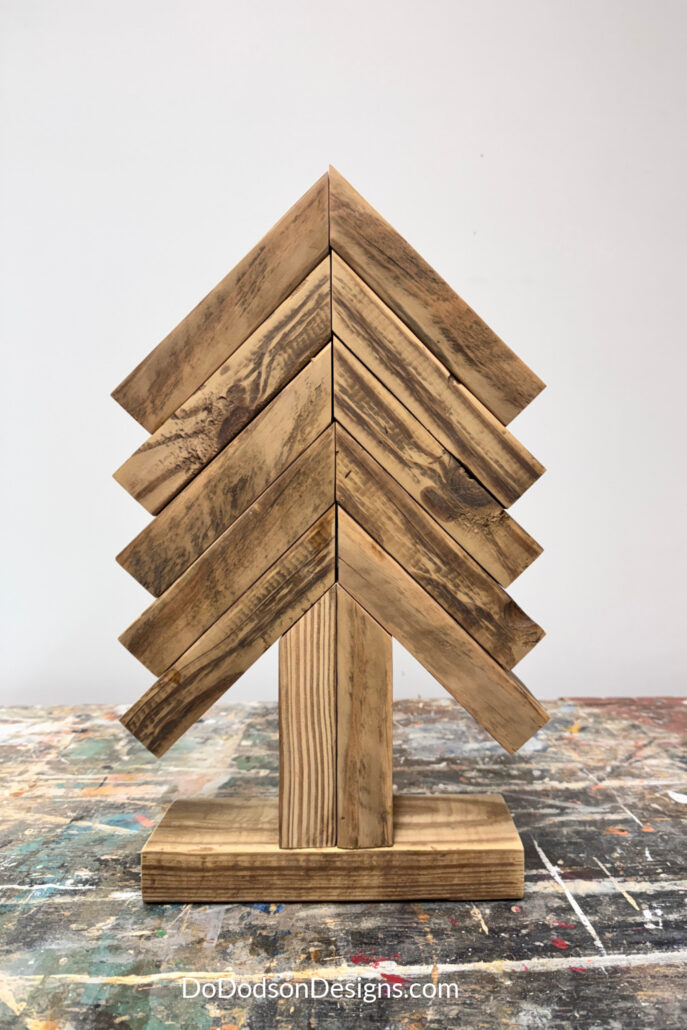
This DIY 2×4 scrap wood Christmas tree project is exactly why I refuse to throw away those leftover boards. Some people see a scrap pile. I see Christmas decorations that haven’t happened yet.
These trees might look complicated, but you only need two types of cuts: straight and 45-degree. I made mine in three sizes for a trio display, and once the pieces were cut, it was a matter of arranging, gluing, and nailing them together. That scrap pile is about to earn its keep!
Below, I’ll share the cut list for each size and show you how I put them together so you can make a trio of your own.
* As an Amazon Associate, I earn from qualifying purchases and through other companies as well. You will not be charged extra when you purchase through these affiliate links, but any income I make helps me create more amazing DIY projects to share with you! To see my full disclaimer, click here!
Supplies and Tools
Gather your supplies before you start. Check that scrap pile first—you might already have most of what you need!
- 2×4 scrap wood for the branches, trunks, and bases
- Miter saw for straight and 45-degree cuts
- Tape measure and pencil
- Sander and sandpaper 180-220 grit
- Wood glue
- Brad nailer and 2-inch brad nails
- Safety glasses, hearing protection, and a dust mask
For The Colorwash Finish
- VooDoo Gel Stain in Fireside Ash, Whiskey Barrel, and Charred Hickory—or water-based paint thinned with water
- Spray bottle filled with water
- Small chip brush
- Clean, lint-free cloths for wiping away excess color
- Protective gloves
- Optional compatible water-based clear sealer
2×4 Scrap Wood Christmas Tree Cut List
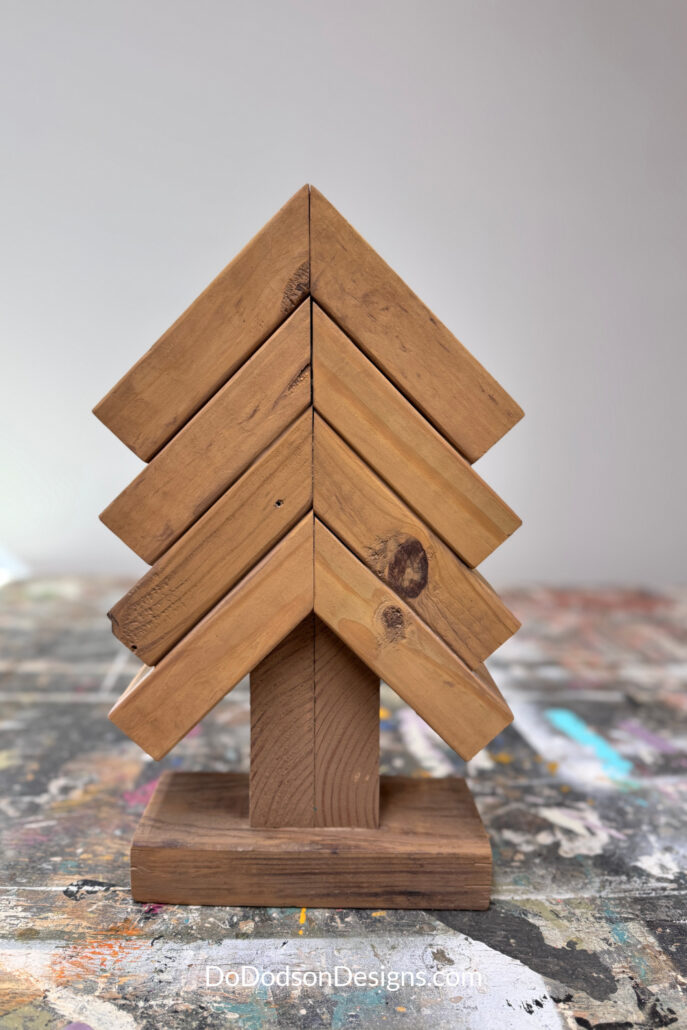
I made three sizes for a trio display. Each pair of angled branch pieces forms one tier: three tiers for the small tree, four for the medium, and five for the large.
Measure all angled pieces from the straight end to the longest point of the 45-degree cut. All pieces listed below are cut from 2×4 lumber.
| Tree size | Branch pieces | Trunk pieces | Base |
|---|---|---|---|
| Small | Six pieces, each 4 inches long | One piece, 3 inches long | One piece, 5 inches long |
| Medium | Eight pieces, each 6 inches long | Two pieces, each 5 inches long | One piece, 8 inches long |
| Large | Ten pieces, each 8 inches long | Two pieces, each 7 inches long | One piece, 10 inches long |
Cut each branch piece with one straight end and one 45-degree end. The medium and large trunk pieces use those same cuts; place the two pieces side by side so the angled ends form a pointed top.
For the small trunk, make two opposing 45-degree cuts that meet at the center to create the pointed top. Cut both ends of each base straight.

How to Make a 2×4 Scrap Wood Christmas Tree
Step 1: Measure and Cut the Wood
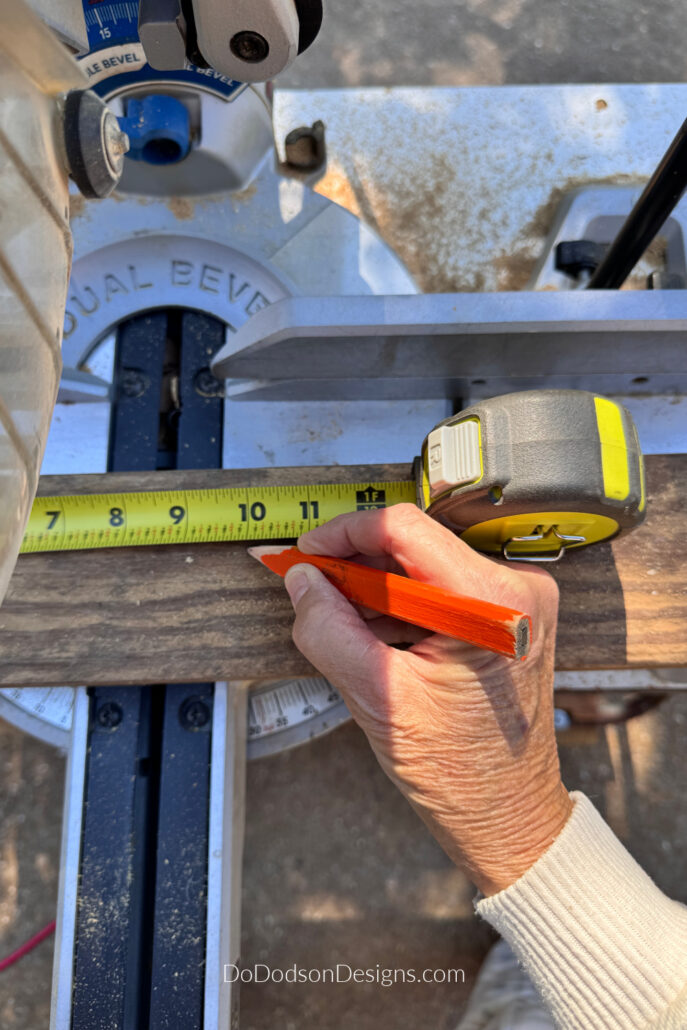
Choose the tree size you want to make and measure your pieces using the cut list above. Mark each length with a pencil, remembering to measure to the longest point of each angled piece.
Use your miter saw to make the straight and 45-degree cuts for the branches, trunk, and base. Keep the pieces for each tree together as you work—especially if you’re making all three sizes.
Step 2: Sand the Wood Pieces
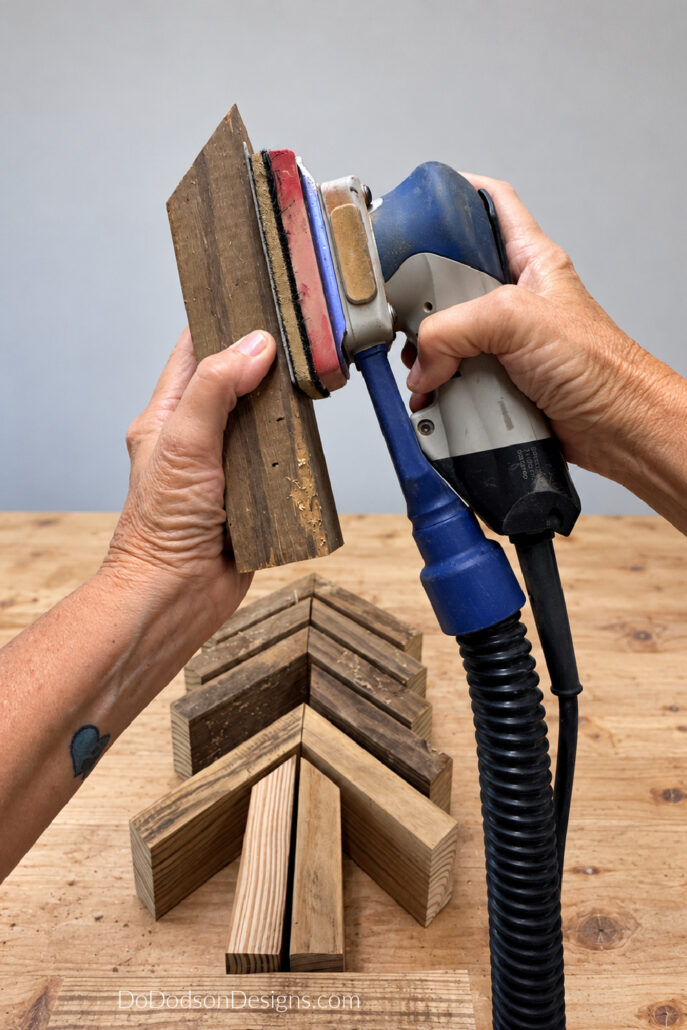
Sand each piece before assembling the tree. It’s much easier to reach the edges and angled ends while everything is still separate.
Smooth any rough surfaces and splinters without rounding over the angled edges where the pieces meet. Those edges need to fit snugly together. Remove the sanding dust before moving on to assembly.
Step 3: Arrange the Tree Pieces
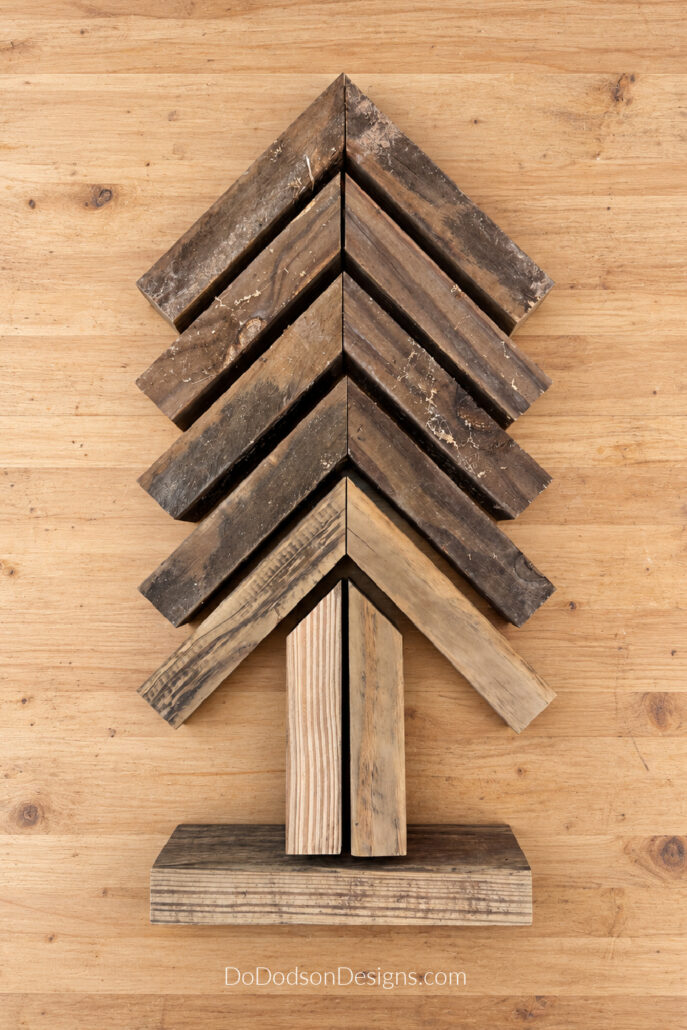
Lay the sanded pieces on a flat work surface before adding glue. Pair the branch pieces with their 45-degree ends meeting in the middle to form an upside-down V.
Arrange the pairs in rows to create the tree shape: three rows for the small tree, four for the medium, or five for the large. Keep the center seams lined up.
Position the pointed trunk beneath the lowest pair of branches, then center the base underneath. Check the fit and make any adjustments now, while everything is still loose.
Step 4: Glue and Nail the Tree Together
Start with the base and work your way up. Center the trunk on the base, apply wood glue where they meet, and secure with 2-inch brad nails from the underside of the base. For the medium and large trees, glue and nail the two trunk pieces together first, with their angled ends forming a pointed top.
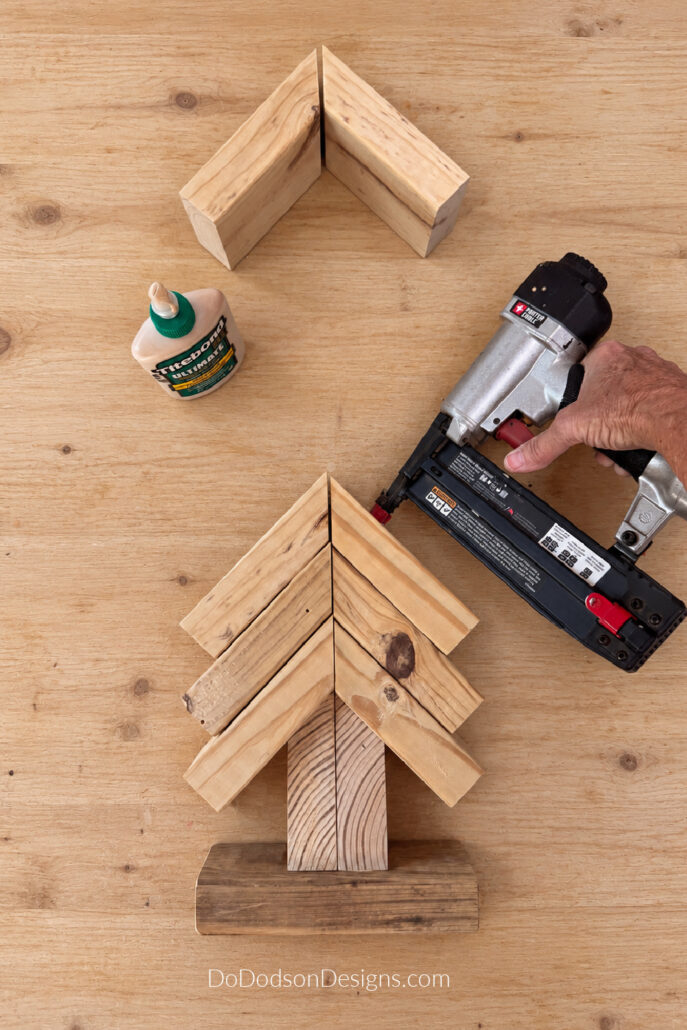
Next, fit the lowest pair of branches around the pointed trunk. Glue the contact surfaces and secure with brad nails.
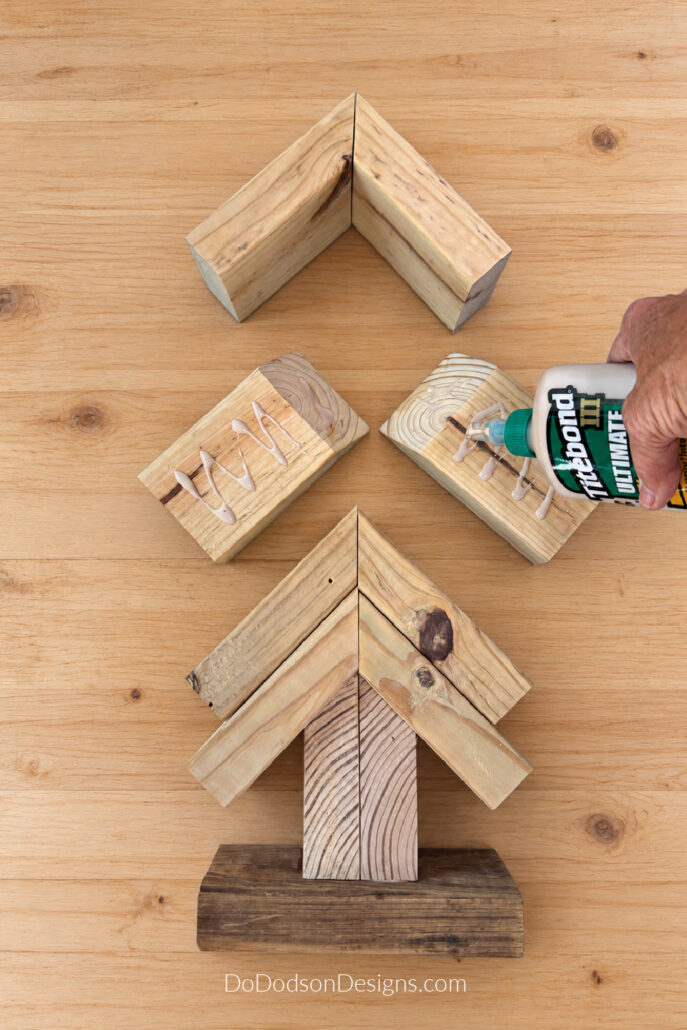
Continue adding the remaining branch pairs, working toward the top. Glue and nail each layer as you go, keeping the center seams aligned.
Wipe away excess glue before it dries, especially if you plan to stain the wood. Allow the glue to cure according to the directions on the bottle before applying your finish.
Step 5: Add a Colorwash Finish
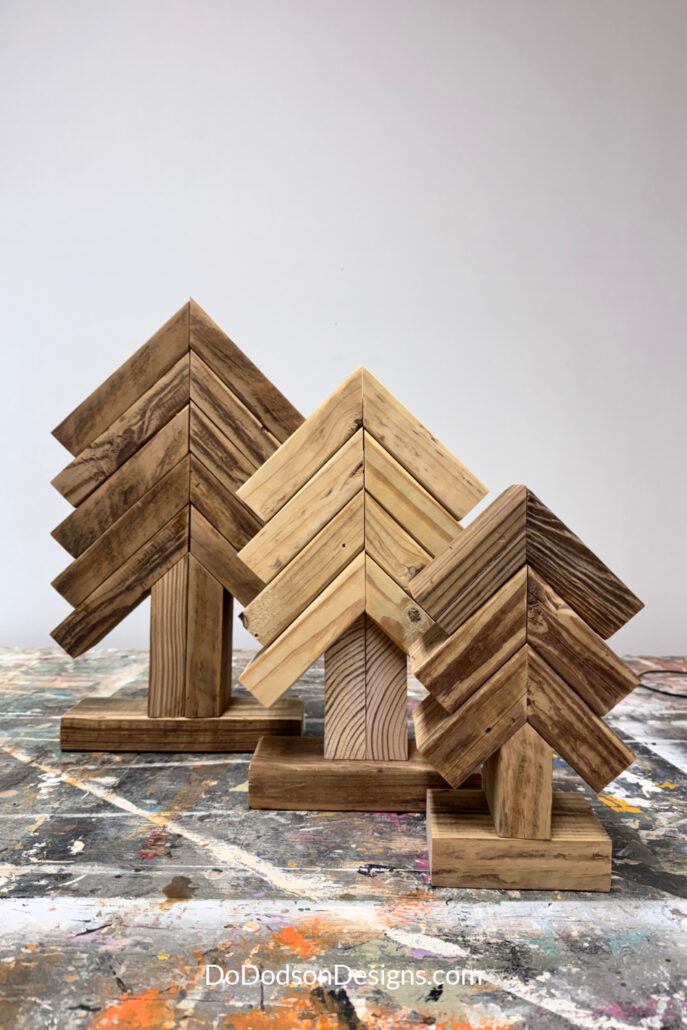
I chose three different colors for my tree trio. A colorwash adds color while letting the wood grain show through—and that scrap wood character is too good to cover up!
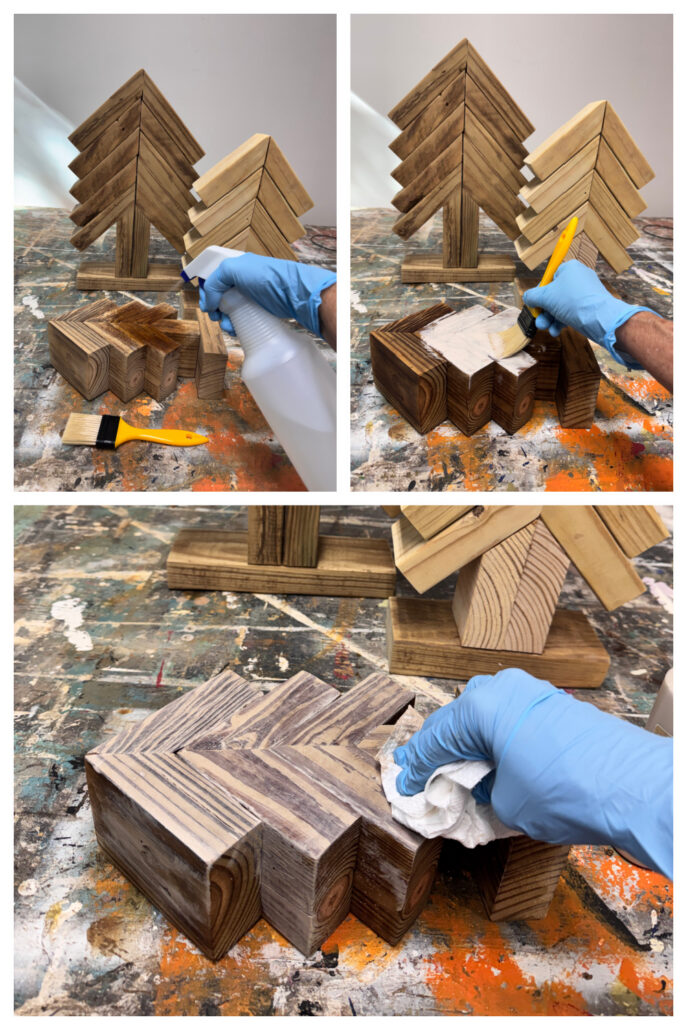
First, I lightly dampened the wood with water from a spray bottle. Then I applied the colorwash with a small chip brush, working quickly to blend it into the wood. Before it dried, I wiped away the excess to reveal the grain underneath.
If it looks too light once dry, repeat the process to build up the color.
You don’t have to use the same product I used. You can also create a colorwash by thinning a water-based paint with water. Test it on a leftover piece of your wood first to find a color and consistency you like. The color options are endless—which explains why choosing three took me longer than expected!
For my trio, I used Dixie Belle’s VooDoo Gel Stain in Fireside Ash, Whiskey Barrel, and Charred Hickory. You can use these colors or try the technique with a watered-down, water-based paint in shades that suit your Christmas decor.
- Dampen the wood with the spray bottle.
- Apply and blend the color with the chip brush.
- Wipe back the excess to reveal the wood grain.
Display Your Scrap Wood Christmas Tree Trio
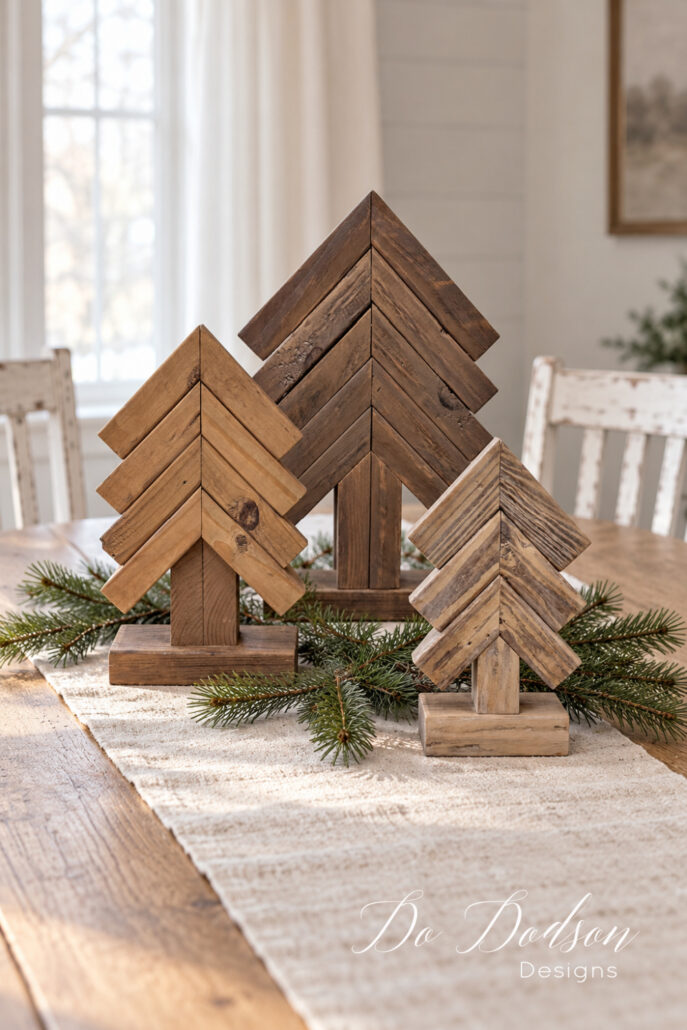
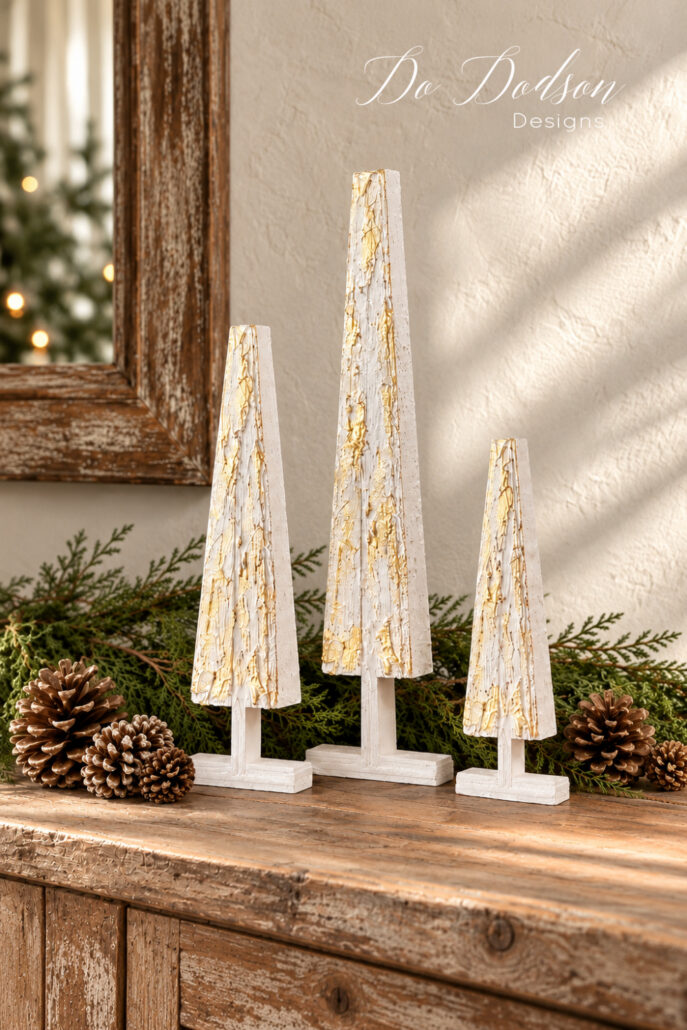
Once the colorwash is dry, it’s time to put those scraps on display! Group the three sizes on a mantel, entry table, or shelf, with the tallest tree toward the back and the smaller trees slightly forward.
The different colors let each tree stand out while the wood grain ties the trio together. Keep the styling simple so those chunky branches and all that scrap wood character get their moment.
And this is why we save the little pieces of wood, friends. Christmas was hiding in that pile all along.
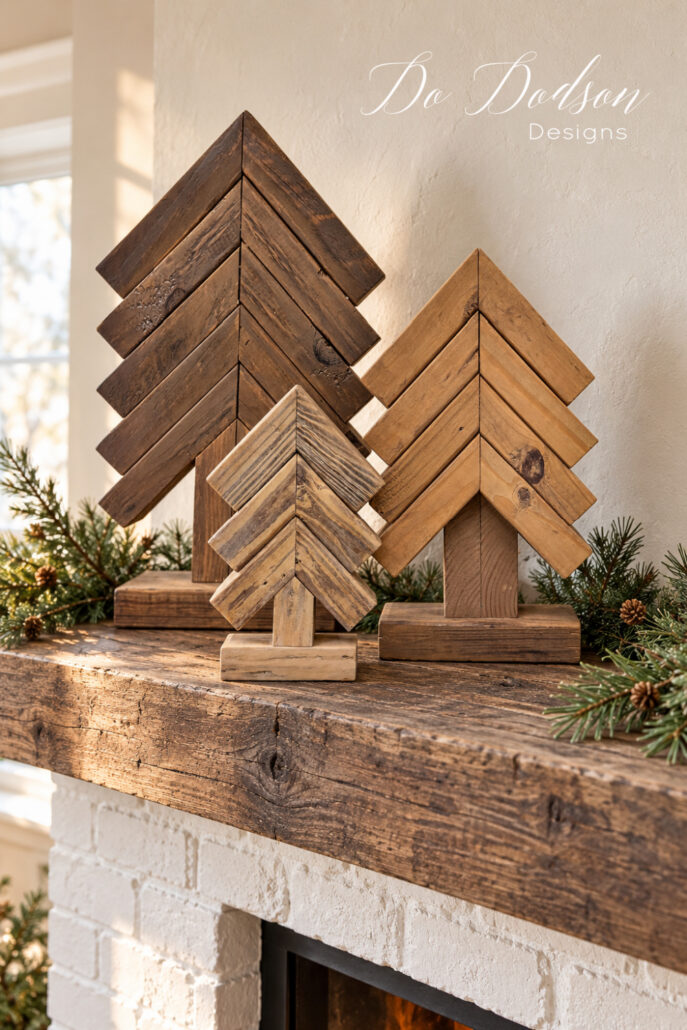
These little trees look right at home on a mantel, too. Add a few pine branches around the bases, and suddenly those leftover 2x4s are acting like they came from a fancy Christmas shop.
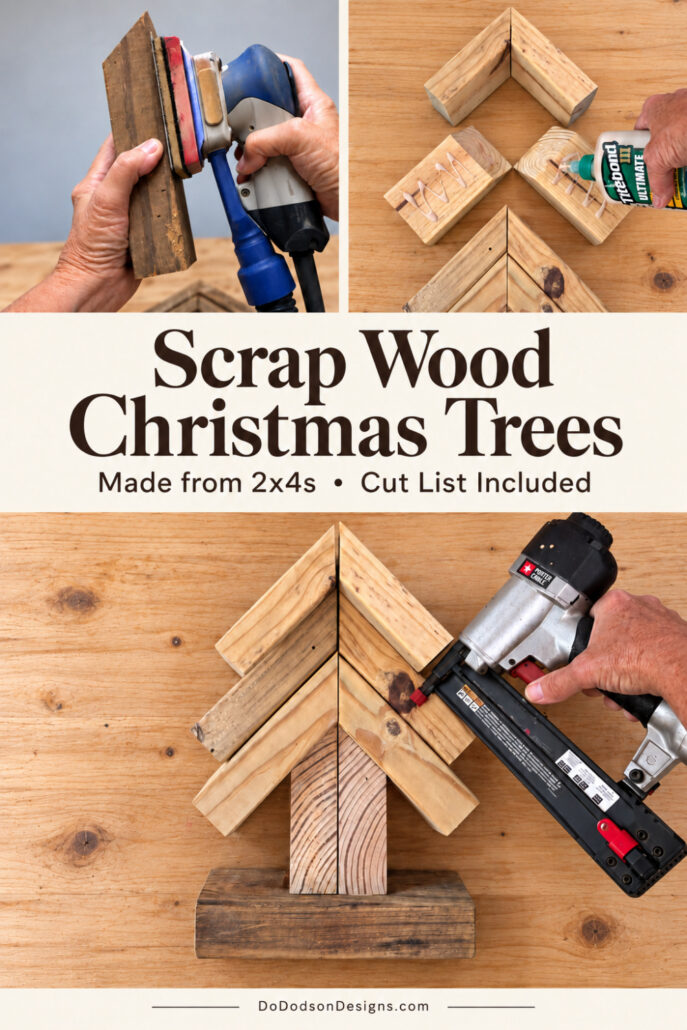
Save 📌 this 2×4 scrap wood Christmas tree idea to your Christmas DIY board, and share it with a friend who also believes no scrap of wood is too small to keep. We’ve got to justify these piles somehow!
Three sizes, three colors, and fewer boards in my scrap pile. I’d call that a successful afternoon! This 2×4 scrap wood Christmas tree project is a fun way to turn leftovers into something you’ll enjoy bringing out each Christmas.
Would you keep yours in wood tones or try a colorful finish? Tell me in the comments—I always love hearing what you’d do differently.
Until the next project, keep those scraps. Apparently, we’re growing forests now.
xo, Do
Don’t forget: Pin 📌 the tutorial now so you can find the cut list when you’re ready to turn that “I might need it someday” pile into Christmas trees!
More DIY Christmas Wood Projects
Still have wood left in that scrap pile? Here are three more ways to put it to work this Christmas:
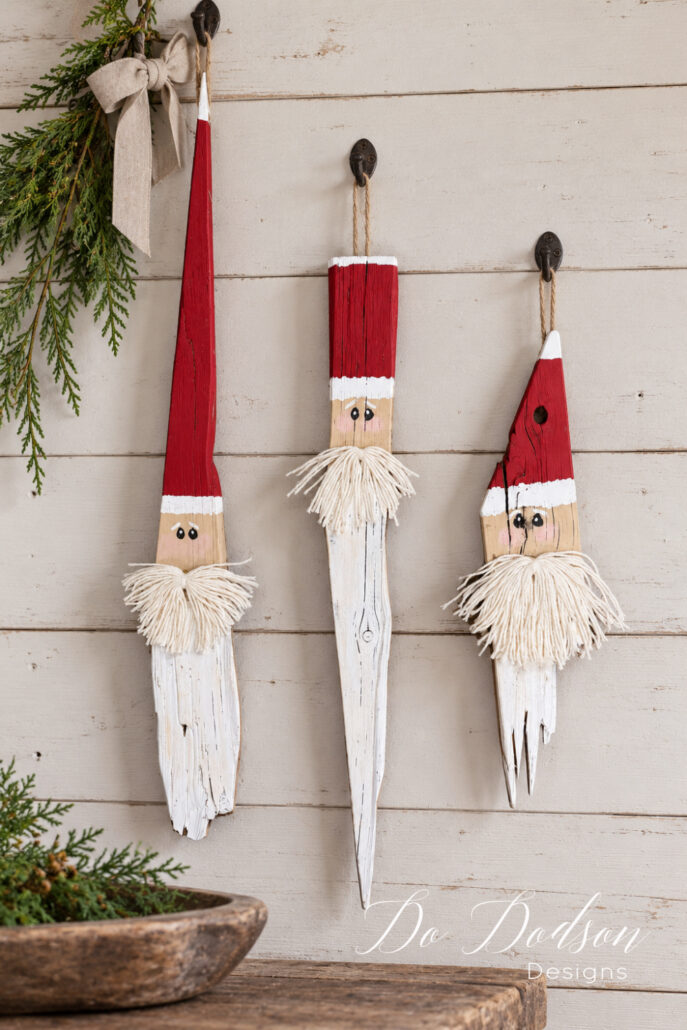
- Scrap Wood Santa Claus — Turn leftover wood into a few cheerful Santas for decorating or gifting.
- DIY Wood Shim Christmas Trees — Make another little forest using wood shims for farmhouse Christmas decor.
- DIY Wooden Nativity Stable — Create a simple rustic backdrop for your favorite nativity figures.