Every summer, I look forward to the big pink blooms on my hydrangeas. But their beauty doesn’t end when that bright summer color begins to fade. As the flowers age, they take on the prettiest shades of soft green, blush, and cream—almost as if they know fall is on its way.
Instead of leaving those beautiful blooms in the garden, I decided to bring a few indoors and preserve them. Learning how to dry hydrangeas is surprisingly simple, but timing makes all the difference. Cut them too early, and those soft petals may wilt. Wait until the blooms feel slightly papery, and they can dry beautifully while holding their shape and much of their naturally faded color.
In this tutorial, I’ll show you how to tell when your hydrangeas are ready, how to prepare the stems, and how to use the simple vase-and-water method to dry them. I’ll also share a few easy ways to decorate with dried hydrangeas for fall—because free décor from the garden is hard to beat!
Waiting until hydrangea blooms have matured and begun to dry on the plant is key to better results, according to the University of California Agriculture and Natural Resources and the UConn Home Garden Education Office.
* As an Amazon Associate, I earn from qualifying purchases and through other companies as well. You will not be charged extra when you purchase through these affiliate links, but any income I make helps me create more amazing DIY projects to share with you! To see my full disclaimer, click here!

When Is the Best Time to Cut Hydrangeas for Drying?
Timing is the secret to successfully drying hydrangeas. It can be tempting to cut those big, colorful blooms while they’re still fresh, but flowers gathered too early usually wilt instead of drying beautifully.
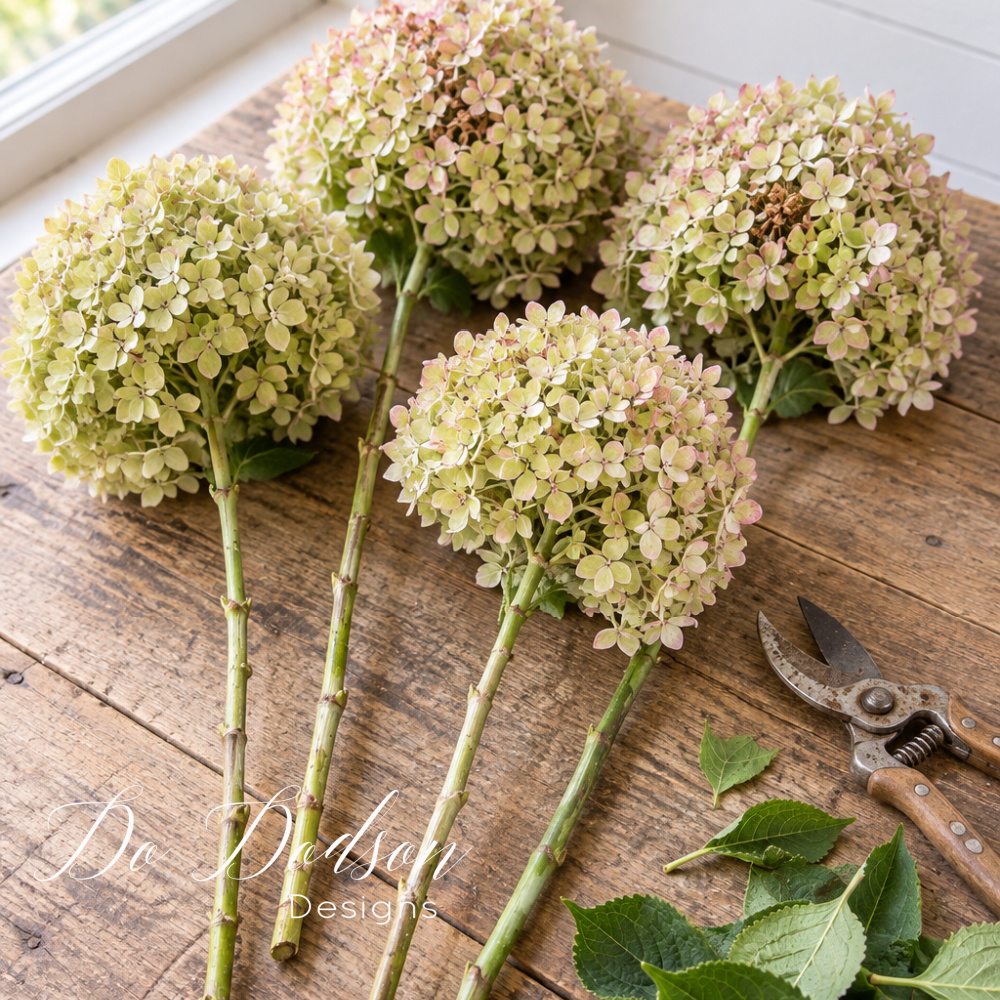
Wait until the blooms have begun to age naturally on the plant. Mine begin as vibrant pink flowers before gradually fading into lovely shades of green, cream, and blush. At this stage, the petals feel firmer and slightly papery rather than soft and delicate.
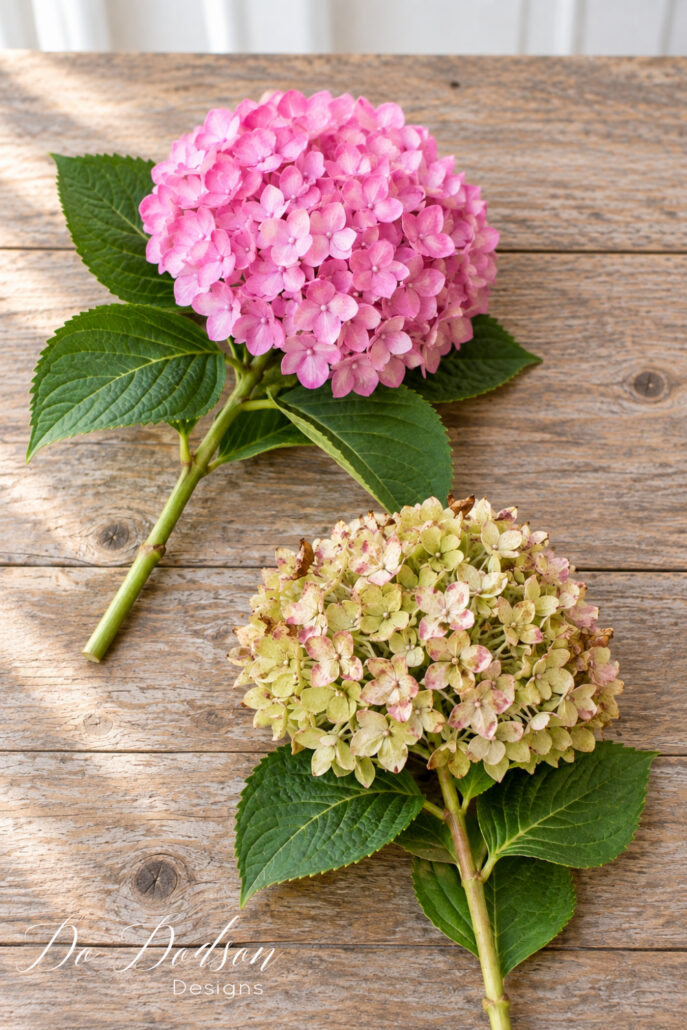
Here are a few signs that your hydrangeas are ready to cut:
- The original flower color has started to fade.
- The petals feel dry and papery when gently touched.
- The flower head feels firm instead of soft.
- A few petals may have brown or imperfect edges.
- The stem feels sturdy and has begun to look woody.

Don’t worry if the flowers no longer look perfect. Those faded colors, curled petals, and tiny brown edges give dried hydrangeas their beautiful vintage appearance. According to the University of California Agriculture and Natural Resources, mature blooms with a papery texture are the best candidates for drying.
What Is the Best Time of Day to Cut Hydrangeas?
The best time to cut hydrangeas is early in the morning, after the dew has dried but before the day begins to heat up. The stems and blooms are better hydrated at this time, which helps prevent them from wilting immediately after cutting.
This is especially important here in Texas, where the afternoon heat can quickly stress freshly cut flowers. Avoid gathering blooms during the hottest part of the day or immediately after heavy rain. Wet flowers may develop brown spots or dry unevenly.
If the plant looks thirsty, water it deeply the evening before you plan to cut the blooms. By morning, the stems should be well hydrated and ready to bring indoors.
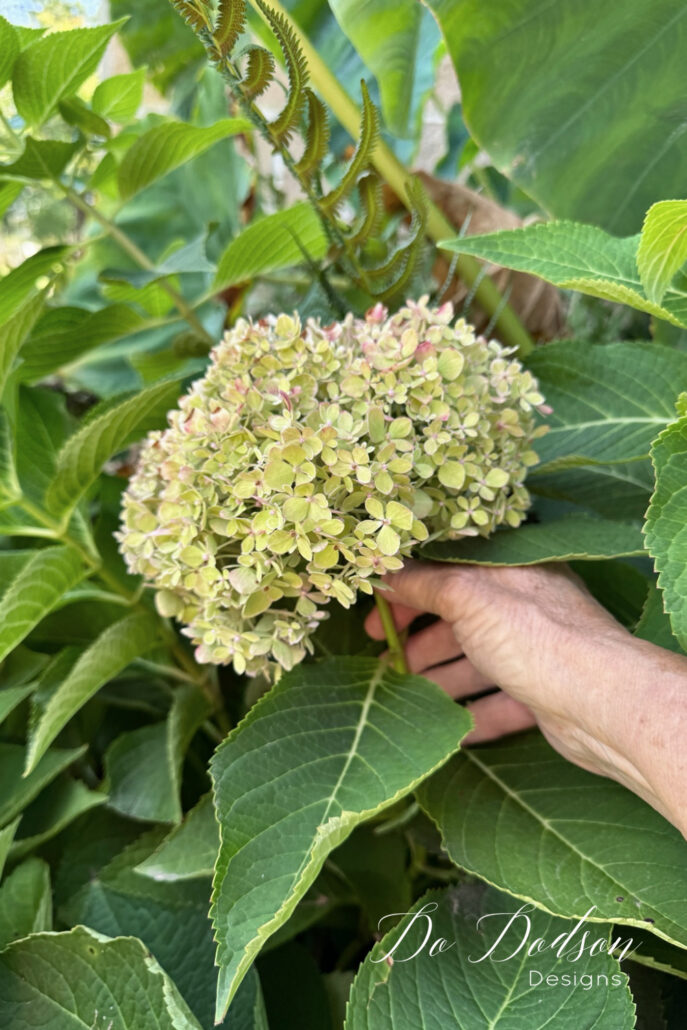
How to Cut Hydrangeas for Drying
Once you’ve found blooms with faded color and papery petals, it’s time to cut them. You’ll only need a clean pair of sharp garden pruners and a container to carry the flowers indoors.
- Choose a mature flower head that feels firm and slightly dry.
- Follow the stem down from the bloom and cut it approximately 12 to 18 inches long.
- Make a clean, angled cut just above a leaf node.
- Remove all the leaves from the lower portion of the stem.
- Place the cut stem in water while you gather the remaining blooms.
Be careful not to cut too deeply into the shrub just to get an extra-long stem. Depending on the type of hydrangea you grow, next year’s flower buds may already be forming on the older wood. I would rather work with a slightly shorter stem than accidentally sacrifice one of next summer’s beautiful blooms!
Removing the lower leaves is important because foliage left beneath the water can decay. The bare stems also allow the hydrangeas to become the star of the finished arrangement.
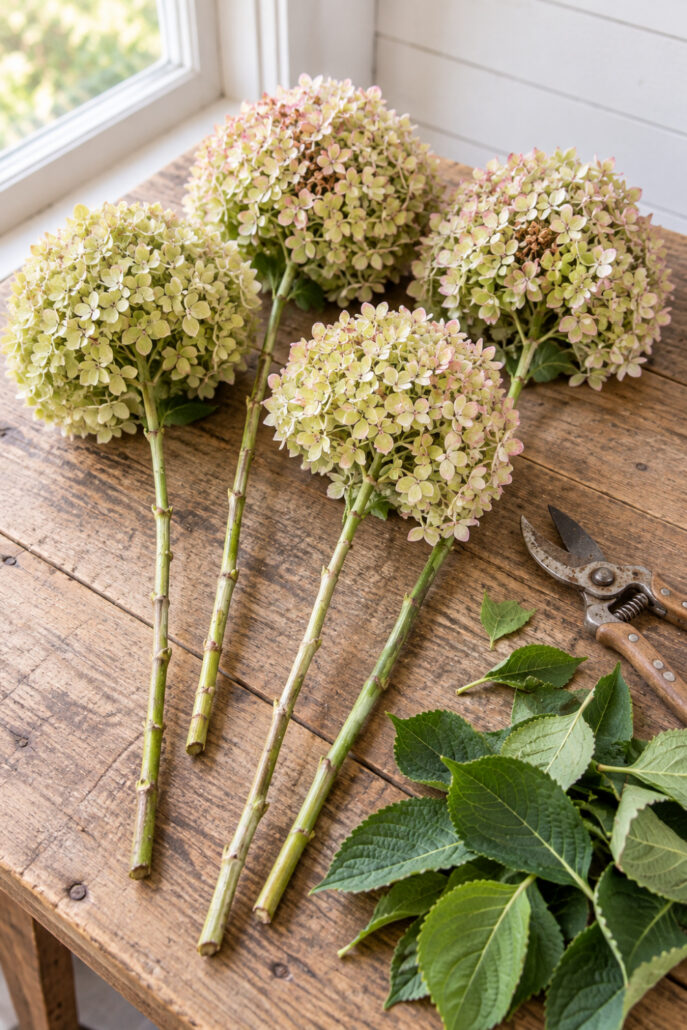
How to Dry Hydrangeas Using the Vase-and-Water Method
The vase-and-water method is my favorite way to dry hydrangeas because it allows the blooms to dry gradually while maintaining their shape and naturally faded color. It sounds backward to place flowers in water when you want them to dry, but the small amount of water slows the process and helps prevent sudden wilting.
Supplies You’ll Need
- Mature hydrangea blooms
- Clean garden pruners
- A tall vase or container
- Room-temperature water
Step-by-Step Instructions
- Add approximately two to three inches of room-temperature water to a clean vase.
- Arrange the prepared hydrangea stems loosely inside the vase. Give the blooms a little breathing room rather than packing them tightly together.
- Make sure no leaves are sitting below the waterline.
- Place the vase indoors in a cool, dry area away from direct sunlight.
- Allow the water to evaporate naturally as the flowers begin to dry.
- Once the water is gone, leave the hydrangeas in the vase until the petals feel completely dry and papery.
Avoid placing the vase in a sunny window or a humid room. Direct sunlight can fade the blooms, while excess humidity can slow the drying process. Here in Texas, I prefer drying mine inside the house rather than in a hot garage or outdoor space.
If the water disappears before the flowers have begun to feel dry, add just a small amount more. The goal is gradual drying—not keeping the hydrangeas fresh in a full vase of water.

How Long Does It Take Hydrangeas to Dry?
Hydrangeas generally take about one to two weeks to dry using the vase-and-water method. The exact amount of time will depend on the maturity of the blooms, the humidity inside your home, and how much water you added to the vase.
Try not to fuss with them while they’re drying. Hydrangeas can be surprisingly fragile, and repeatedly touching or rearranging the blooms may cause the petals to fall.
You’ll know your hydrangeas are completely dry when:
- The water has evaporated from the vase.
- The petals feel dry and papery.
- The flower heads maintain their shape when gently touched.
- The stems feel dry and firm.
- The blooms no longer feel cool or moist.
If the petals begin to droop or wrinkle instead of holding their shape, the flowers may have been cut too early. Don’t be discouraged—hydrangeas can be a little dramatic! Waiting for those mature, papery blooms gives you the best chance of success.
Why Did My Hydrangeas Wilt Instead of Drying?
The most common reason hydrangeas wilt rather than dry is that they were cut too early. Fresh, brightly colored blooms still contain a lot of moisture, and their soft petals often collapse as they lose water.
Other possible reasons include:
- The vase was placed in direct sunlight.
- The room was too warm or humid.
- The blooms were packed too closely together.
- Leaves were left below the waterline.
- The stems were damaged by dull pruners.
- The flowers had not begun drying naturally on the plant.
If a bloom starts drooping shortly after you bring it indoors, make a fresh angled cut at the bottom of the stem and return it to clean water in a cool location. It may perk back up within several hours.
If it remains limp, it was probably harvested too soon. Consider that bloom your practice run and choose another that feels firmer and more papery. Sometimes the hardest part of drying hydrangeas is simply being patient enough to wait!
How to Keep Dried Hydrangeas From Fading and Shedding
Dried hydrangeas will naturally fade and become more delicate over time, but a little care can help them remain beautiful for many months—or even longer.
Keep your arrangement away from direct sunlight. Bright sunlight can quickly bleach the soft green, pink, and blush colors that make dried hydrangeas so pretty. Choose a dry location away from humid bathrooms, steamy kitchens, heating vents, and frequently opened windows.
Handle the stems whenever possible rather than the flower heads. Those papery petals become fragile once they’re completely dry, and too much rearranging can make them shed.
For added protection, you can lightly mist the finished blooms with a clear floral sealant made for dried flowers. Always test it on one bloom first and follow the product directions. A heavy coating can darken the petals or make them appear stiff, so a very light application is all you need.
To remove dust, use a hair dryer on its lowest, no-heat setting while holding it several feet away. A gentle puff of air is safer than wiping those delicate petals. And honestly, a little dust only adds to their vintage charm—but we’ll call that Plan B!
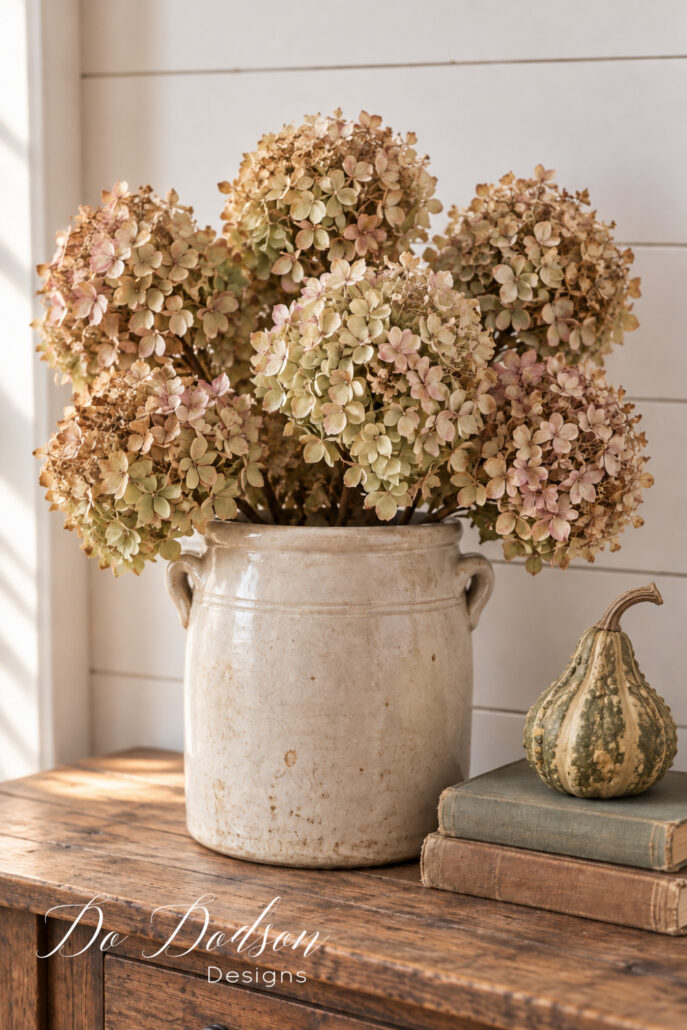
Beautiful Ways to Decorate With Dried Hydrangeas for Fall
Once the hydrangeas are completely dry, the fun part begins! Their muted green, cream, blush, and brown colors blend beautifully with the warm woods, vintage pieces, and natural textures I love using in my fall decorating.
You don’t need an elaborate arrangement. Dried hydrangeas make a statement all by themselves, especially when their naturally imperfect petals are allowed to show.
Fill a Vintage Crock or Pitcher
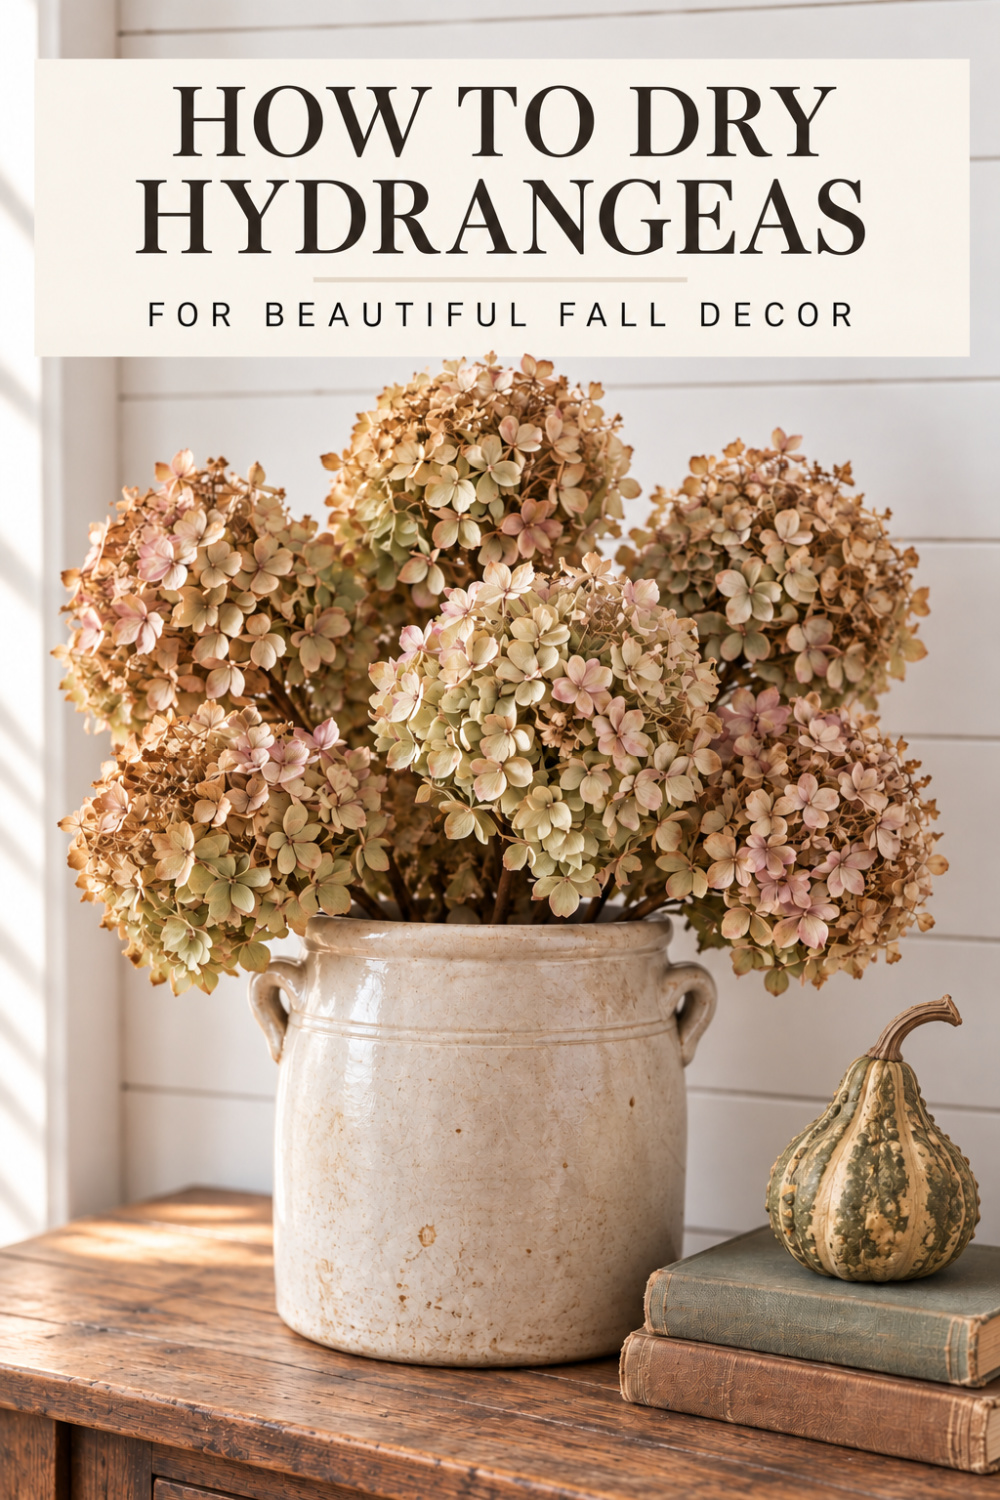
A large vintage crock, ironstone pitcher, or old pottery vessel is one of the easiest ways to display dried hydrangeas. Arrange the stems loosely and let the blooms fall naturally rather than trying to make everything perfectly symmetrical.
I love the contrast between the delicate, papery flowers and the heavier texture of aged pottery. It creates a collected farmhouse look without requiring much additional décor.
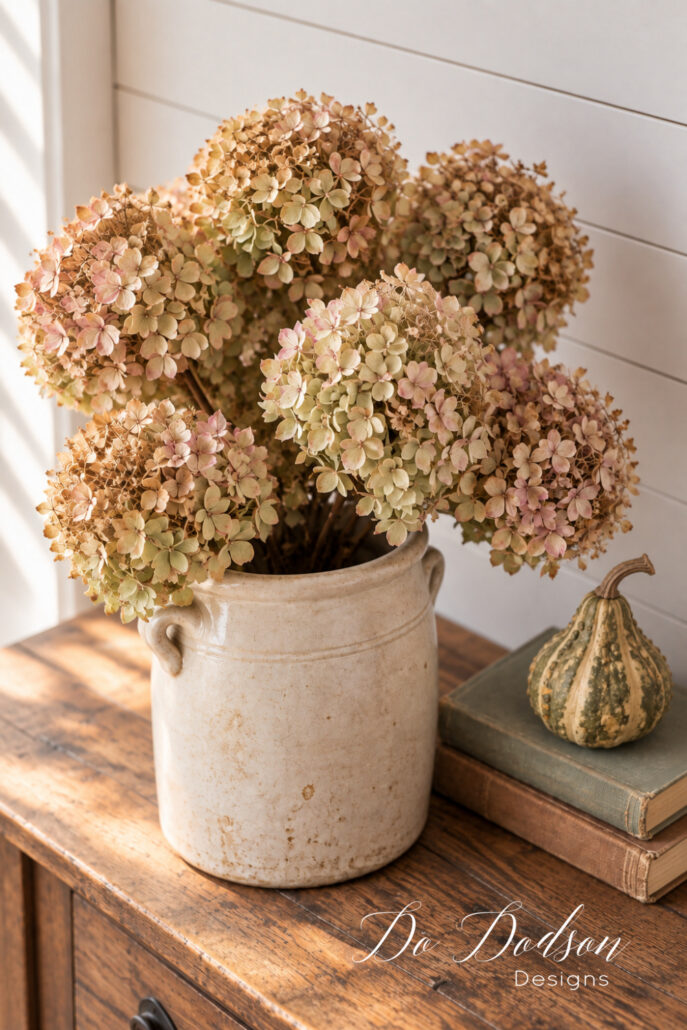
Create a Simple Fall Table Display
Place your hydrangea arrangement on a dining table, console, or coffee table. Add a few vintage books and one real pumpkin or interesting fall gourd for a simple seasonal display.
The secret is knowing when to stop. Hydrangeas are large and full, so they don’t need a parade of pumpkins marching around them to make an impact.
Display Individual Blooms Under Glass
Cut one or two dried flower heads from their stems and place them beneath a glass cloche. An old cutting board, a wooden slice, or a vintage plate can serve as the base.
Displaying dried hydrangeas under glass makes the blooms feel extra special while helping protect their delicate petals from curious hands—and possibly a wagging tail or two.
Add Them to a Basket
A few dried hydrangea stems look beautiful tucked into a vintage basket. Hang the basket on a door, place it on a shelf, or set it beside a chair with a cozy throw.
Use only a few stems and allow them to lean naturally. The relaxed arrangement complements cottage and farmhouse decorating without looking overly styled.
Decorate a Mantel or Shelf
Use individual dried blooms to fill empty spaces along a mantel or open shelf. Pair them with old books, brass candlesticks, pottery, or framed vintage artwork.
Because dried hydrangeas already have so much texture, a few carefully placed blooms are usually enough to make the entire area feel ready for fall.
Frequently Asked Questions About Drying Hydrangeas
Can You Dry Freshly Cut Hydrangeas?
Yes, but the blooms must be mature before they are cut. Hydrangeas that are still brightly colored with soft petals contain too much moisture and may wilt. For the best results, wait until their color has faded and the petals feel slightly papery.
Can You Dry Hydrangeas Without Water?
Hydrangeas can be air-dried by hanging them upside down, but I prefer the vase-and-water method. Allowing the flowers to dry gradually as a small amount of water evaporates helps the blooms maintain their natural shape and color.
How Long Will Dried Hydrangeas Last?
Dried hydrangeas can remain beautiful for a year or longer when kept away from direct sunlight, moisture, and frequent handling. Their colors will continue to soften with age, adding to their vintage appearance.
Why Did My Dried Hydrangeas Turn Brown?
Some browning is a natural part of the drying process. However, excessive browning may happen when the blooms are cut too early, exposed to direct sunlight, or dried in a humid location. Waiting for the blooms to mature and drying them indoors in a cool area will give you the best results.
📌📌📌REMINDER: Planning to dry hydrangeas this fall? Save this tutorial to Pinterest so you can find it when your blooms are ready to cut.

A Little Piece of the Garden to Enjoy All Fall
Learning how to dry hydrangeas is such a simple way to enjoy their beauty long after summer has passed. I love watching my bright pink blooms slowly change into those soft, muted fall colors—and knowing their story doesn’t have to end in the garden.
Here in Texas, fall doesn’t always feel much like fall. The calendar may say September, but the temperature often has other plans! Even with our lingering heat, I can still successfully dry my hydrangeas by waiting until the blooms mature on the plant, then allowing them to finish drying indoors, away from the heat and humidity.
Each dried bloom is a little different. Some remain green and blush, while others fade to cream or develop perfectly imperfect brown edges. Arranged in an old crock or vintage pitcher, they bring natural color, texture, and a bit of the garden indoors without costing a thing.
If you have hydrangeas growing in your yard, don’t be too quick to remove those fading flowers. Give them a little more time, bring a few inside, and let nature create the prettiest fall décor for you—even if it still feels like summer outside.
Love this idea? Save it to your favorite fall decorating or gardening board so you can find it when your hydrangeas are ready to cut.
Until the next project… xo, Do
More Natural Fall Decorating Ideas
If you enjoy bringing natural elements indoors for fall, here are a few more simple ideas. From preserved acorns to real pumpkin stems and handmade fabric pumpkins, each project adds warmth and character without requiring a major build.