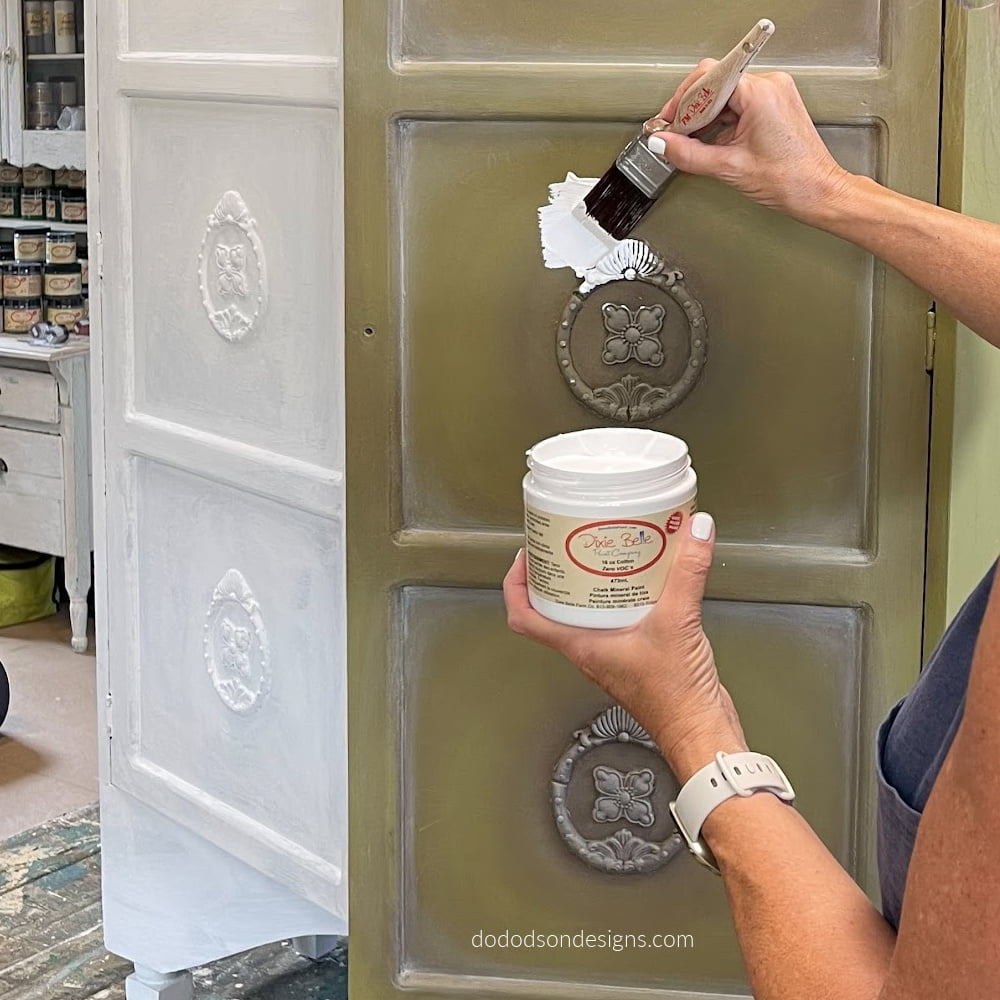
Painting wood furniture can be fun and rewarding when you do it the right way. The last thing you want is for your finish to fail because you missed a crucial step in the prep work. I have a few simple steps I want to share to help you feel confident and at peace with your furniture painting.
This post contains a few affiliate links to help you find the products I use. You are not charged extra for using any of the links, and I will use any income for more fun projects! To see my full disclaimer, click here.
Painting Wood Furniture Prep 101
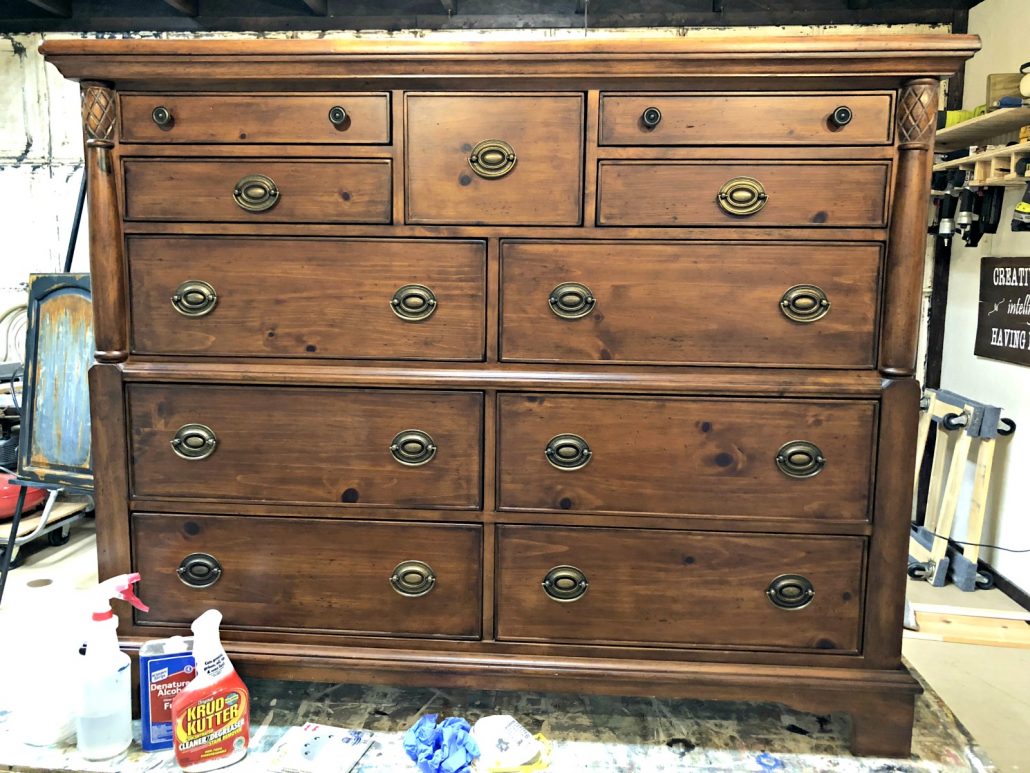
Here are the products that I keep on hand for my prep before painting wood furniture.
- Denatured Alcohol
- Spray Water Bottle
- Krud Kutter
- Old cotton T-shirts (cut up)
- Paper Towels
- Gloves
- Protective Eyewear
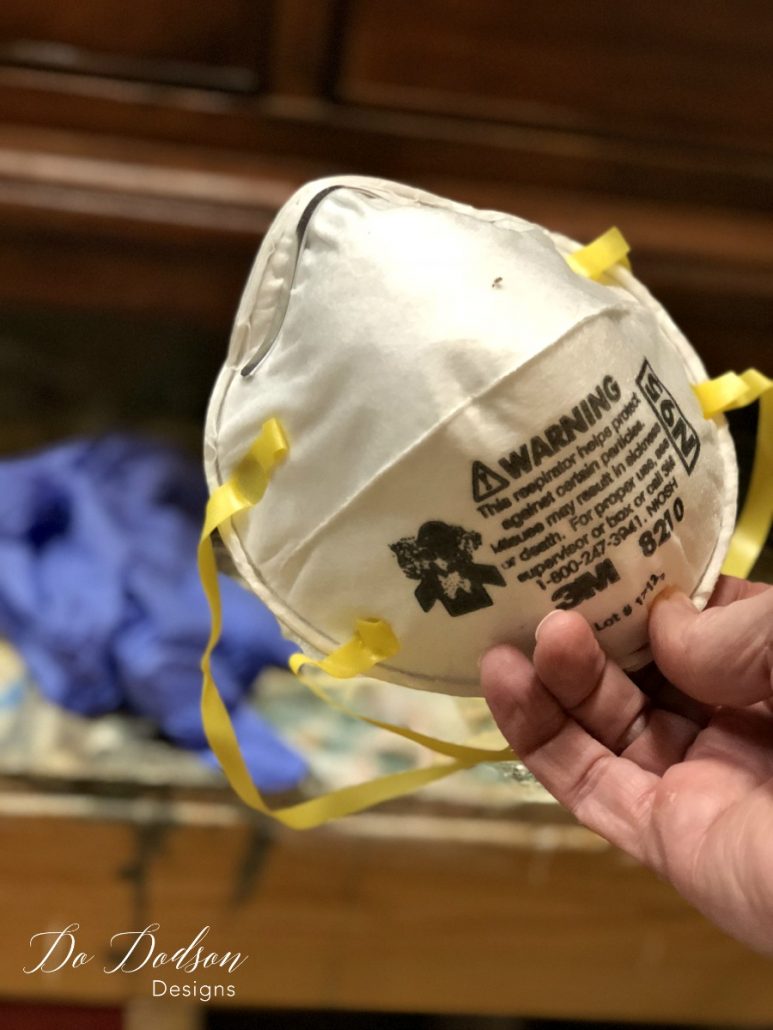
- Dusk Mask
- Sanding block
- Sandpaper 220 grit / 150
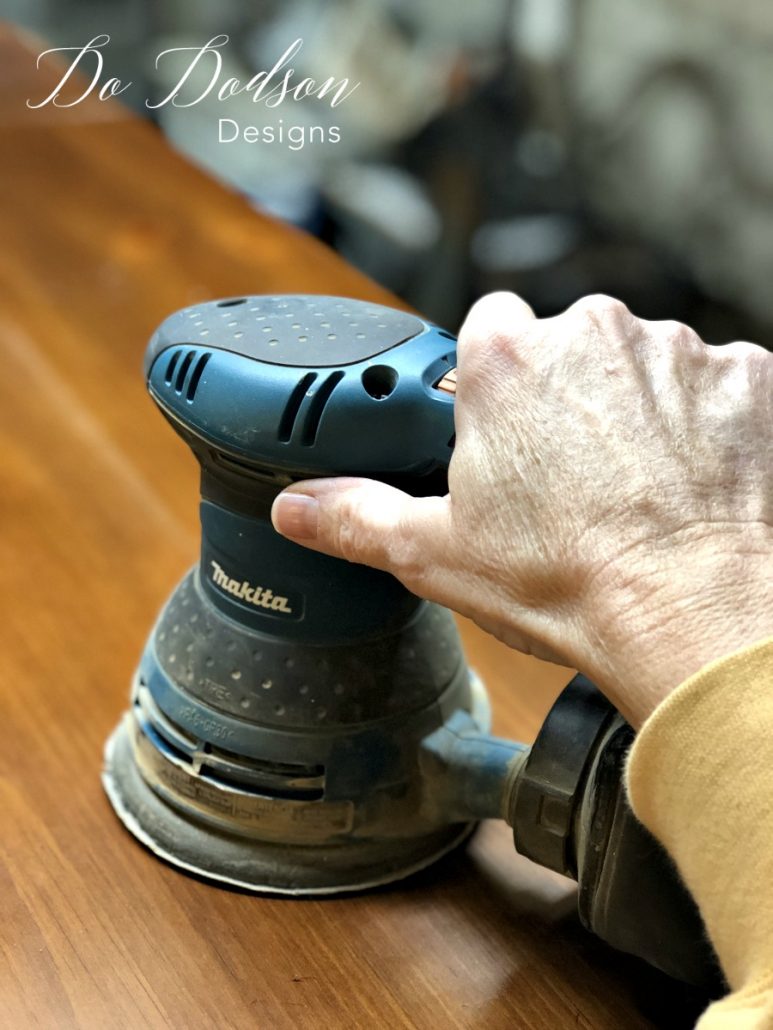
- Makita Orbital Sander
- Sanding discs for a rotary sander
How To Clean Wood Furniture Before Painting
These two products are furniture painters’ best friends! For a simple, clean project, I use a 1:1 mixture of denatured alcohol and water in a spray bottle. I lightly mist the wood surface and wipe it down with paper towels. Sometimes I use recycled T-shirts that I get from garage sales. The mixture will remove oils and any dirt on the surface. The alcohol in the mix will cause the wood to dry quickly, so you can proceed to the next step.
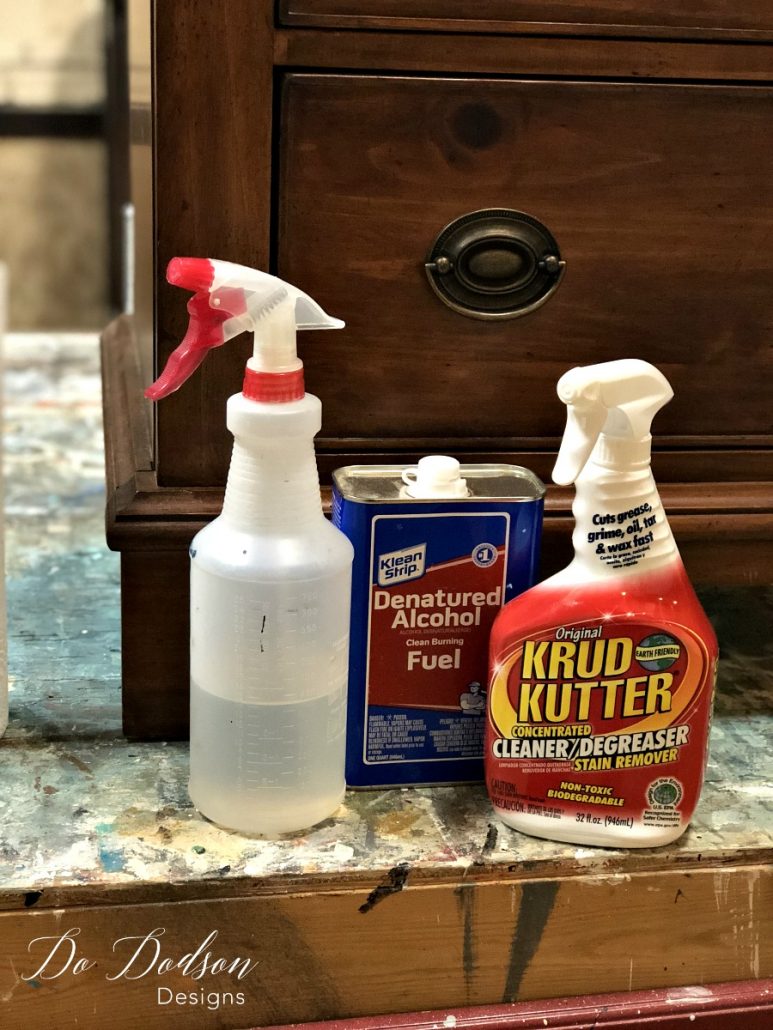
If the wood furniture is filthy (which is usually the case), I use Krud Kutter. You should always follow the directions on the bottle to get the right mixture.
I use a water-and-degreaser mixture in a spray bottle, or apply it in concentrated form. The application is the same as the water-alcohol mixture above.
After cleaning with Krud Kutter, I always wipe down the furniture with a cotton cloth dampened with water to remove any residual degreaser from the surface before painting my wood furniture.
Protective Gear To Use When Prepping Furniture
The main reason to wear a dust mask is to reduce your risk of developing respiratory problems or certain types of respiratory cancer later in life. Please take care of your lungs!
Use protective eyewear when using the sander. The sander can cause flying particles and small wood chips to break away from dry, brittle wood. Protect your eyes when prepping to paint wood furniture.
Once the wood furniture is clean and free of dirt and/or oils, I scuff or lightly sand the wood to create a slightly rough surface. Doing this will prepare the wood surface for paint/primer and ensure it adheres well. Slick surfaces do not hold paint well.
Using a hand orbital sander can make sanding quick and easy. I use the hand sander on the tops and larger areas like the sides. The drawers and hard-to-get-into areas are a little more delicate, so I hand-sand those with a sanding block or sandpaper.
After sanding, I use a water-dampened cloth to remove any residual dust from the wood. Once it is dry, it’s ready to paint.
Here’s a quick video that describes the steps for prepping wood furniture before painting.
Following these few steps can reduce the risk of a finish failing before you paint wood furniture. Trust me when I say I have learned the hard way. The peace of mind is worth the extra steps. If you want to see more wood furniture makeovers, CLICK HERE to see a veneer nightmare makeover!
And if you’re ready to paint, I have a few suggestions for the best paints for furniture makeovers. CLICK HERE to learn more.
Until the next project. xo, Do
