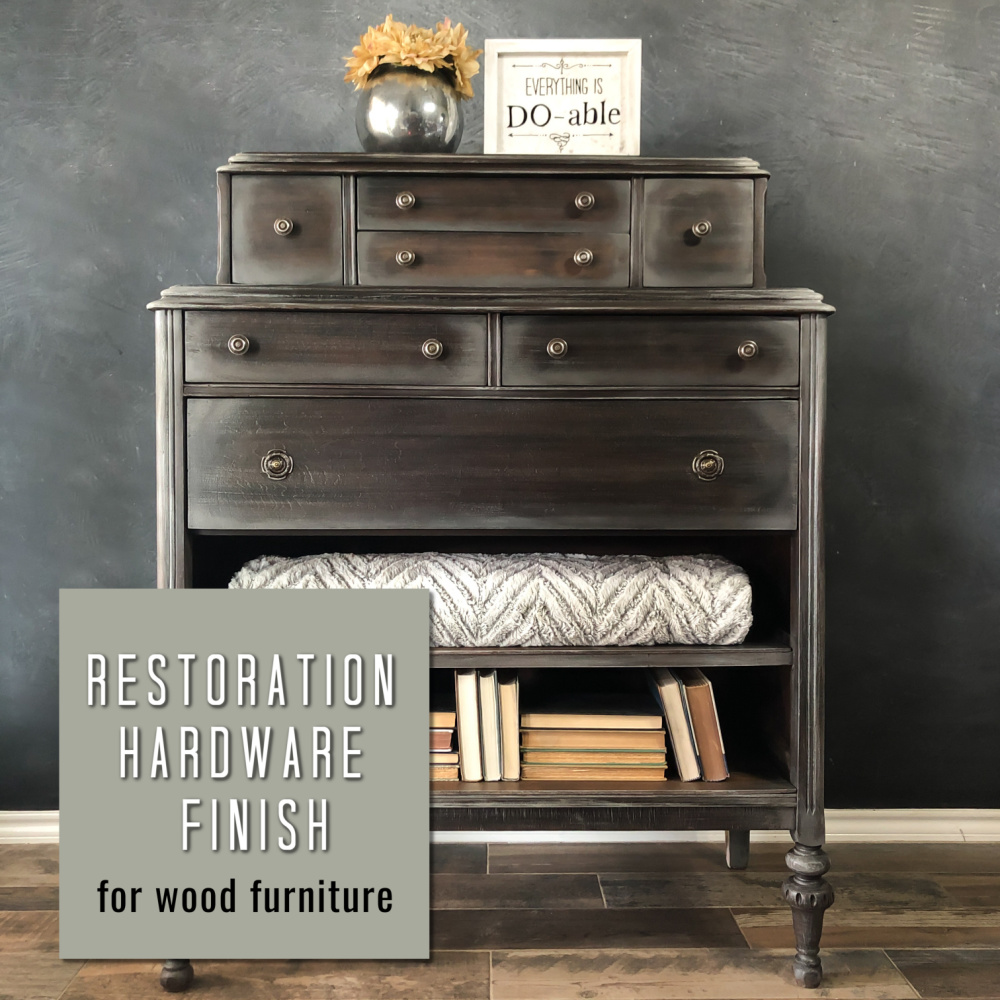
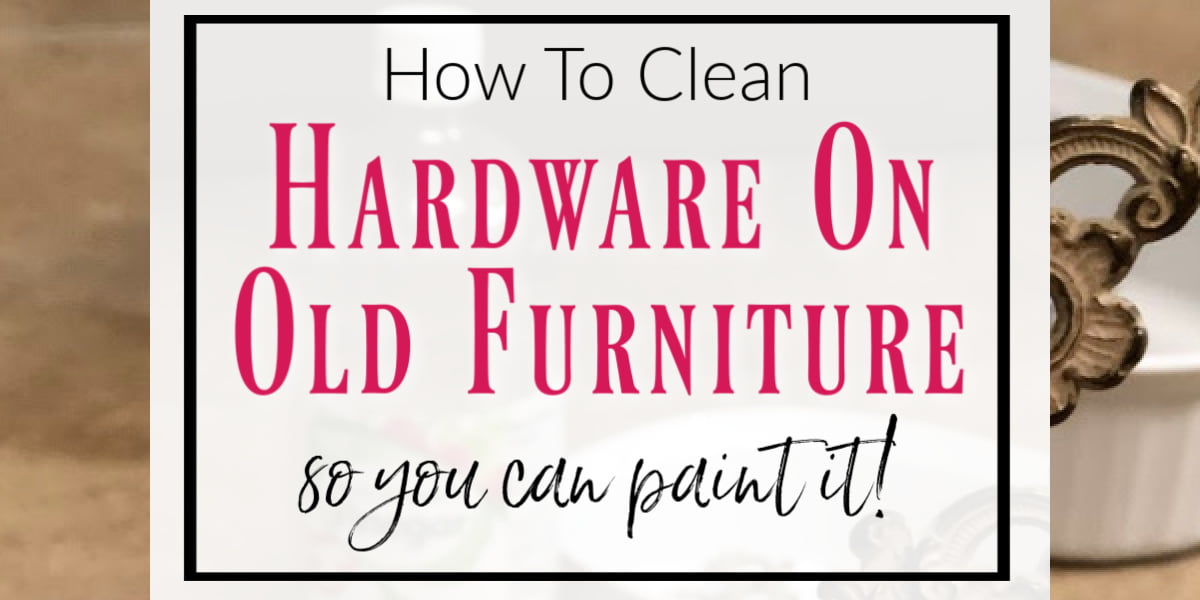
Hello creative friends! Today, I’m sharing a furniture makeover inspired by the restoration hardware finish on furniture that I’ve been drooling over for a while now. The dreamy neutral colors of gray, rust and beautiful wood grains make the interior designer in me do a double-take. This finish works well in a masculine setting, but adding a soft touch of feminity makes it work in both spaces—a versatile finish for lovers of gray furniture.
This post contains a few affiliate links to help you find the products I use. You are not charged extra to use any of the links, but any income I make will be used for more fun projects! To see my full disclaimer, click here.
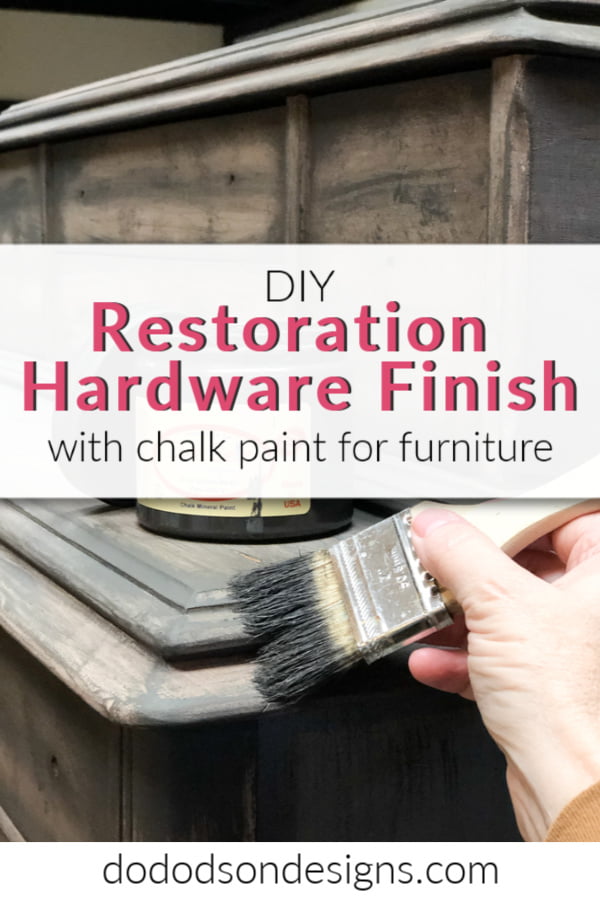
DIY Restoration Hardware Finish With Chalk Paint
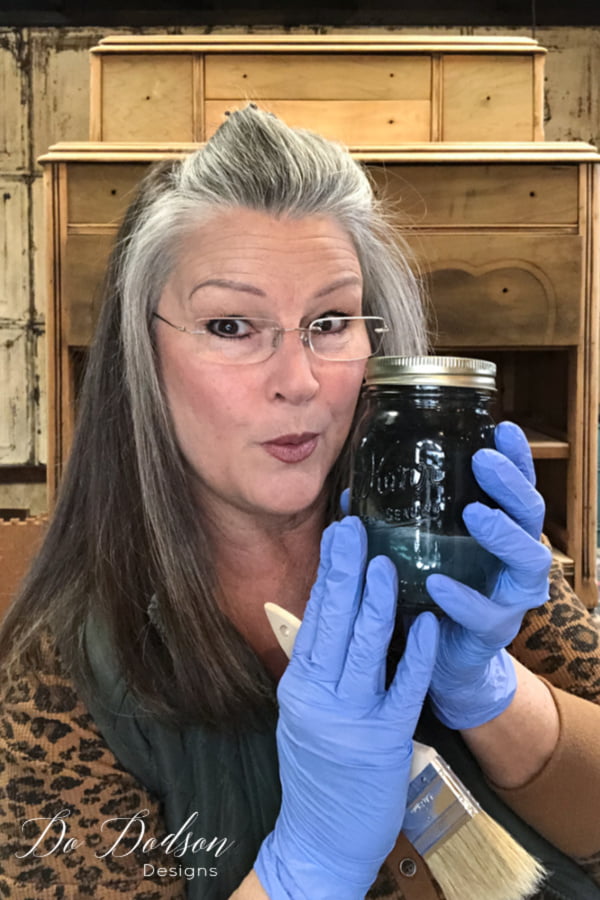
I feel like a mad scientist when I have a new finish I’m trying for the first time. This concoction I mixed up will turn raw unfinished wood into a rusty gray pallet for a beautiful restoration hardware finish.
Supply List:
- Raw Wood Furniture
- SurfPrep Sanding System
- Glass Jar
- Distilled Vinegar
- Super Fine Steel Wool
- Chip Brush (disposable for vinegar mixture)
- Rubber Gloves
- Shop Towels / Old Cotton T-Shirt
- Paintbrush
- Coffee Bean (chalk mineral paint)
- Hurricane Gray (chalk mineral paint)
- Drift Wood (chalk mineral paint)
- Gator Hide (topcoat)
- Super Fine Sanding Pad (yellow)
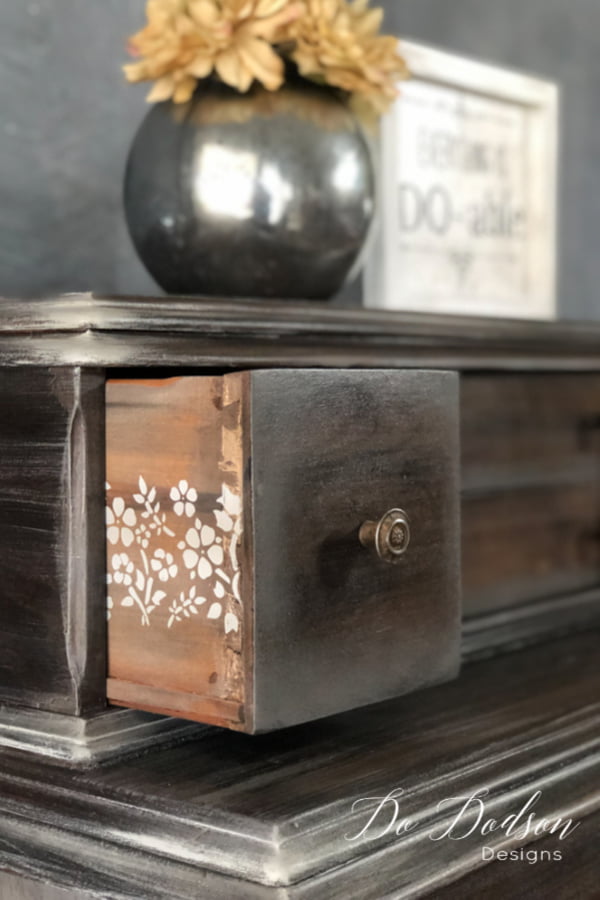
- Stick & Style Stencil (for the drawers)
Mixing The Stain For Raw Wood
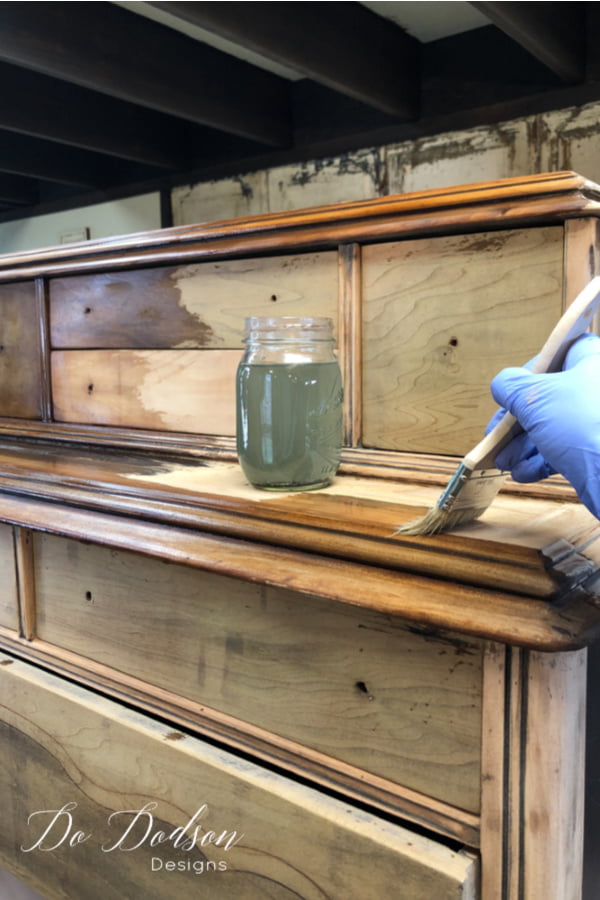
First, you will need a glass jar with a lid, distilled vinegar, and superfine steel wool. Add one piece of steel wool into the glass jar (pint size for this project) and fill it with vinegar. Make sure to cover the steel wool completely with the vinegar. Replace the lid and let the vinegar and the steel wool work their magic for about 24 hours. When you soak steel wool in vinegar, it breaks down the protective coating and allows the iron in the steel to rust. The solution will still be clear after removing the lid but will turn darker after exposure to the air after a bit of time. It’s the chemical reaction between iron and oxygen that makes this work. I feel like a mad scientist!
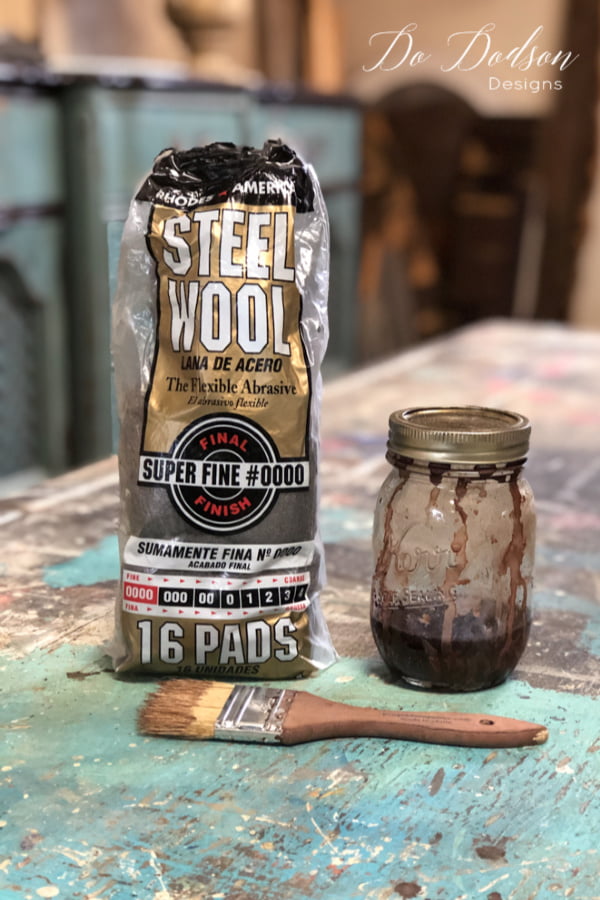
*FYI… this solution works best in a glass container. I’ve tried it using a plastic container, and for some reason, it works best in a glass-covered jar.
Before applying the vinegar and steel wool solution to the wood, remove the steel wool from the jar and dispose of it. Next, liberally apply the vinegar solution to the raw wood with a disposable chip brush and wait for the magic to happen. I used almost the whole pint-sized jar on this project, so be sure you mix enough for the right-sized project. Running out in midstream would result in an uneven finish of your restoration hardware finish.
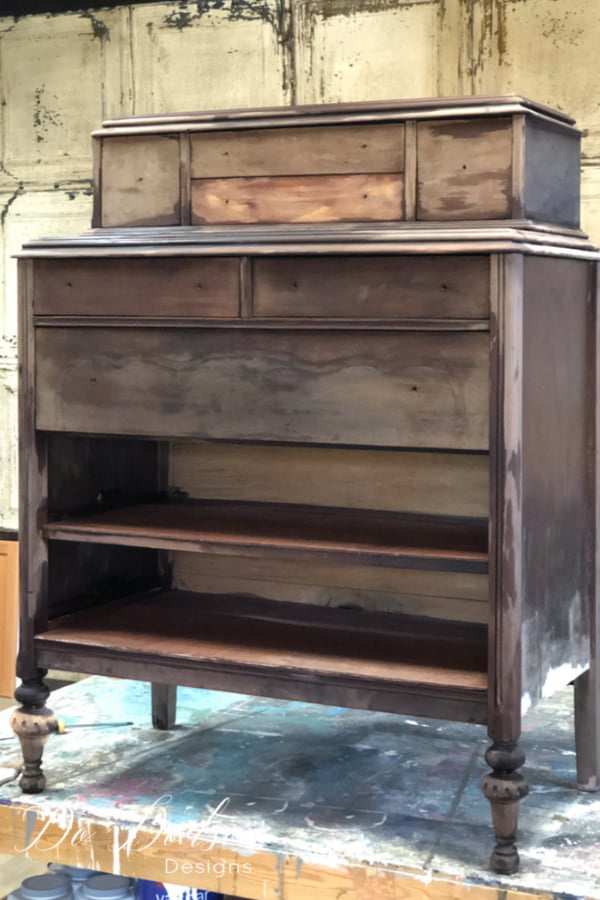
Elapsed Time For The Oxidizing Stain To React
And like magic… over a few hours, you will see the raw wood start to darken and even give off a rusty gray appearance—the perfect aged background for a restoration hardware finish. I never get tired of seeing this magic.
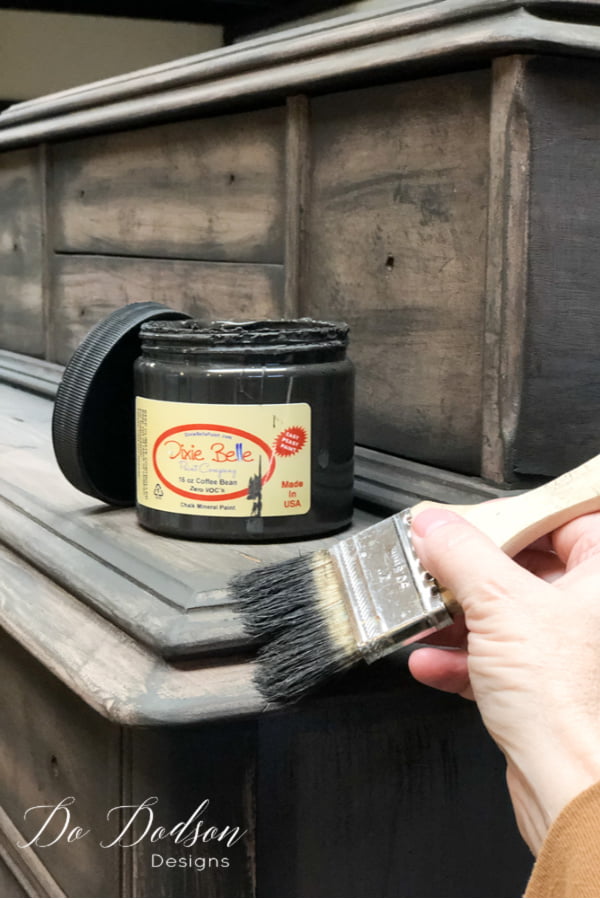
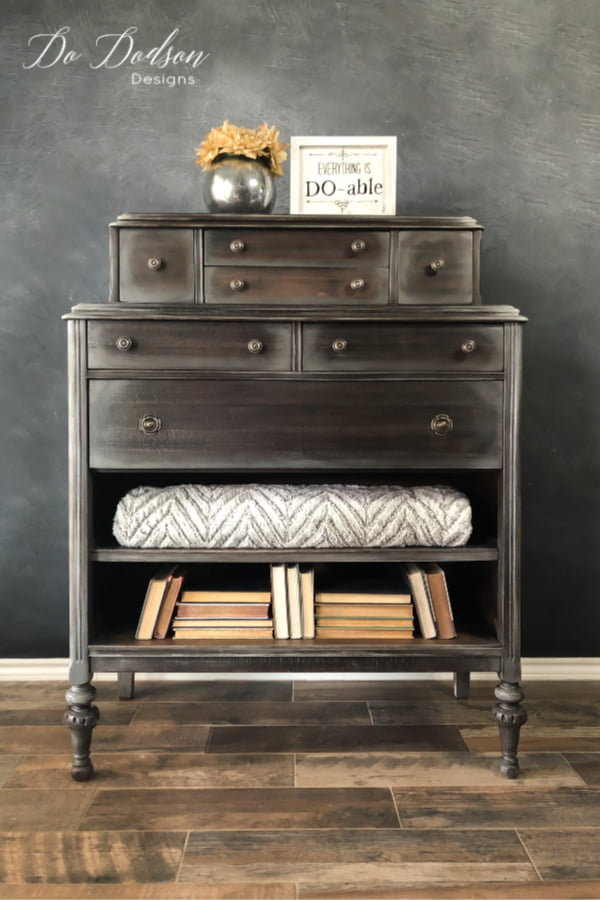
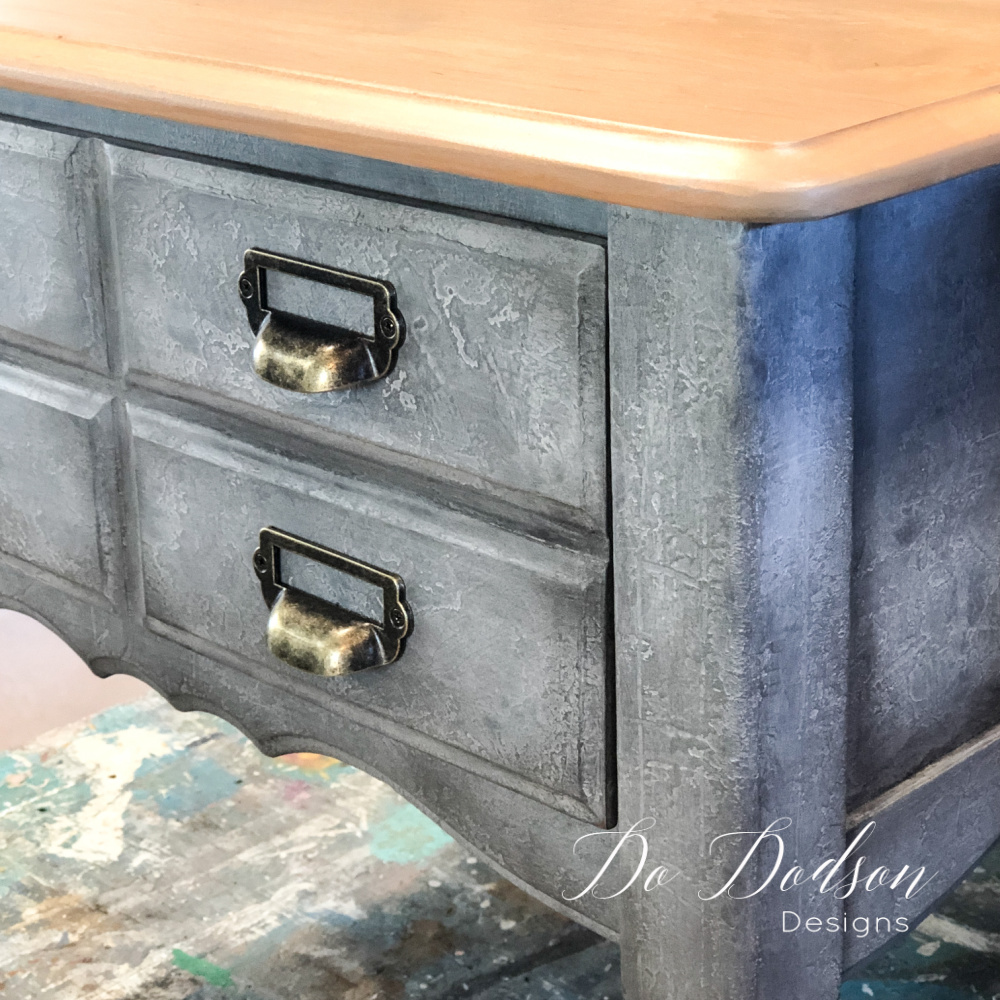
Restoration Hardware Finish With Chalk Paint
The next step is to add subtle colors of chalk mineral paint with a dry brushing technique using Driftwood, Hurricane Gray, and Coffee Bean to create a beautiful Restoration hardware finish. If you would like the complete video tutorial on this finish, it’s available to you now in my video library. CLICK HERE to learn more.
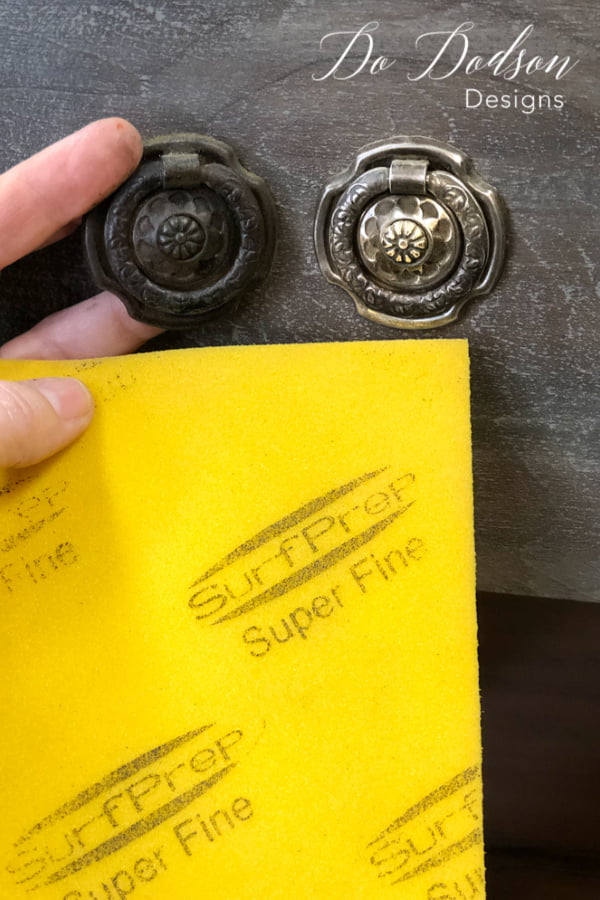
Restoring Old Hardware
Restoring the existing hardware is the most inexpensive way to go when you already have it. Try using a super-fine sanding pad to buff the original hardware back to a shiny new finish to complement your restoration hardware finish. It was fun to watch how the years of build-up were so easily removed. No chemicals!
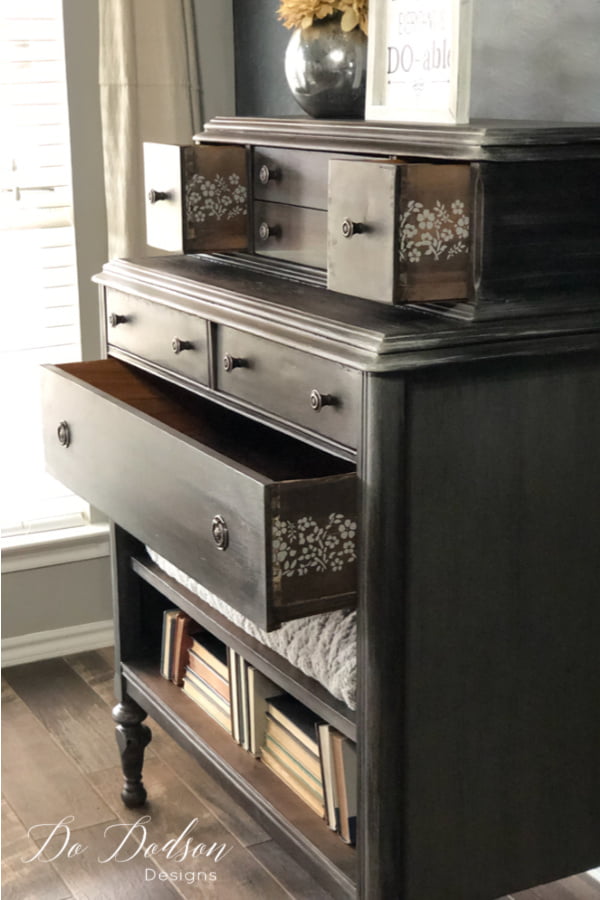
And I added a few shelves. There were two broken drawers that couldn’t be repaired. CLICK HERE to see how I did it.
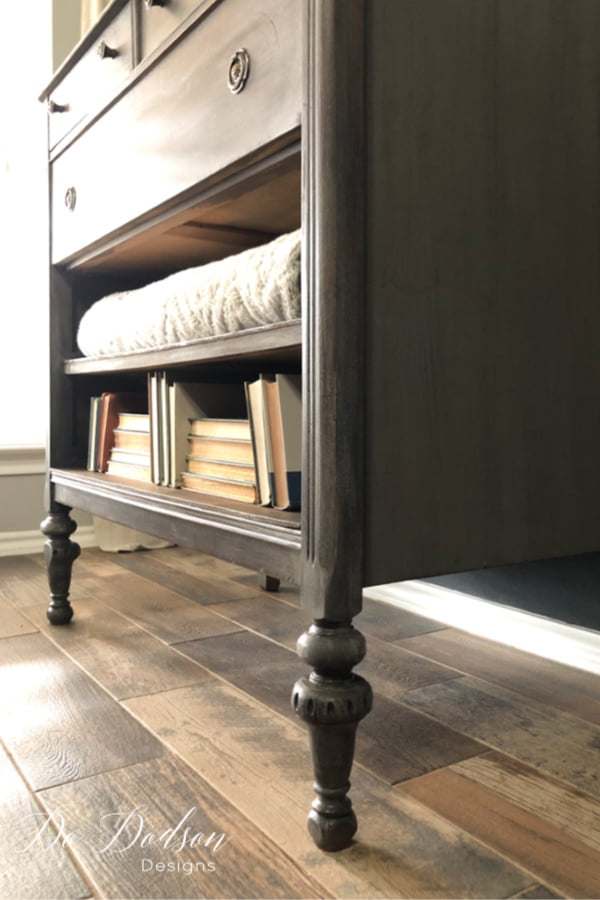
I have to admit I had a few doubts about this makeover. Not the Restoration Hardware Finish, but the repairs on this “JANKY” piece (broken leg and wood damage) were needed before I could even begin to make it beautiful again. Ever have those issues with your thrift store and curbside finds? I’m sure you have, and I would love to hear how your project turned out too. Was it good or bad? Did it make it to the burn pile? LOL, this one was close. Oh, and don’t forget to pin this one to your FURNITURE MAKEOVER board.
Thanks for stopping by and please, come back often as I share all my DIY projects here. It’s my therapy… most of the time. 🙂
Until the next project… xo, Do

Beautiful beyond words!!
Thanks, Bobbi! You’re the best! You always make me feel good about my work. Blessings to you.
xo, Do 🙂
Absolutely gorgeous!
Thanks, Michele! I appreciate that. This was definitely a challenge for me. Thanks for stopping by. 🙂
xo, Do
Hi Do Dodson!! What an awesome makeover. I love repairing furniture pieces but i haven’t had alot of practice. I love this look and your staging and just everything. You are my hero!! You are also his (dresser) hero. Thank you for sharing all your talents and knowledge. I really appreciate that.
I appreciate your support, Cheryl. You always are so kind and I appreciate that. Practice makes perfect and I search for those pieces that challenge me. That’s the best way to learn.
xo, Do 🙂
Your dresser turned out beautifully. I am thinking about redoing a couple of pieces I have no experience dealing with chalk paint though I love the finish. I am trying to learn all I can. Please tell me what a chip brush is and what it’s used for. Look forward to hearing from you. Cee
Hi Cecelia! Great question. A chip brush is a disposable paintbrush (one time use). Each blog post that I write has a product list and all you have to do is click on the items in that list to learn more about those products. I use them for specific projects where I don’t want to mess up my good brushes. You can learn more in The Art Of Painting Furniture. This is my subscription library of furniture finishes for beginners as well as advanced furniture painters. Click here to learn more. https://members.dododsondesigns.com/join-the-art-of-painting-furniture-subscription-group/ I’d love to teach you more.
Happy painting! xo, Do 🙂
Hi DOD Designs,
Thank you for sharing. I have been gathering information, video, reading what others say on Pinterest and Instagram, groups on Facebook, and I think I’m ready to try my first painting furniture job. I’m procrastinating, but I’m in love with all I seen…
it looks like a neat project to try down the road.
My question is to you need to seal it? I’m also In learning everything I can about sealing, but I’m still unsure.
Thank you
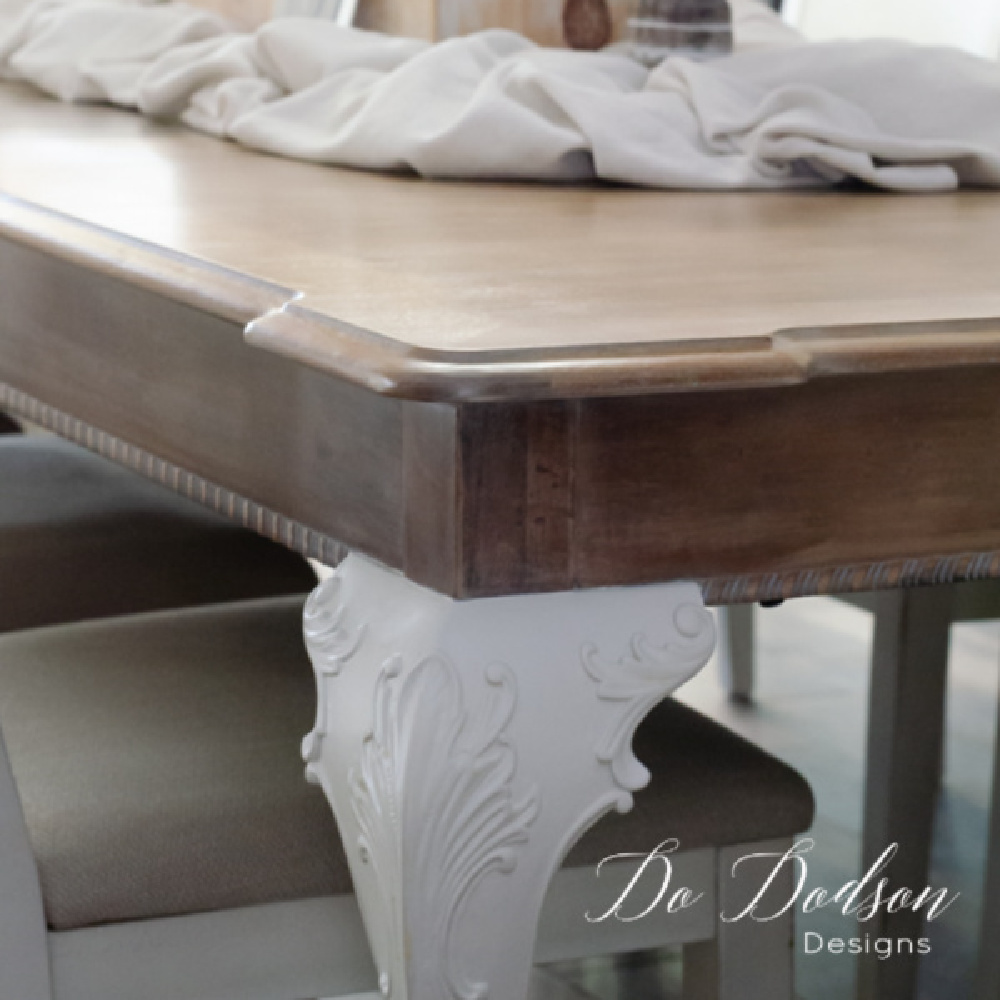
Hi Martha! I believe in sealing a painted finish with a topcoat. This project was sealed with Gator Hide. A waterbased, waterproof that super durable. I just finished my dining room table and I’ll be sharing that soon. I’m excited for you and if you need more inspiration, I have a video library of furniture finishes. You can learn more here. https://members.dododsondesigns.com/join-the-art-of-painting-furniture-subscription-group
Happy painting! xo, Do 🙂
Love how this piece turned out?. Thanks for sharing your great tips, as I do love the Restoration Hardware finish…
Oh great! So glad you like it, Louise. Happy painting! xo, Do 🙂
This is phenomenal! You make everything look so easy!
Thanks, Jenell! The truth is, nothing is easy but when you enjoy what you do, it’s not hard. 🙂 Does that make sense? xo, Do
Dresser looks amazing! Restoration hardware look is one of my faves!!
Thank you, my friend! It’s a great look for us, neutral lovers. 🙂
Love the stenciling on sides of drawers. Awesome idea! The finish on dresser is beautiful, and it’s something I’d like to try. Just wow!!
So glad you enjoyed it. Yes, I like adding the stencils on the outsides of the drawers. A little eye candy! 🙂 xo, Do
Wow. I LOVE this piece. I’d like to do this technique on my table. I need help. I started with a dining room table. Pine. Sanded down to raw wood. Didn’t take care of fine scratches and my orbital sander made some swirly marks. Thought the stain would cover. Wrong! Hard lesson learned. Sanded And sanded again and stripped top. Wood is not as light as it was at first. Can’t sand anymore because I believe there’s MDF underneath the pine. QUESTION. IS IT POSSIBLE TO USE THE STEEL WOOL IN VINEGAR TECHNIQUE ON THIS TABLE TOP IF ITS NOT THE BRIGHT RAW WOOD COLOR. ITS COMPLETELY DRY AND SANDED. Thank you in advance for any suggestions.
That’s a great idea, Susan! Try a test spot underneath if you can. I don’t see why not. Please keep in touch and let me know the outcome. This sounds exciting! xo, Do
Gorgeous! I just found my coffee tables new finish! ♥️
Yay! I always love trying new finishes and this one is very forgiving. 🙂 Thank you.
You are adorable and your restorations are stunning!! Thank you for the tips!!
Awe, thank you, Lisa! I’m so glad you’re enjoying my tutorials. Have a super week! 🙂 xo
Oh my this is gorgeous! Is there a link to see how you actually painted the chalk paint on the dresser?
Hi Anne! Yes ma’am, I sure do. I have many video tutorials within my membership. You can learn more here. https://www.dododsondesigns.com/join/
Hi Do! I was re reading this tutorial and I was wondering, when you say a piece of steel wool do you mean a whole piece of steel wool?
Yes, but use the 0000 super fine steel wool. It breaks down faster. This is a great way to stain wood. It’s fun to experiment. 🙂 xo