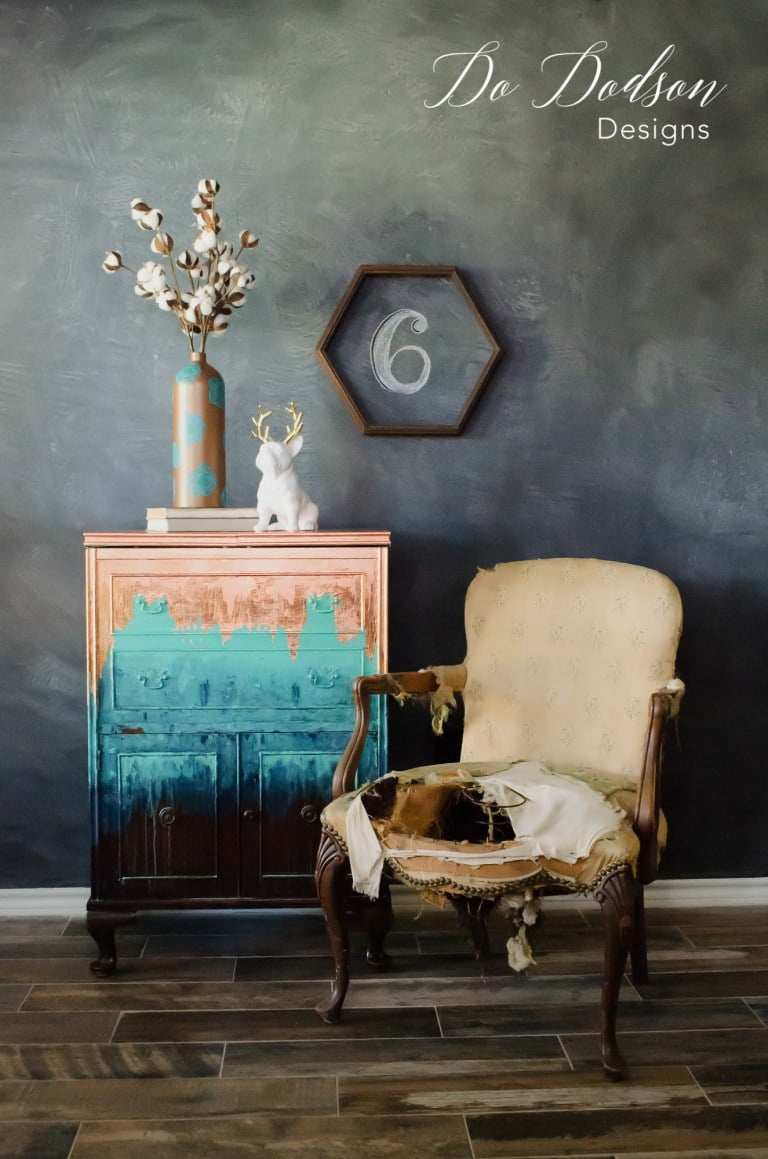
Just the thought of a copper patina finish to a decorative furniture painter can be scary. Especially when the fear of having to repaint it is a possibility. No one wants that! Of course, I was a little anxious when I started adding the copper patina, but it all worked out in the end. Here is how it all went down. It was so easy!
This post contains a few affiliate links to help you find the products I use. You are not charged extra to use any of the links, but any income I make will be used for more fun projects! To see my full disclaimer, click here.
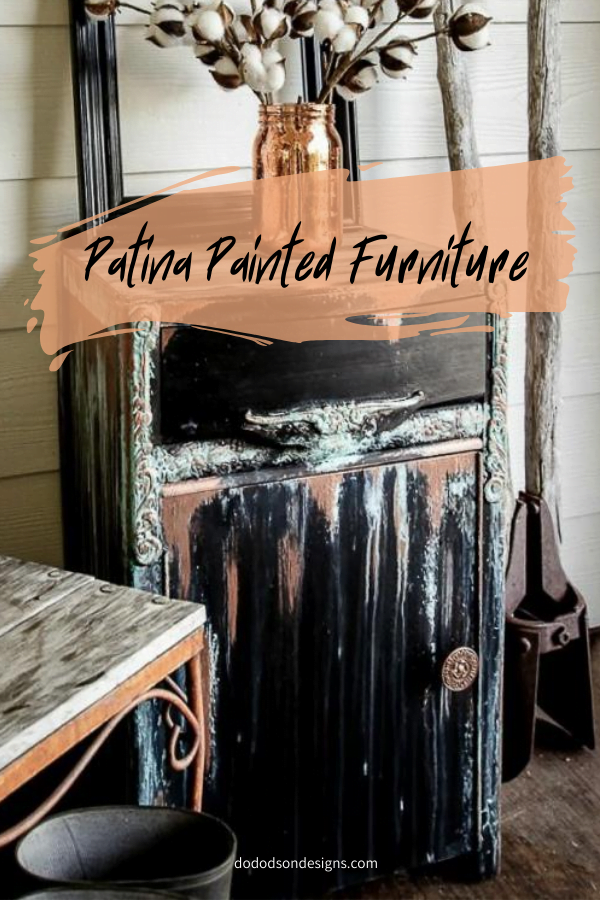
How To Add Copper Patina To Furniture Without Fear

SUPPLY LIST:
- Caviar Chalk Mineral Paint
- Copper Patina Paint
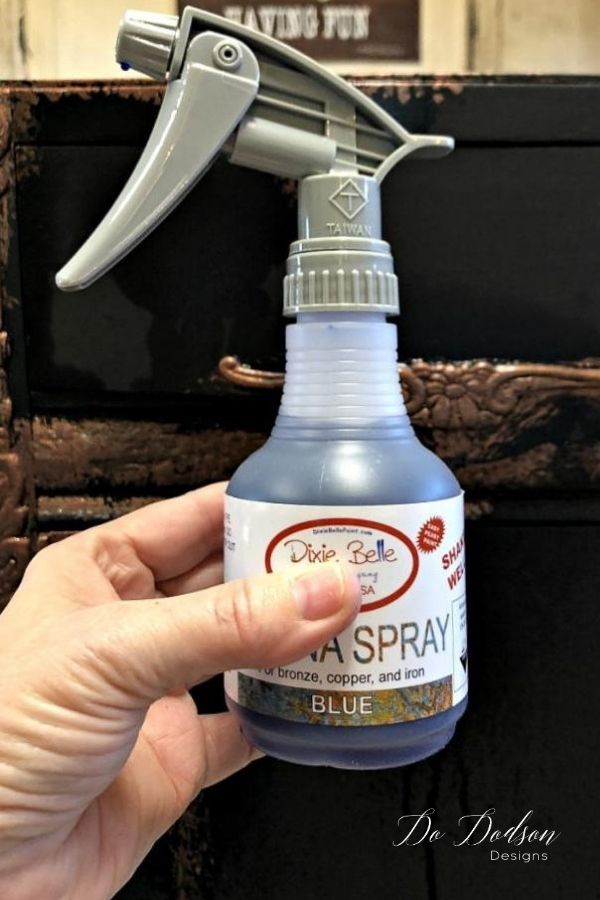
- Patina Spray blue & green
- Gator Hide
- Gilding Wax copper and green
- Cling On Paint Brush

Preparation Before Painting
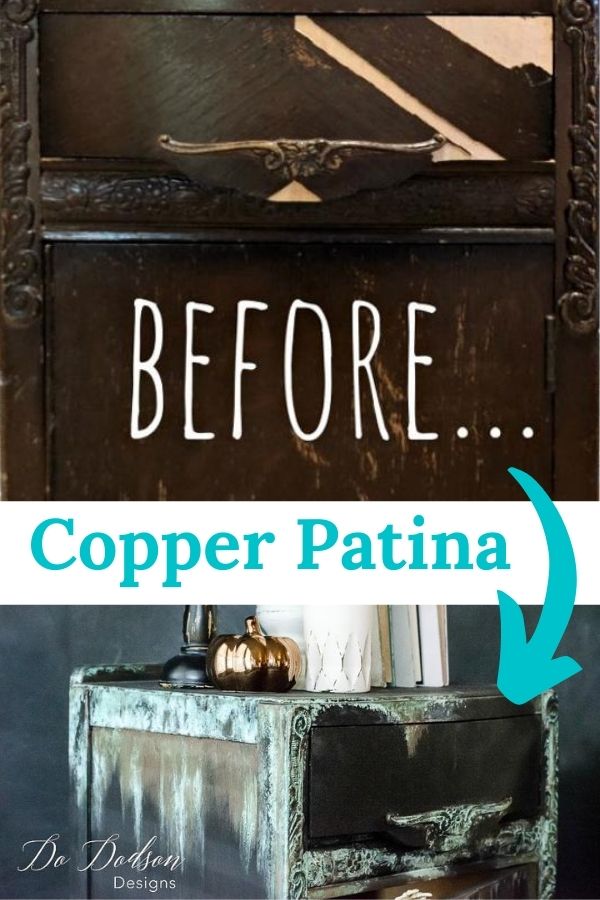
The little nightstand had a lot of veneer issues, but it peeled right up with a paint scraper. It’s my multi-purpose tool. 🙂
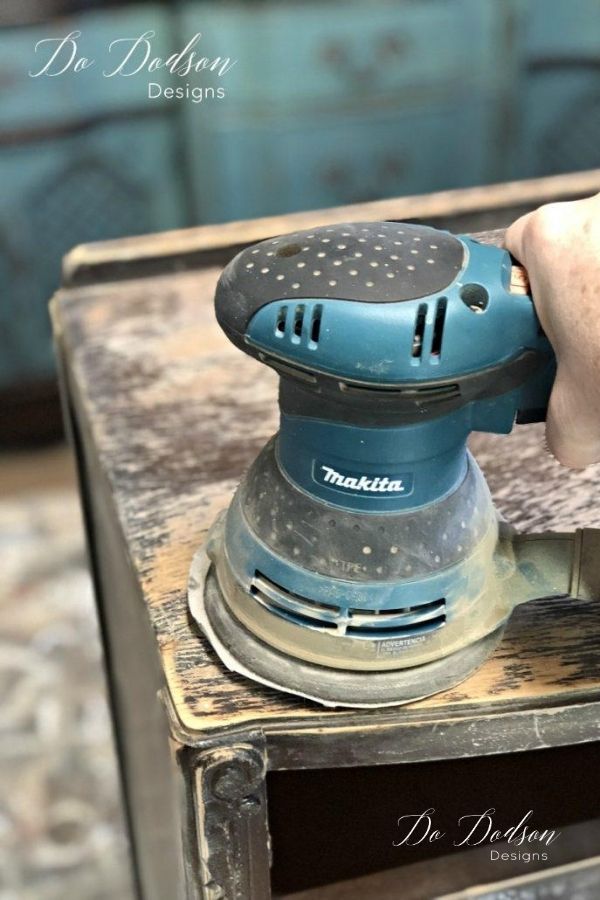
After a quick cleaning and sanding with my Orbital Makita Sander with 220 grit paper, it was ready to go.
Applying The Patina Spray
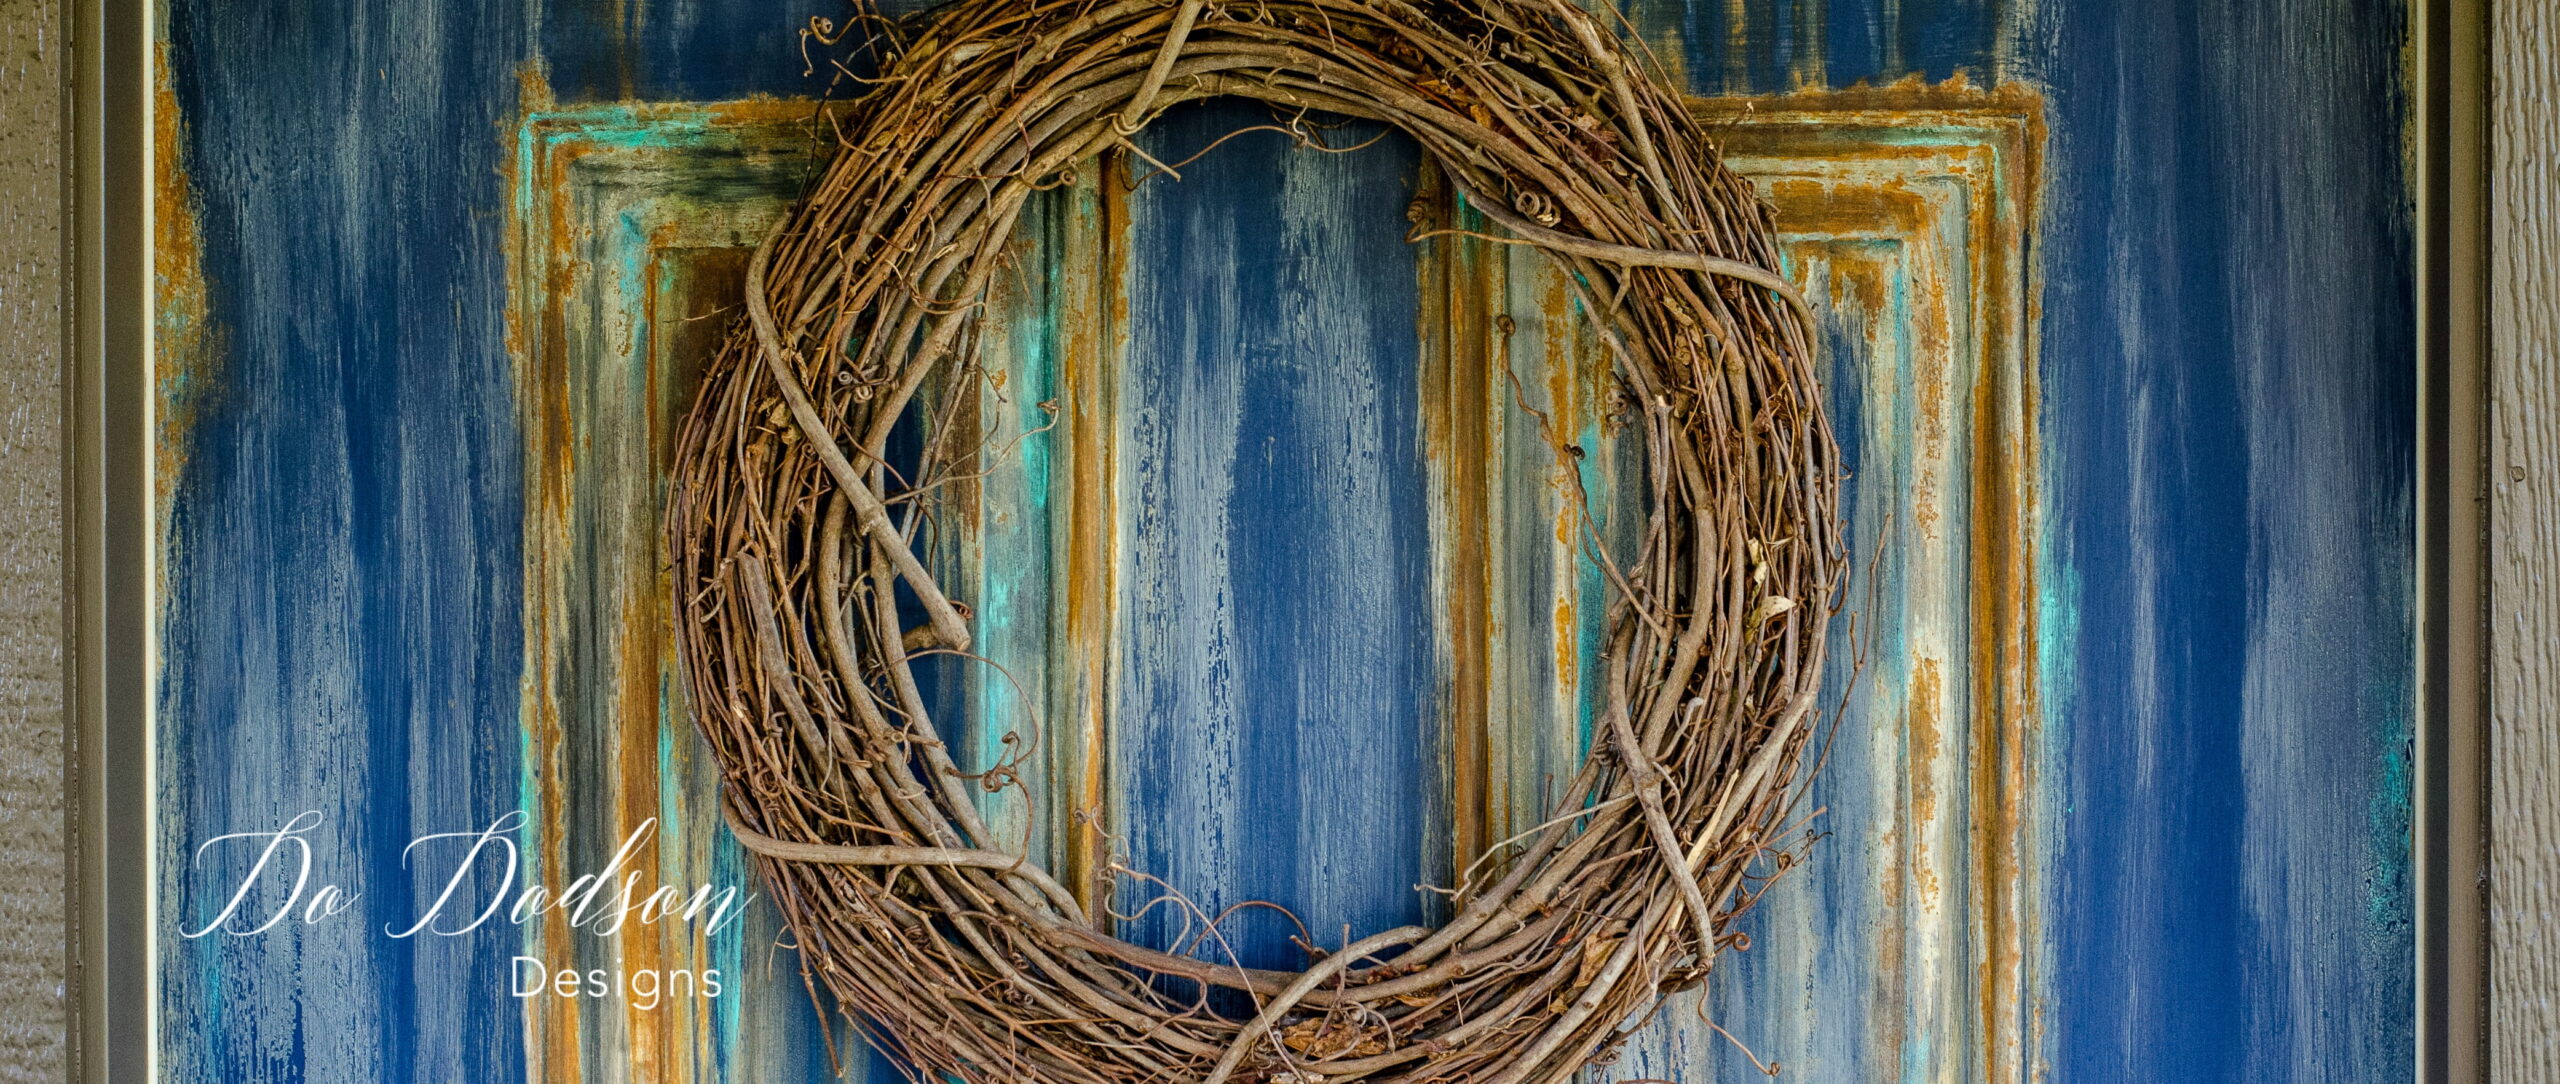
I added the Copper Paint in areas where I wanted the oxidizing effect. Around the detailing and randomly on the edges. While the copper paint was still wet, I sprayed over the copper paint with the Dixie Belle activator spray. Within minutes I began to see the copper appear. It was magical! And to get a multi-color effect, I used both blue and green spray.
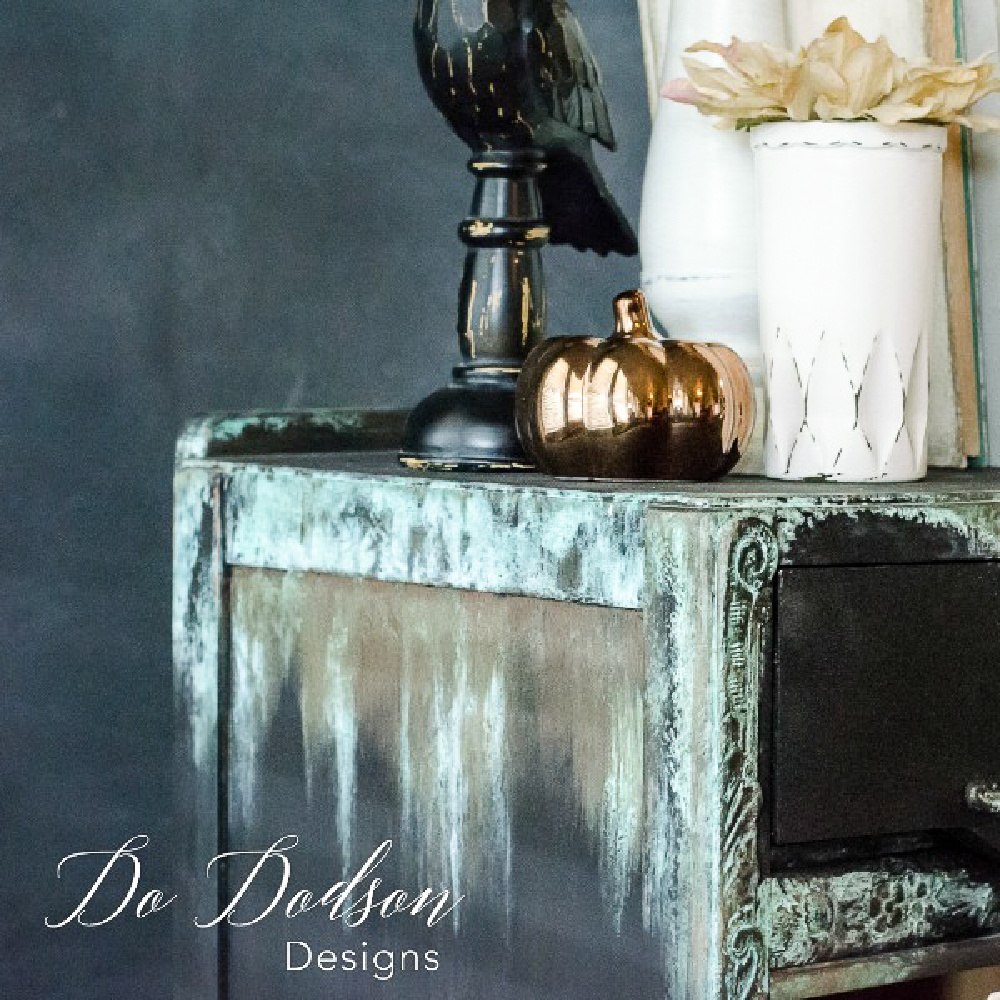
After the paint and patina spray had dried, I sealed the nightstand with Dixie Belle Gator Hide. I randomly applied the copper and green gilding wax with my fingertip to add even more color for the added color effect. The gilding wax did not need to be sealed and can be applied over the Gator Hide.
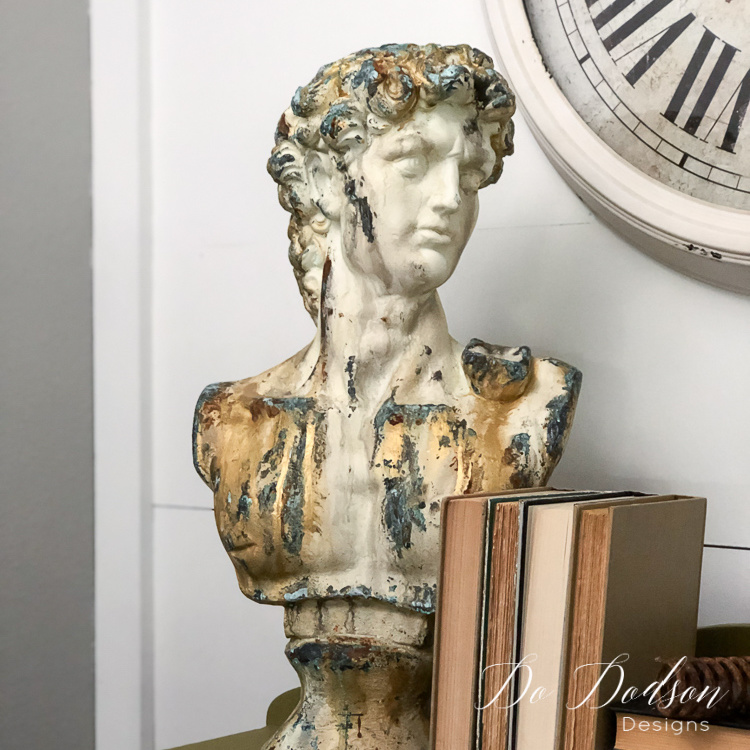
AMAZING Copper Finish Right Before Your Eyes

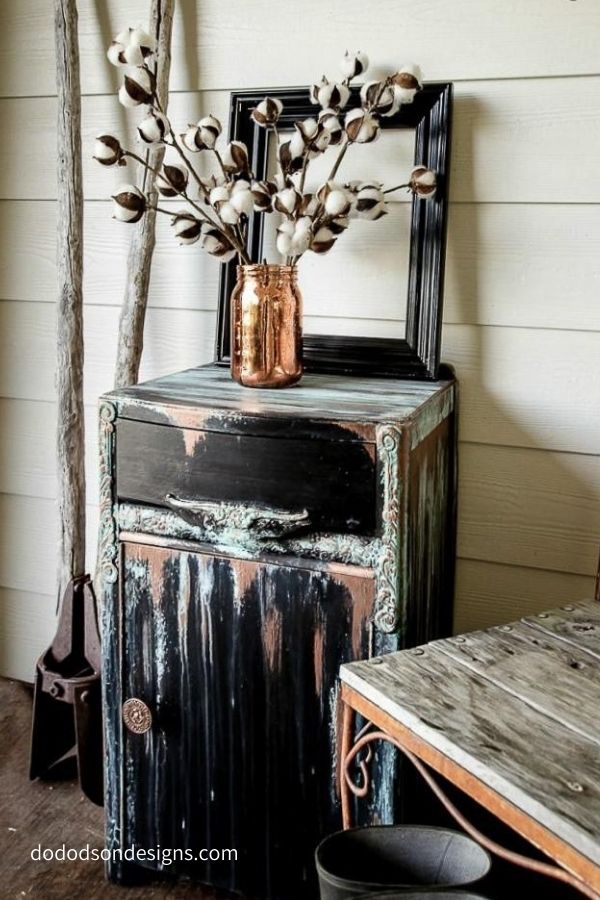
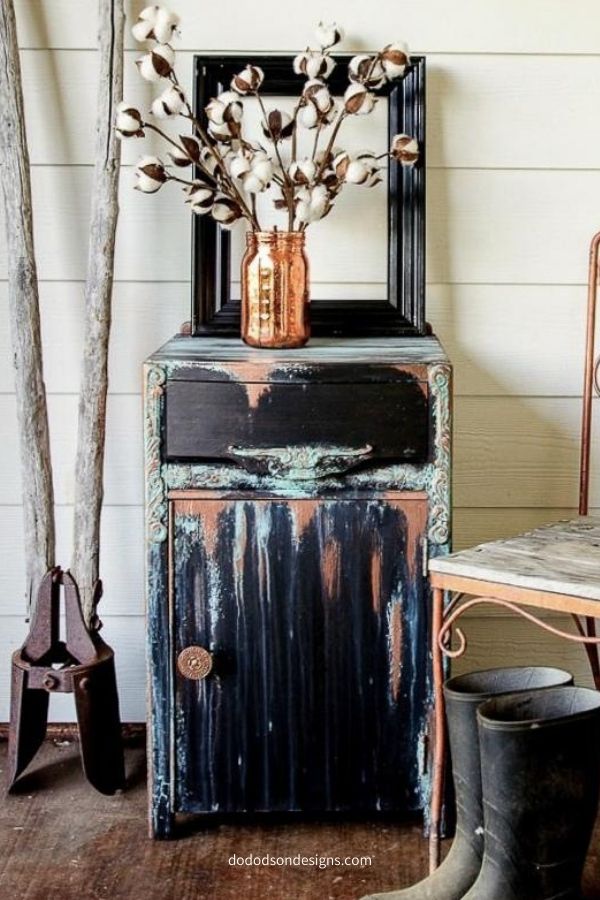
I think this little cutie will be a great addition to my covered porch Halloween display. What do you think? I love the Fall, and what better time than this to add a little patina? I’d love to hear your feedback on this not-so-scary makeover in the comment section below. Let me know what you think.
Until the next project… xo, Do