I love the buffalo check pattern but never thought about painting it on home decor or even furniture. The pattern itself looks so complicated but thank goodness for my crafty, talented friend Tammy Graves with Rustic Orchard Home for showing me how. In this video, she showed me how easy it is to paint a buffalo check pattern on a board using a painting technique without taping it off. It’s a bit rustic, but it still looks amazing, and it will be the perfect addition to my front porch decor. A classic pattern that can be used for decorating through all four seasons.
Estimated reading time: 4 minutes
This post contains a few affiliate links to help you find the products I use. You are not charged extra to use any of the links, but any income I make will be used for more fun projects! To see my full disclaimer, click here.
Watch The Video Tutorial Here – Buffalo Check Pattern
Supply List For This Project
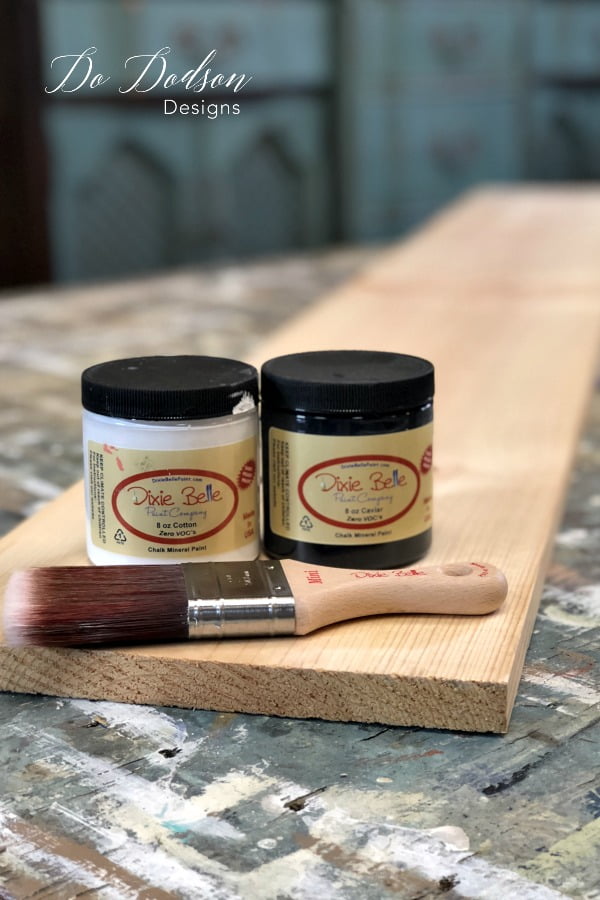
- 1X10 6 ft board
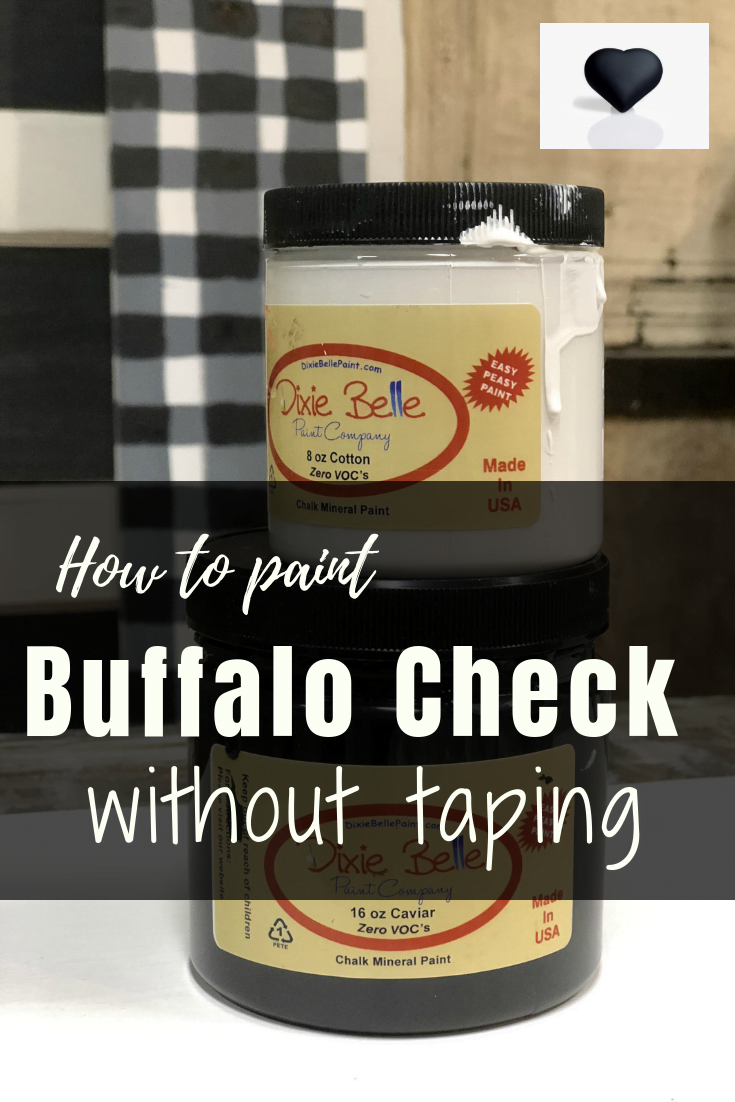
- Cotton (chalk mineral paint)
- Caviar (chalk mineral paint)
- Mini Angle Synthetic Paintbrush
- Artist Brush 1 – 1 1/2 inch brush for stripes
- Gator Hide (waterproof topcoat)
I started my buffalo check pattern sign/decor project with a 1X10 6 ft board purchased at a local hardware store. These boards are perfect for making front porch signs. I’ve made a few stand-up signs for my front porch in the past but never one that was just a pattern, and I was excited to see how this addition to my front porch would look.
Traditional Black And White For Buffalo Check
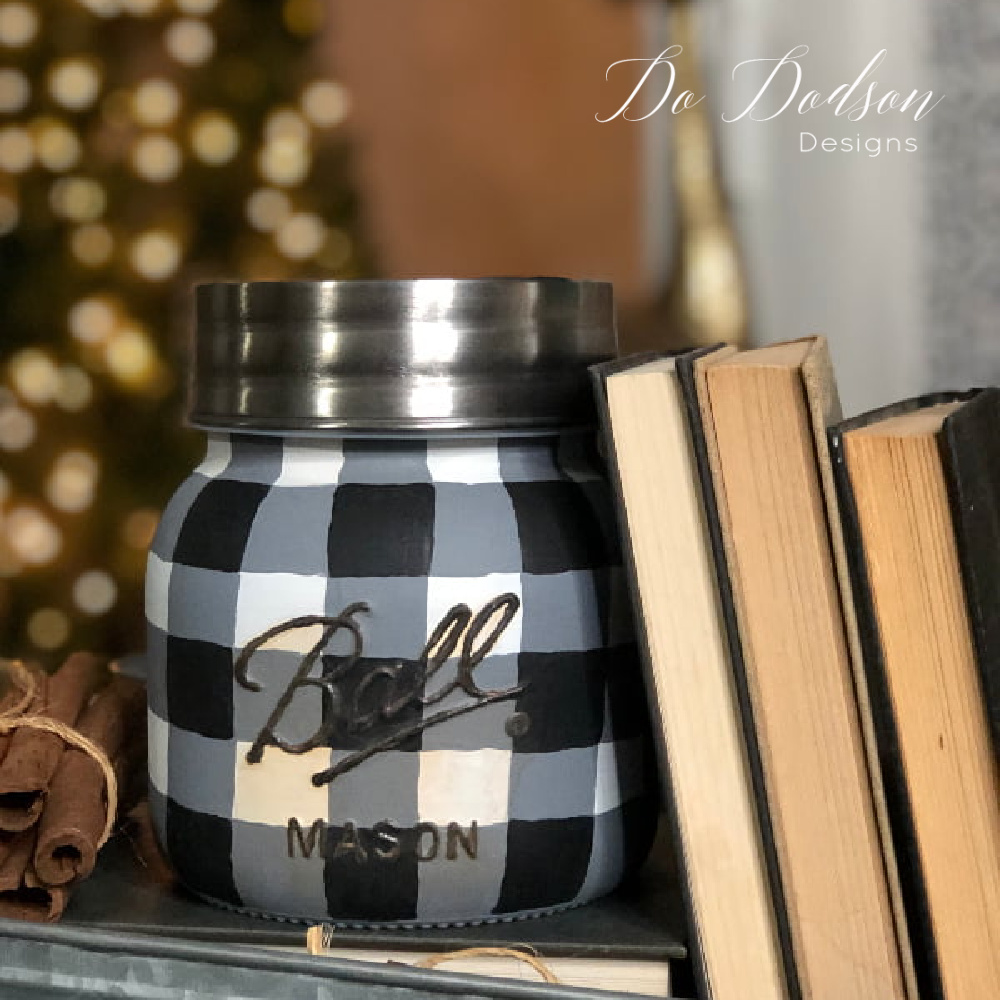
I chose the traditional colors of black and white for my project, but you can use any colors you like. You will actually need three colors, but I will explain how you can create the perfect third color to compliment your buffalo check pattern.
Time needed: 2 hours
How To Paint A Buffalo Check Pattern Without Taping
- Paint The Base Color
Paint the surface or board with the white color first and allow to dry. This is the base color you will see through the pattern.
- Creating The Perfect 3rd Color
Because I chose to use the traditional black and white, I mixed the black and white to create a gray color. This will be the color I use to paint the first set of stripes.
- Painting A Crisscross Pattern
Next, paint a crisscross pattern with the gray covering the whole board. I started lengthwise using about a 1 1/2 inch stripe and then painted with the same stripes across to create this pattern. No tape is needed. Just eyeball it!
- Completing The Buffalo Check Pattern
Once the paint is dry, use an artist’s brush to fill in the squares inside every other stripe where they connect to create the completed buffalo print pattern. It sounds harder than it really is. If you are having a hard time visualizing these steps, refer to the video tutorial above.
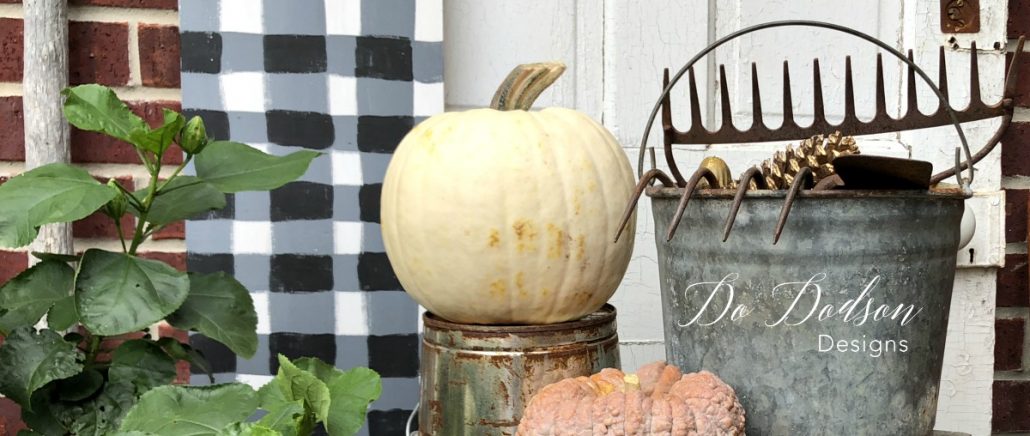
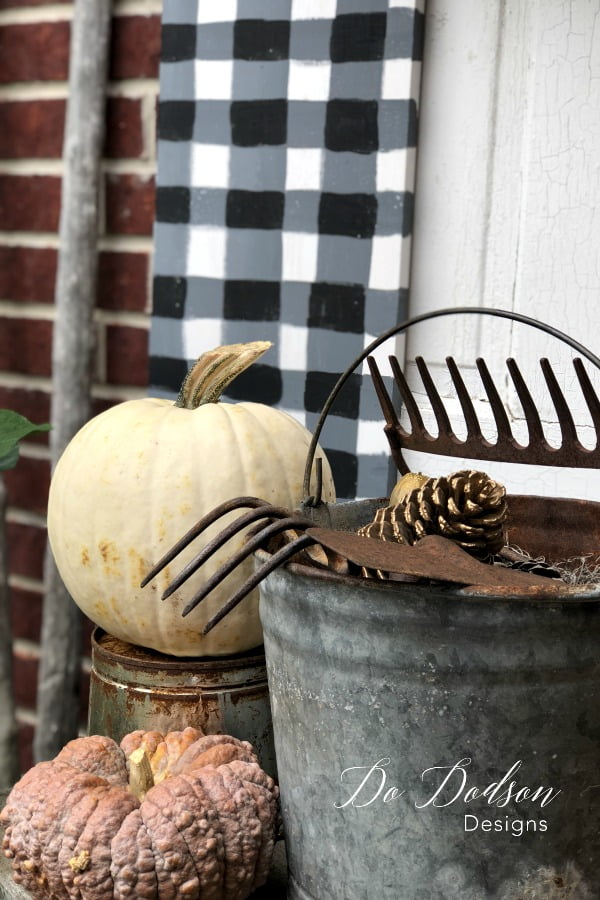
Fall Buffalo Check Pattern Painted Board
And here are the rustic, not perfect results of the buffalo check pattern on the board displayed on my front porch. Up close, you can see all the imperfections, but from the road… no one will know. 🤣 I like the rustic look and all the charm that comes with this style of painting. It’s so freeing to paint outside on the lines now and then.
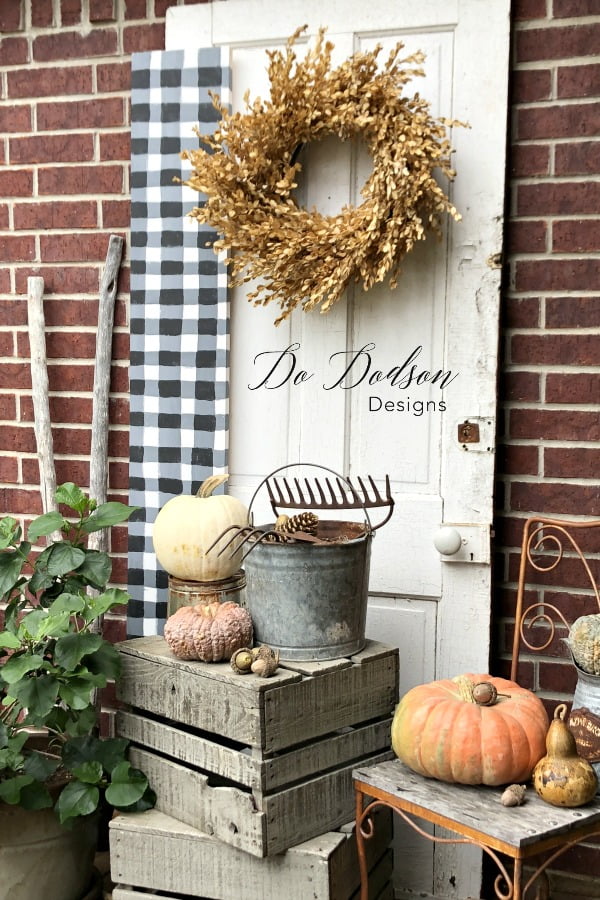
I hope you enjoyed this tutorial. Why not have some fun with this pattern and decorate your Fall porch with this oh so classic buffalo check design? It feels so homey and warm.
Do you like this idea? Let me know what you think in the comment section below. I always welcome all comments good or 😕 meh.
Until the next project… xo, Do


Thank you for sharing.
You are more than welcome. Happy New Year! 🙂