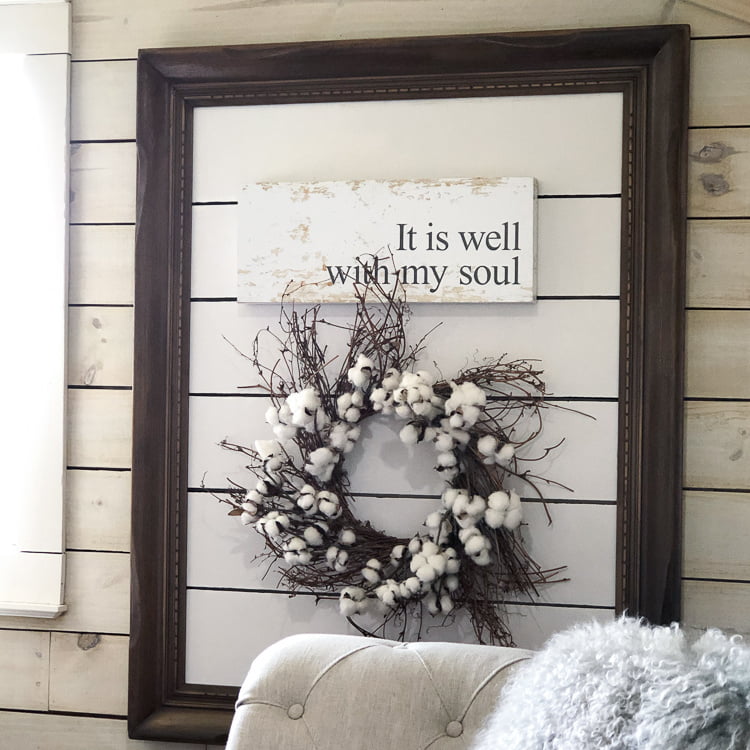
Learning how to upcycle picture frames with a shiplap look was a game-changer in my furniture painting business. There was always a need for more home decor to stage my furniture with. I can’t just use the same ole thing all the time. For some reason, I’m just not made of money. Well, that’s what Mr. Honey Do tells me. The emergency trips to Hobby Lobby for staging decor can’t continue. Let’s get started!
Estimated reading time: 6 minutes
This post contains a few affiliate links to help you find the products I use. You are not charged extra to use any of the links, but any income I make will be used for more fun projects! To see my full disclaimer, click here.
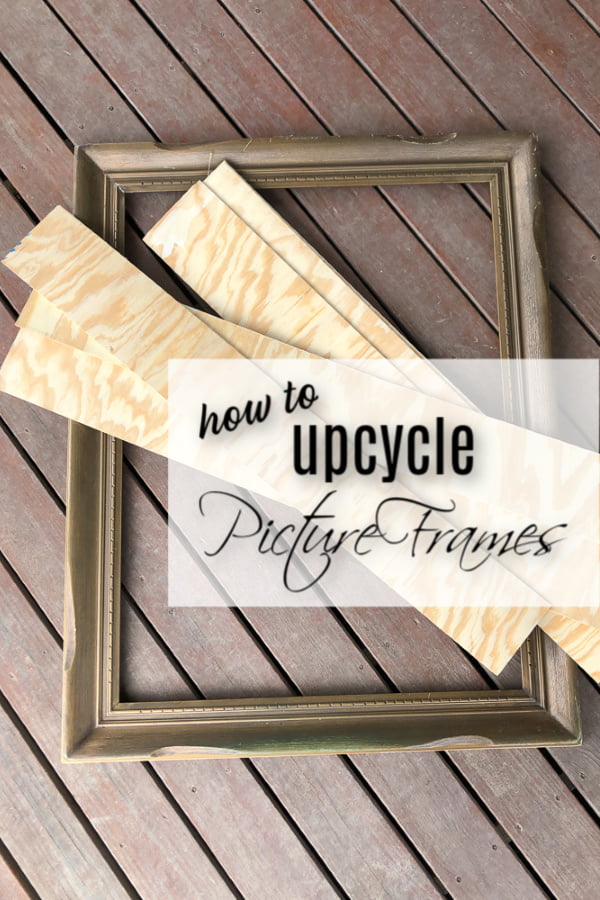
Gather Your Supplies
Here is a list of the items I used to create this upcycled picture frame with a shiplap look.
- Vintage Picture Frame (large)
- 1/4 in Plywood (6-inch strips)
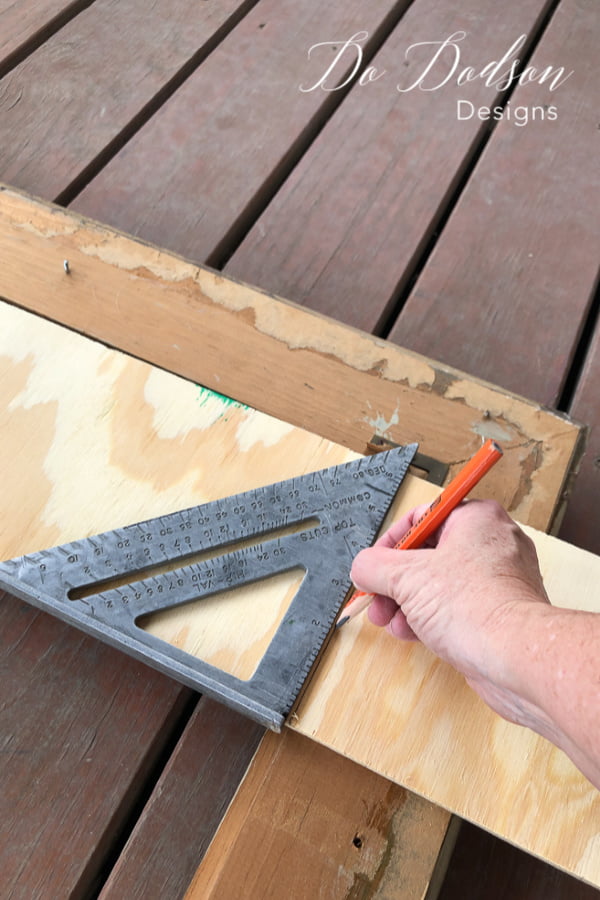
- Speed Square
- Pencil
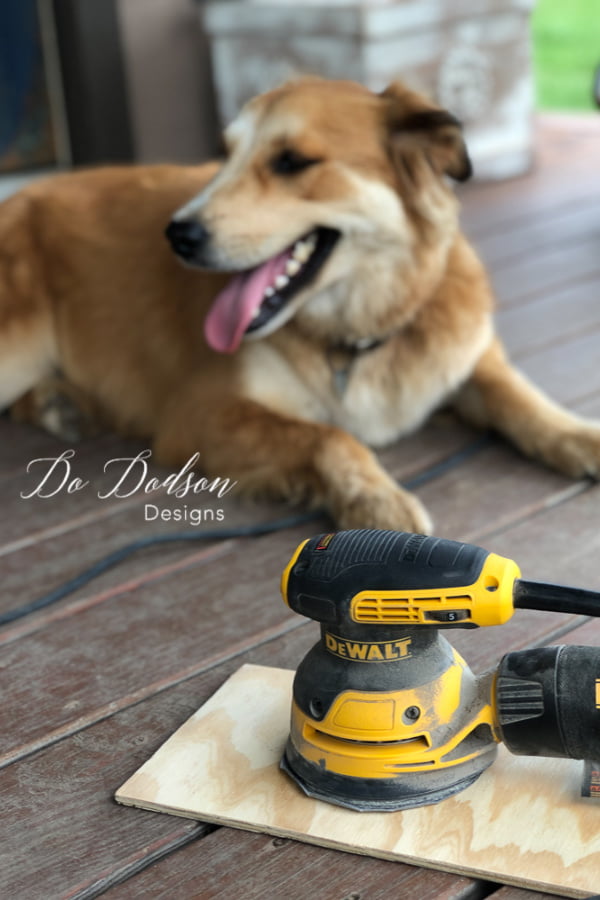
- Orbital sander
- Chip Paintbrush
- BOSS (stain blocker)
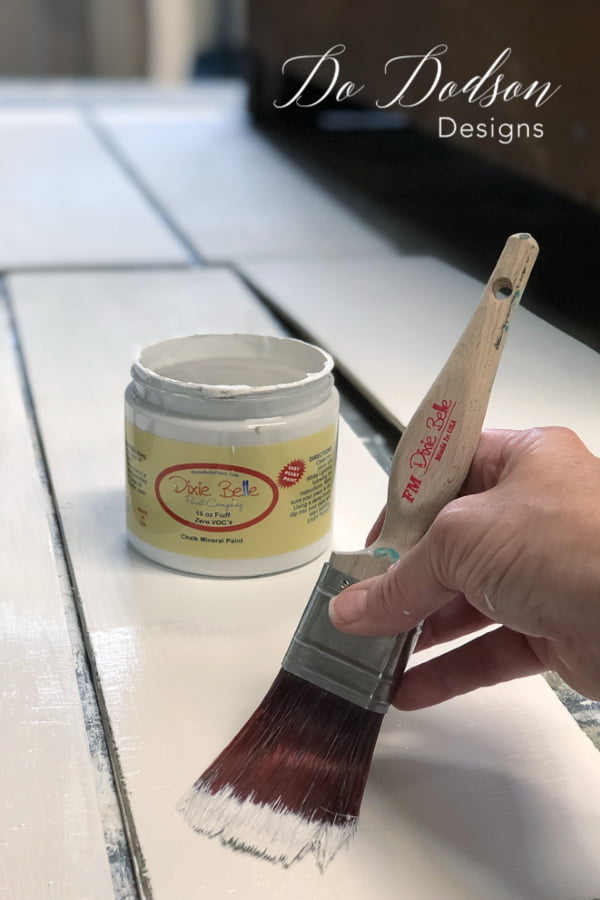
- Fluff (chalk mineral paint)
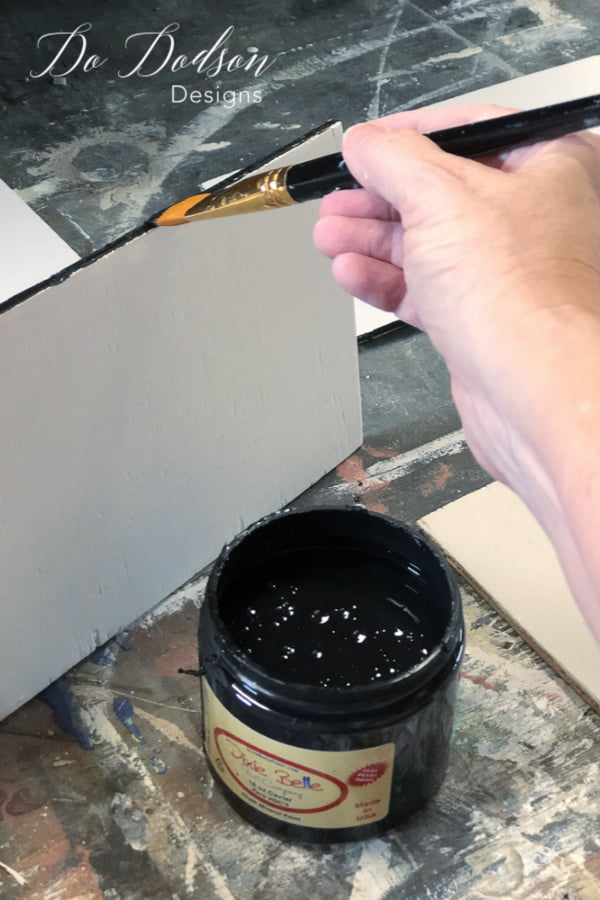
- Caviar (chalk mineral paint
- Paintbrush
- Pneumatic Nail Gun
How To Upcycle Picture Frames With A Shiplap Look
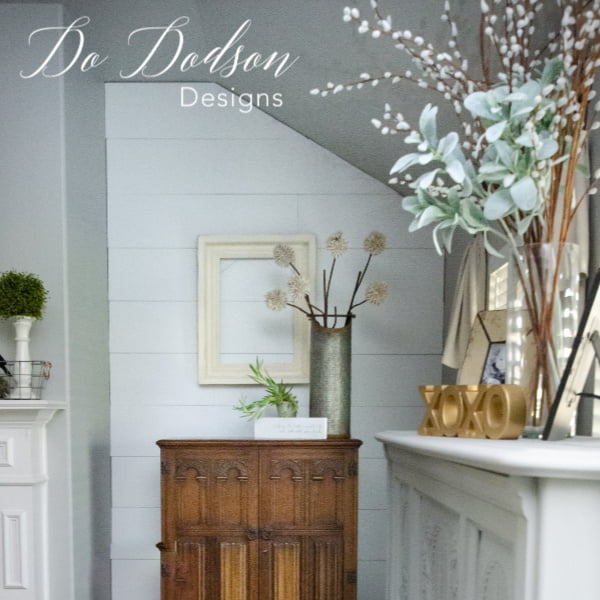
I had this old upcycled picture frame sitting in my stash of maybes in the garage for a while. It almost made it to the garage sale pile until I put two and two together. I recently did a faux shiplap wall (CLICK HERE to see) inside my home, and as always, there were leftovers… which I saved. You never know when you might need it. This one paid off huge!

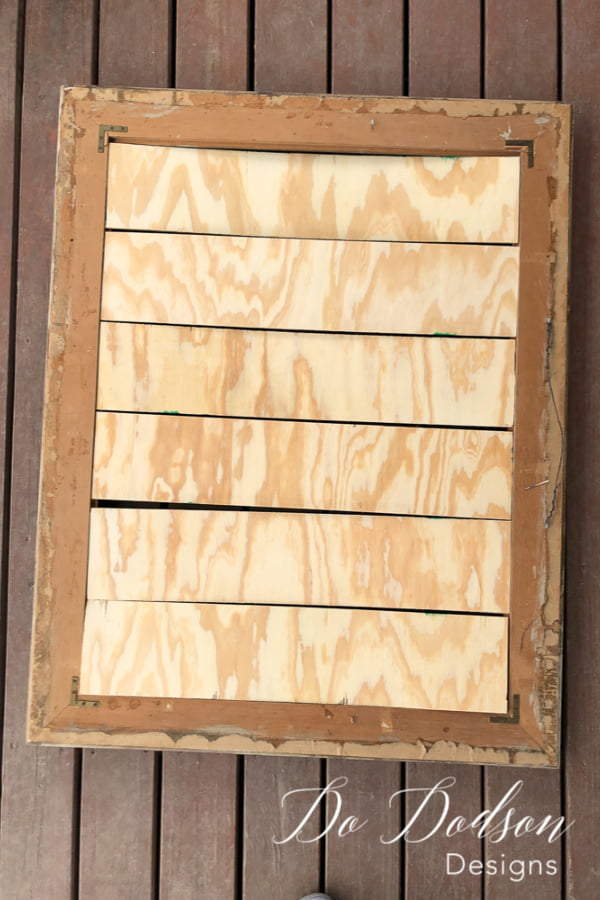
Constructing The Backing
Cut 1/4-in plywood strips (depending on the size of your frame) to fit inside of the lip of the back of the frame. This is where the mirror or picture would have been sitting. Be sure to allow for the gaps between the boards so that it looks like an authentic ship-lap. Here’s a tip for you. If you know the size you need, most of the bigger hardware stores will cut it for you for free or a small fee, and they have the right equipment to do the perfect straight cuts. Then all you have to do is make the simple cuts to fit inside the upcycled picture frame.
Prepping The Plywood
Next, you will want to give the 1/4-in plywood strips good sanding with an orbital sander with 220 grit sandpaper to smooth out any rough edges before painting. The cute helper is extra if you have one.
Getting Ready For Paint
Next, you will need to use a good stain blocker. The tannins from the raw wood will most certainly bleed through your paint if you miss this step, and you’ll have a hot mess on your hands. I use a product called BOSS (stain blocker). I use it on my furniture makeovers, too, but it also works well for my small projects like this upcycled picture frame.
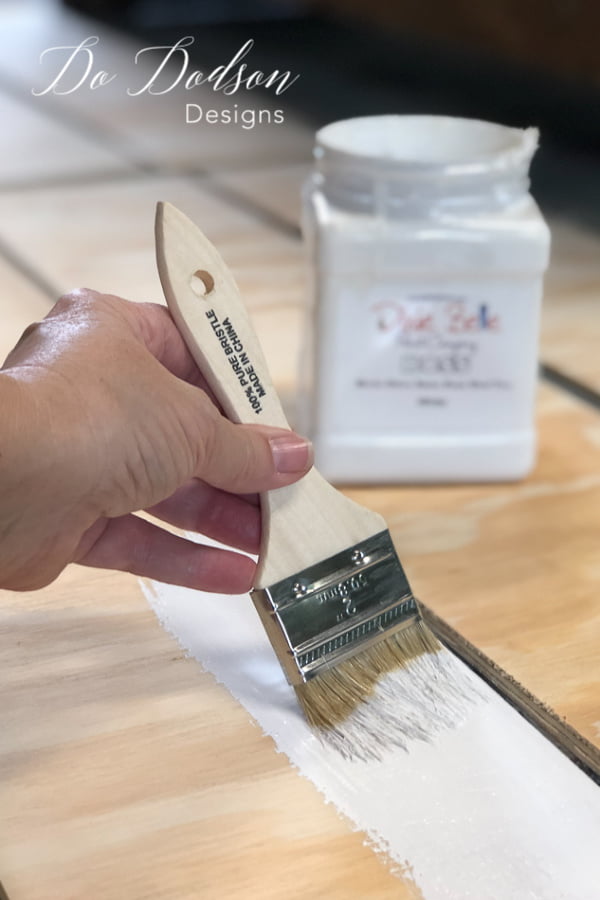
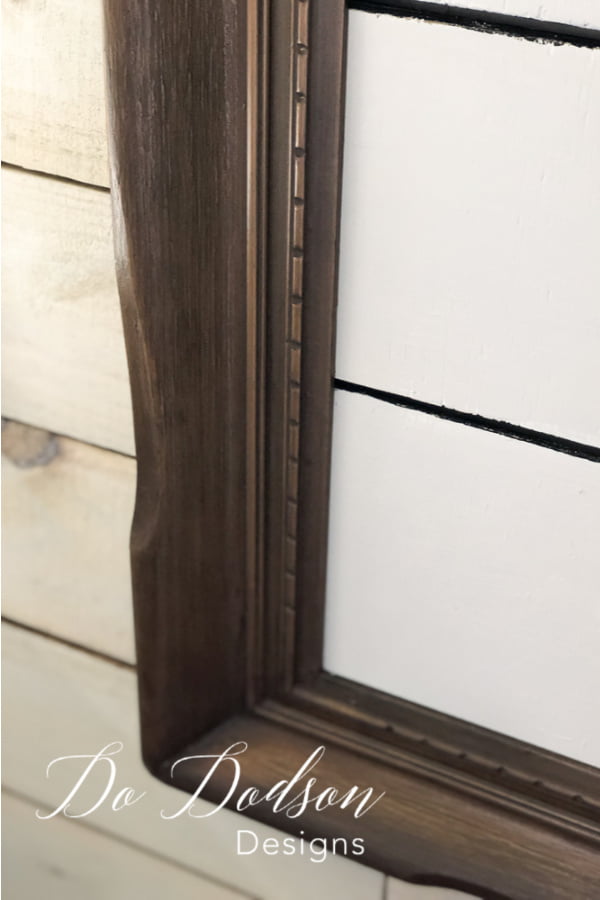
Next, pick a good neutral color for your background. For this project, I chose a color called Fluff. One coat was all it took since I used the white stain blocker.
I painted the edges of the 1/4-in plywood strips black to make them appear as they would with a wall.
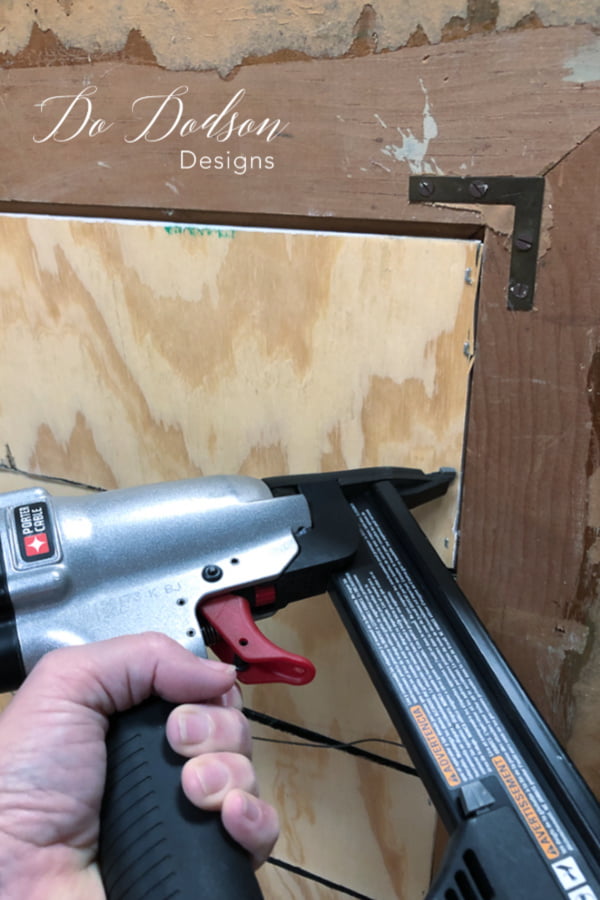
Attaching The Plywood To The Upcycled Picture Frames
Next, attach the 1/4-in plywood strips to the frame with whatever you have on hand. I prefer quick and easy, so I pulled out my Pneumatic Nail Gun and went to town. You have many options here. Nails, tacks, staples, etc. Remember, this is home decor, not a structure that will get banged around. It just needs to be secure.
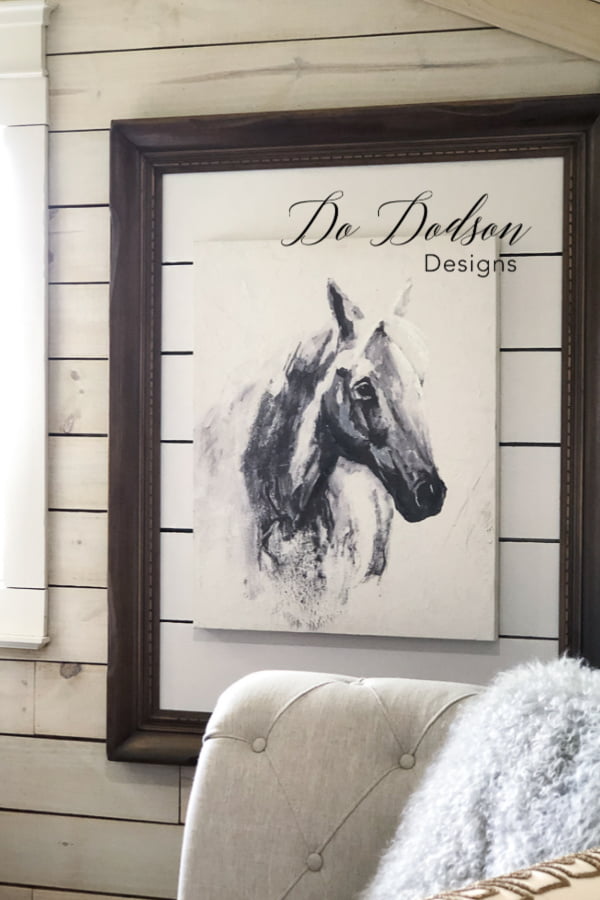
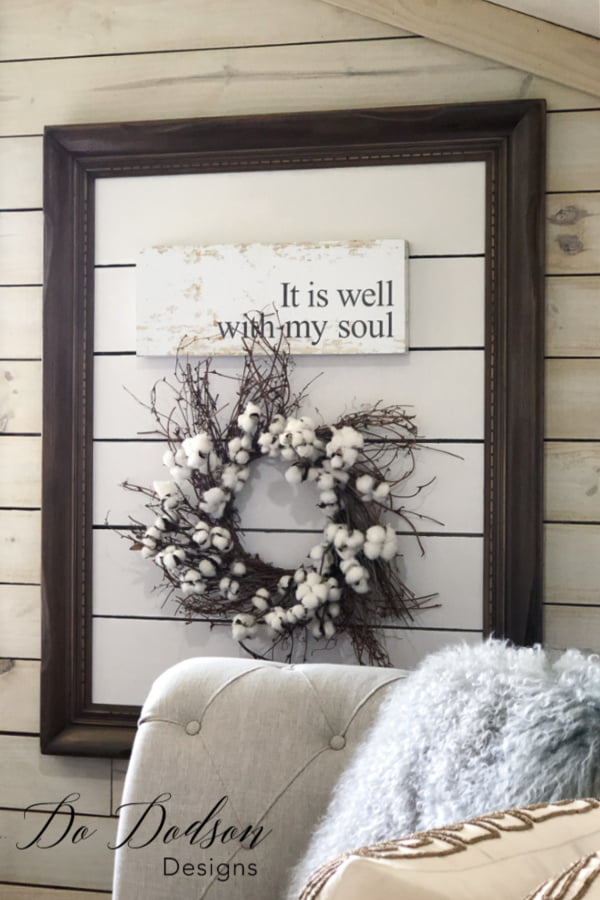
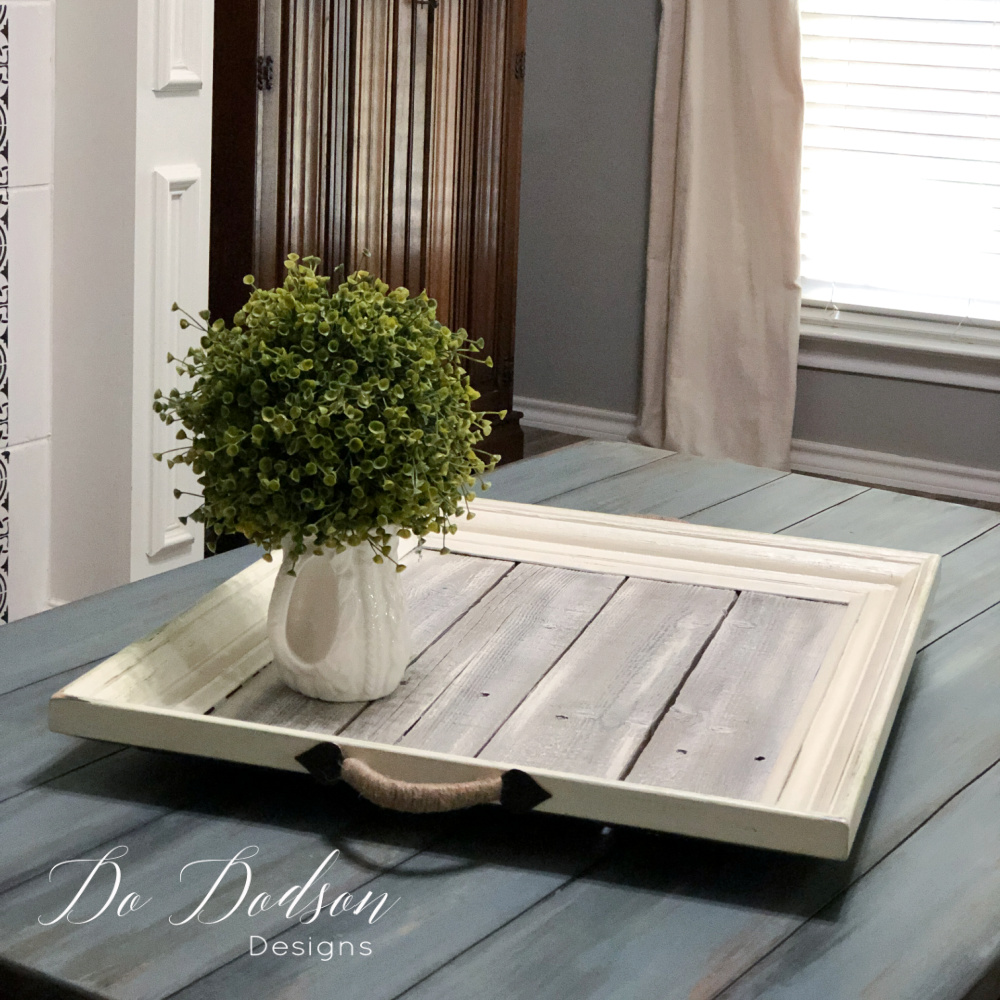
Imagine the possibilities. One upcycled picture frame and endless ways to style it. Take that Hobby Lobby!
I’d love to hear your ideas and what you would add to style this shiplap frame. Drop me some suggestions below in the comment section. Inspire me!
until the next project… xo, Do
Imagine the possibilities. One upcycled picture frame and endless ways to style it. Take that Hobby Lobby!
I’d love to hear your ideas and what you would add to style this shiplap frame. Drop me some suggestions below in the comment section. Inspire me!
until the next project… xo, Do
Love this interchangeable idea Do! Brilliant. 🙂
Thanks, Denise! We shall see… 🙂
I’m trying to subscribe.
Hi, Raquel! You can sign up for my email list by subscribing to any of my free instructional videos on my blog. So glad you found me. I share all my DIY projects weekly. 🙂 xo
I love this idea! It will help me make some terrific Christmas presents! I’m also an author and can use this idea to dress up my table at book signings! Thanks.
That’s a great idea, Stacey! Please share a link to your book. I love a good read. xo, Do
I love this but was wondering, if you had a more colorful painting, would you still do the neutral background or take a color out of the painting, like you would with matboard.
Hi Jan! Great question. For me, I would leave it neutral so I can change out my art. If you’re looking for a more permanent look, by all means, use a complimentary color.
Happy painting… xo, Do 🙂
Good day! Do you use Twitter? I’d like to follow you if that would be ok. I’m definitely enjoying your blog and look forward to new posts.|
Such a great idea! Thanks for such a thorough tutorial with beautiful pictures and many different ideas.
You’re welcome! 🙂
Thank you for sharing this! I had the same idea with a frame that I have tried to sell, but wasn’t sure how to make it happen. I will have to pin this for when I get around to project time.
I love this idea. You are brilliant!
LOL, not hardly but thanks. 🙂 xo
Ms. Do, I just love your ideas and videos on how to bring them together and look so amazing 💕
Thank you, Tammie. Always good to hear from you. Hope all is well. 🙂
I have a small picture frame that was just not selling (7×8). I thought about shiplap but the lip wasn’t very deep. I finally got the idea to cut a yard stick as they are thin. They could be cut with an exacto knife. It worked perfectly. The backing still fit in the grooves (with a little shaving and a couple pounds with a hammer). Now I just have to think of what to display on it. Suggestions!!!!
Great idea, Kathy! I’ll have to try that. I have a lot of old large paint sticks that I’ve been hanging on to. Now you have me thinking. 🙂 xo