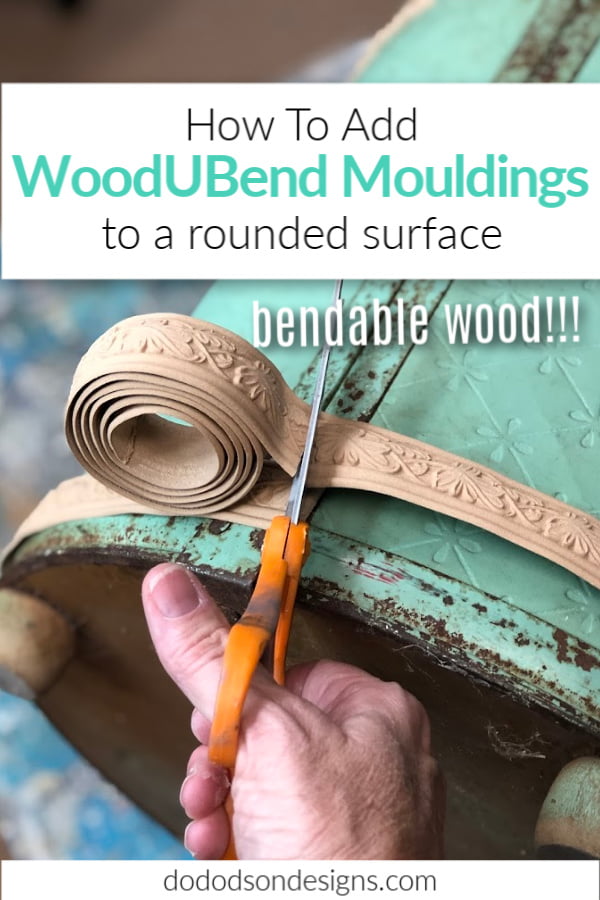
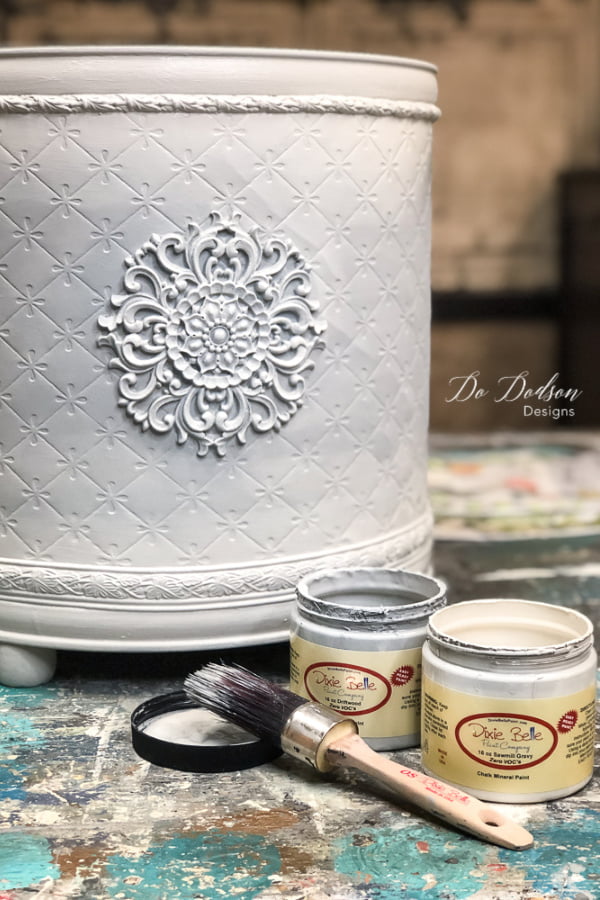
Wood appliques that bend? Yep! You heard me right! Today I want to share with you how to apply these wood products to a curved surface. Thus the name… WoodUbend! Be sure and watch the full video tutorial below for all the details of the application process. This retro laundry hamper is getting a well-deserved makeover.
This post contains a few affiliate links to help you find the products I use. You are not charged extra to use any of the links, but any income I make will be used for more fun projects! To see my full disclaimer, click here.
How To Apply Wood Appliques To A Rounded Surface
WoodUbend is a wood-based product that can be molded once it has been heated up. It has all the wood properties and can be drilled, sanded, distressed, glued, painted, stained, and varnished. A revolutionary and unique type of wood applique can be added to almost any surface. I’m thinking of furniture and home decor.
This is so cool! Watch this!

Supply List For This Project:
- Vintage Laundry Hamper / Furniture/ Home Decor
- WoodUbend Wood Appliques
- Wood Glue
- Heat Gun / Blow Dryer
- Scissors
- Driftwood (chalk mineral paint)
- Sawmill Gravy (chalk mineral paint)
- Paintbrush
- Pearlescent Glaze
- Black Wax
- Wax Brush
- Gold Gilding Wax
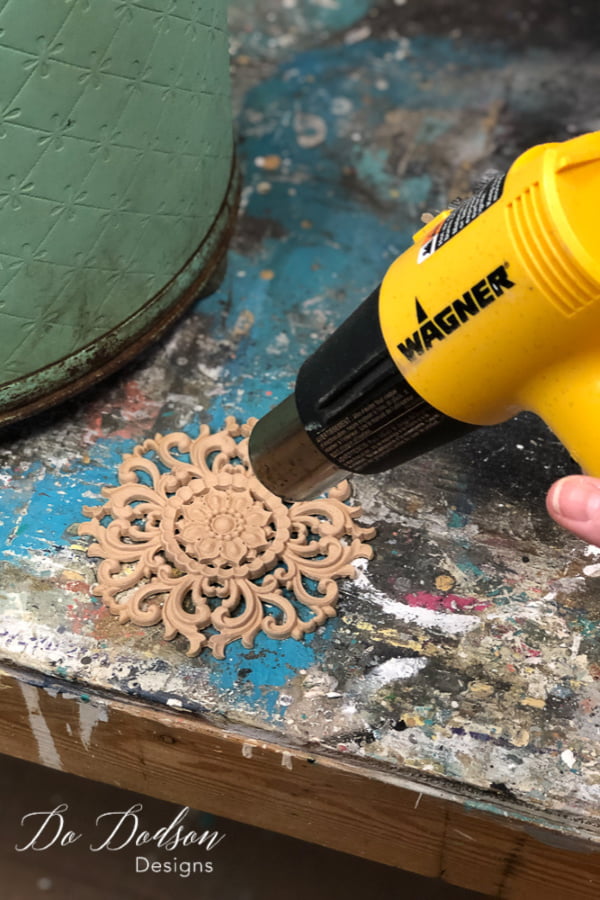
Heat Activation Of The Wood Appliques
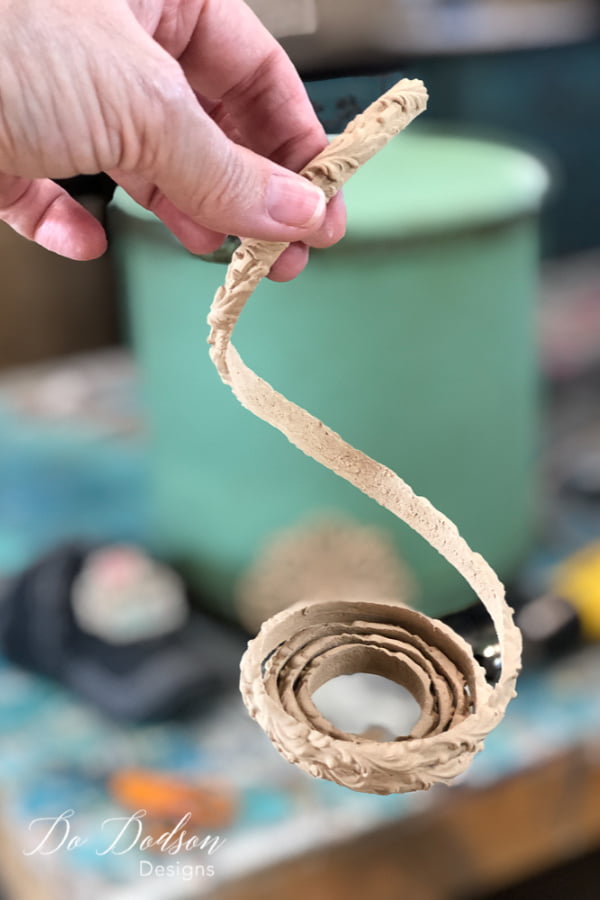
STEP 1: Heat the wood appliques with a heat gun or blow dryer first. Even if the surface you’re applying them to is flat, you MUST heat them first. The heat serves two purposes. It makes the applique bendable and allows the glue to solidify to the Woodubend product.
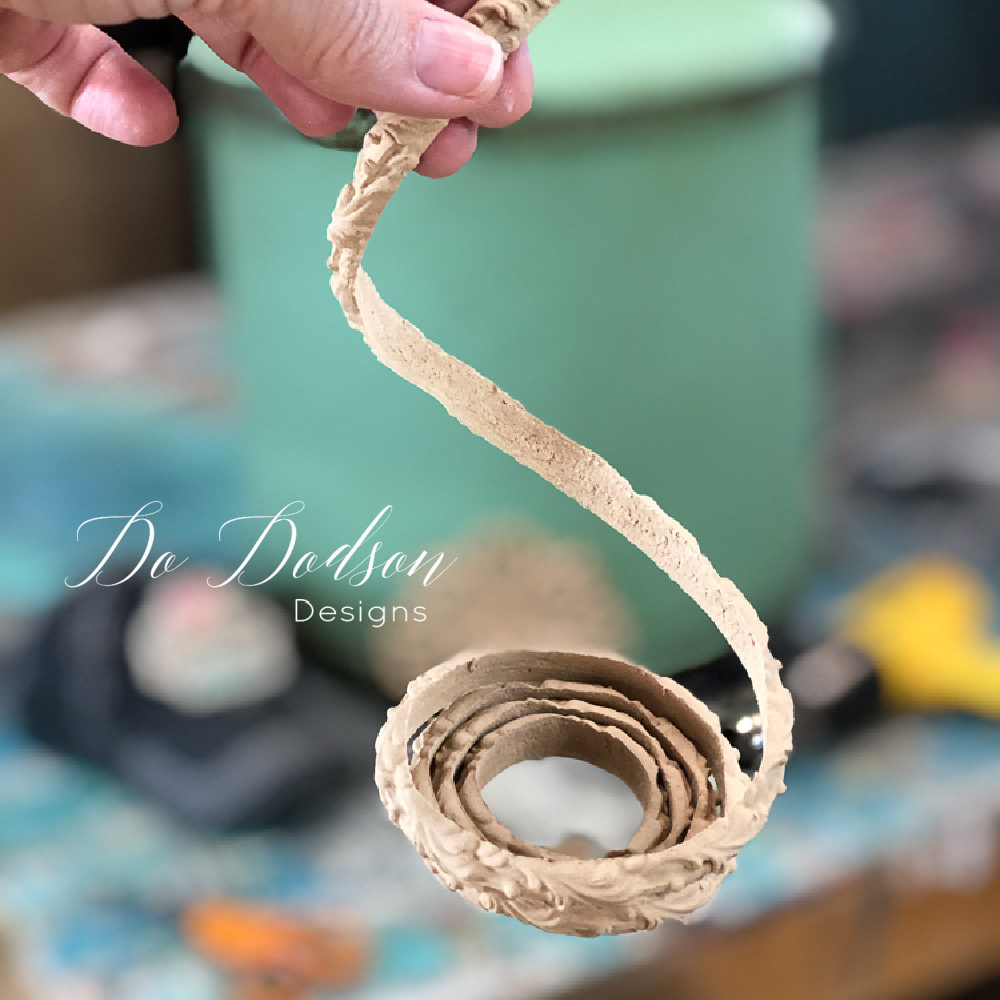
This will cause the wood appliques to be reactivated to be molded and allow the glue to be absorbed into the wood. This will create a super-strong bond with the surface you’re applying it to. If you’re working with trim, it’s the same process. It MUST be heated first to allow the uncoiling of the trim. Remember… WoodUbend is stiff before it’s heated, and as it cools, it becomes stiff once again. It will hold whatever shape you have it molded to.
Add Wood Glue To The Wood Appliques
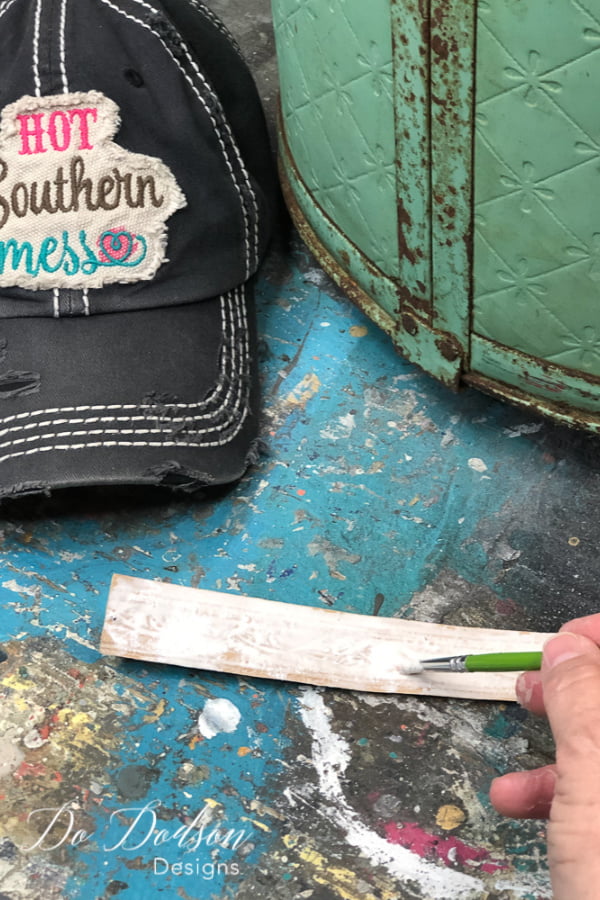
STEP 2: Apply a liberal amount of wood glue to the wood applique back while it is still warm. The glue will be absorbed into the wood while still warm and bendable.
Using Heat To Create A Solid Bond
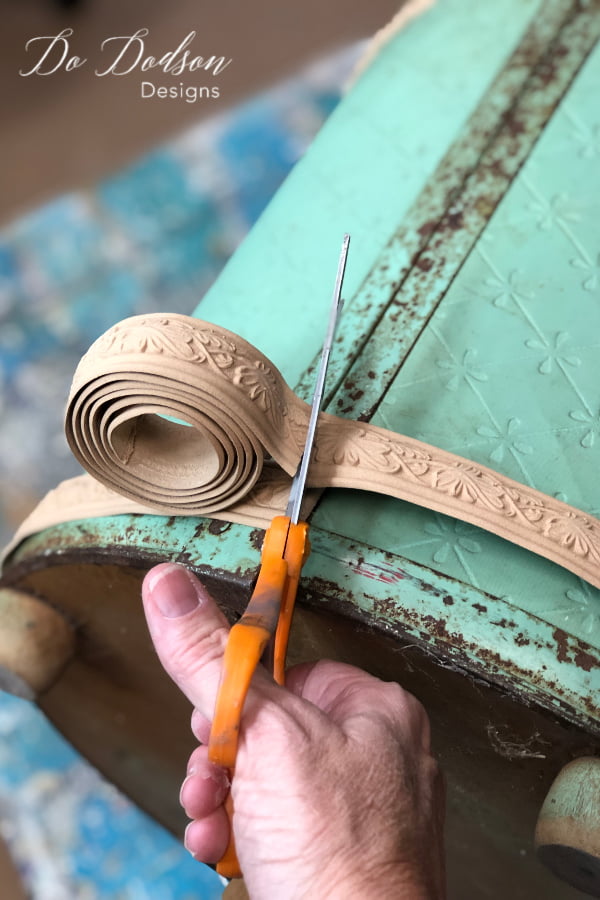
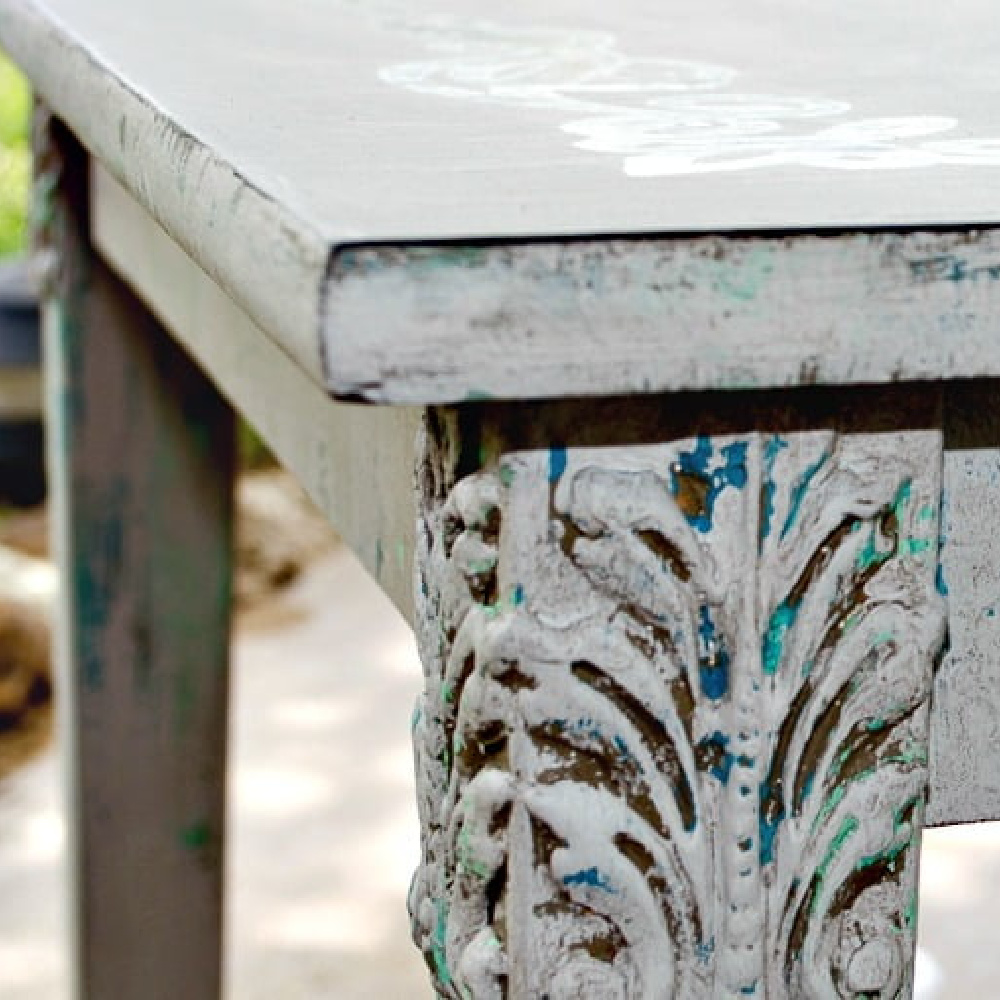
STEP 3: While the wood applique is still warm with the glue in place, apply it to the surface of your choice. If the Woodubend cools off, it will become stiff once again, and for this reason, you may need to reheat it even after applying the glue. Once it’s in place, add heat to help the glue and wood applique bond to the surface; this will make a solid bond in return.
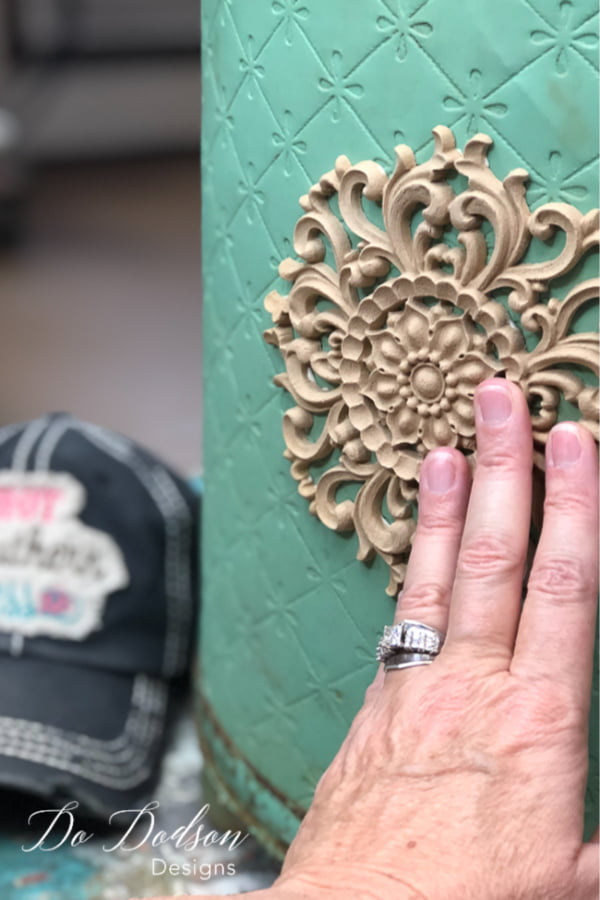

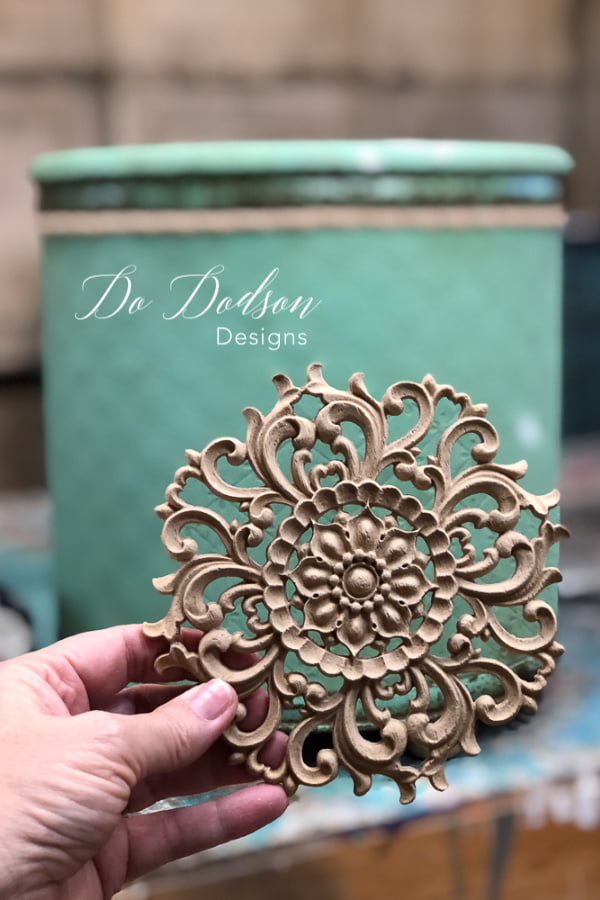
WoodUbend Appliques

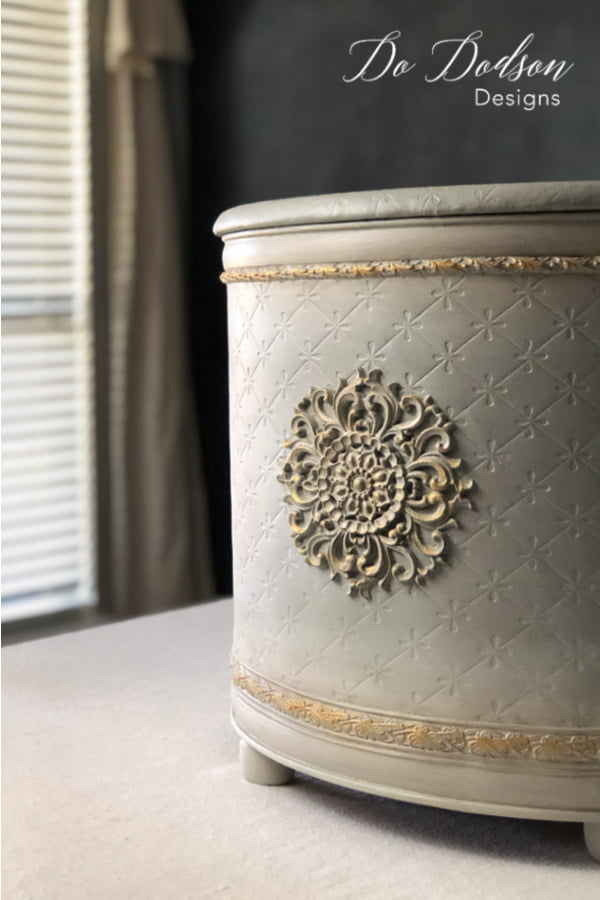
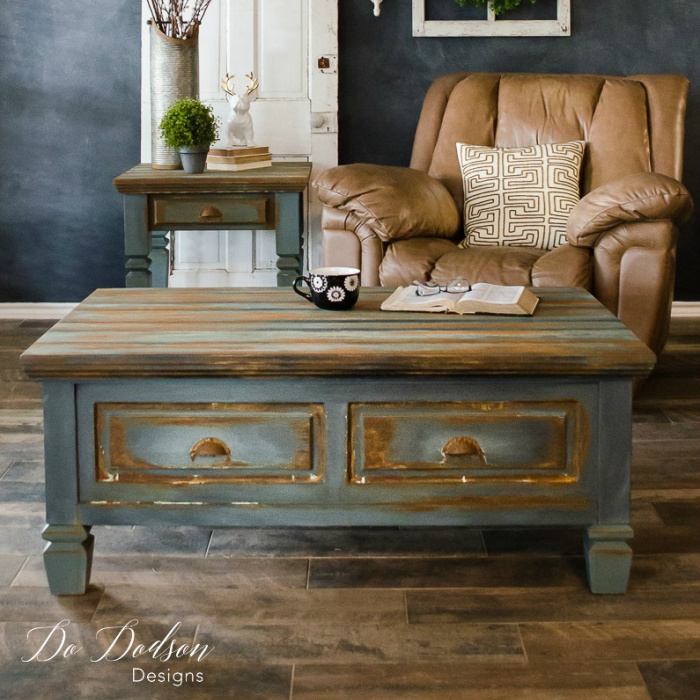
I think it turned out well, and now I have a beautiful container for storage. And that detail with the bendable appliques is the crowning jewel. Have you tried WoodUbend?
Thanks for joining me today as I test out this new bendable wood product.
Until the next project… xo, Do
I can’t wait to try! This is a game changer! ???
It is! I’m excited about seeing what you do with it too. 🙂
Oh dear Donna, I say ” Very Louis XIII, Shabby Chic? No, it’s very Donna!!!!
JUST BEAUTUFUL.
Thank you, Brisa! 🙂 You made me smile. xo
How can I purchase woodubend appliqués?
Hi Janelle,
I just noticed that the link hadn’t been updated on the blog for Woodubend. Here is where you can purchase in the US. https://graceonbroadwaypa.com/collections/woodubend
Have fun with it. 🙂
Hi Donna,
We’ve just bought a house in Italy and they have left a lot of furniture, I have so many ideas of how to paint them but don’t have a great deal of experience. I did a quick course in Aust before we left but I guess I’ll start with the smallest pieces and work my way up.
I love your work and sense of style and look forward to seeing more of your vidos.
Ciao for now
Deb
Hi Deb! Major score! That sounds like so much fun and I think that’s an excellent plan. The most important thing is to have fun and enjoy the process. I’m a bit envious. 🙂 xo
Love your furniture painting techniques and the very beautiful artistic outcome.It’s a real pleasure to watch.Thank you.
Thank you so much. Blessings to you. 🙂