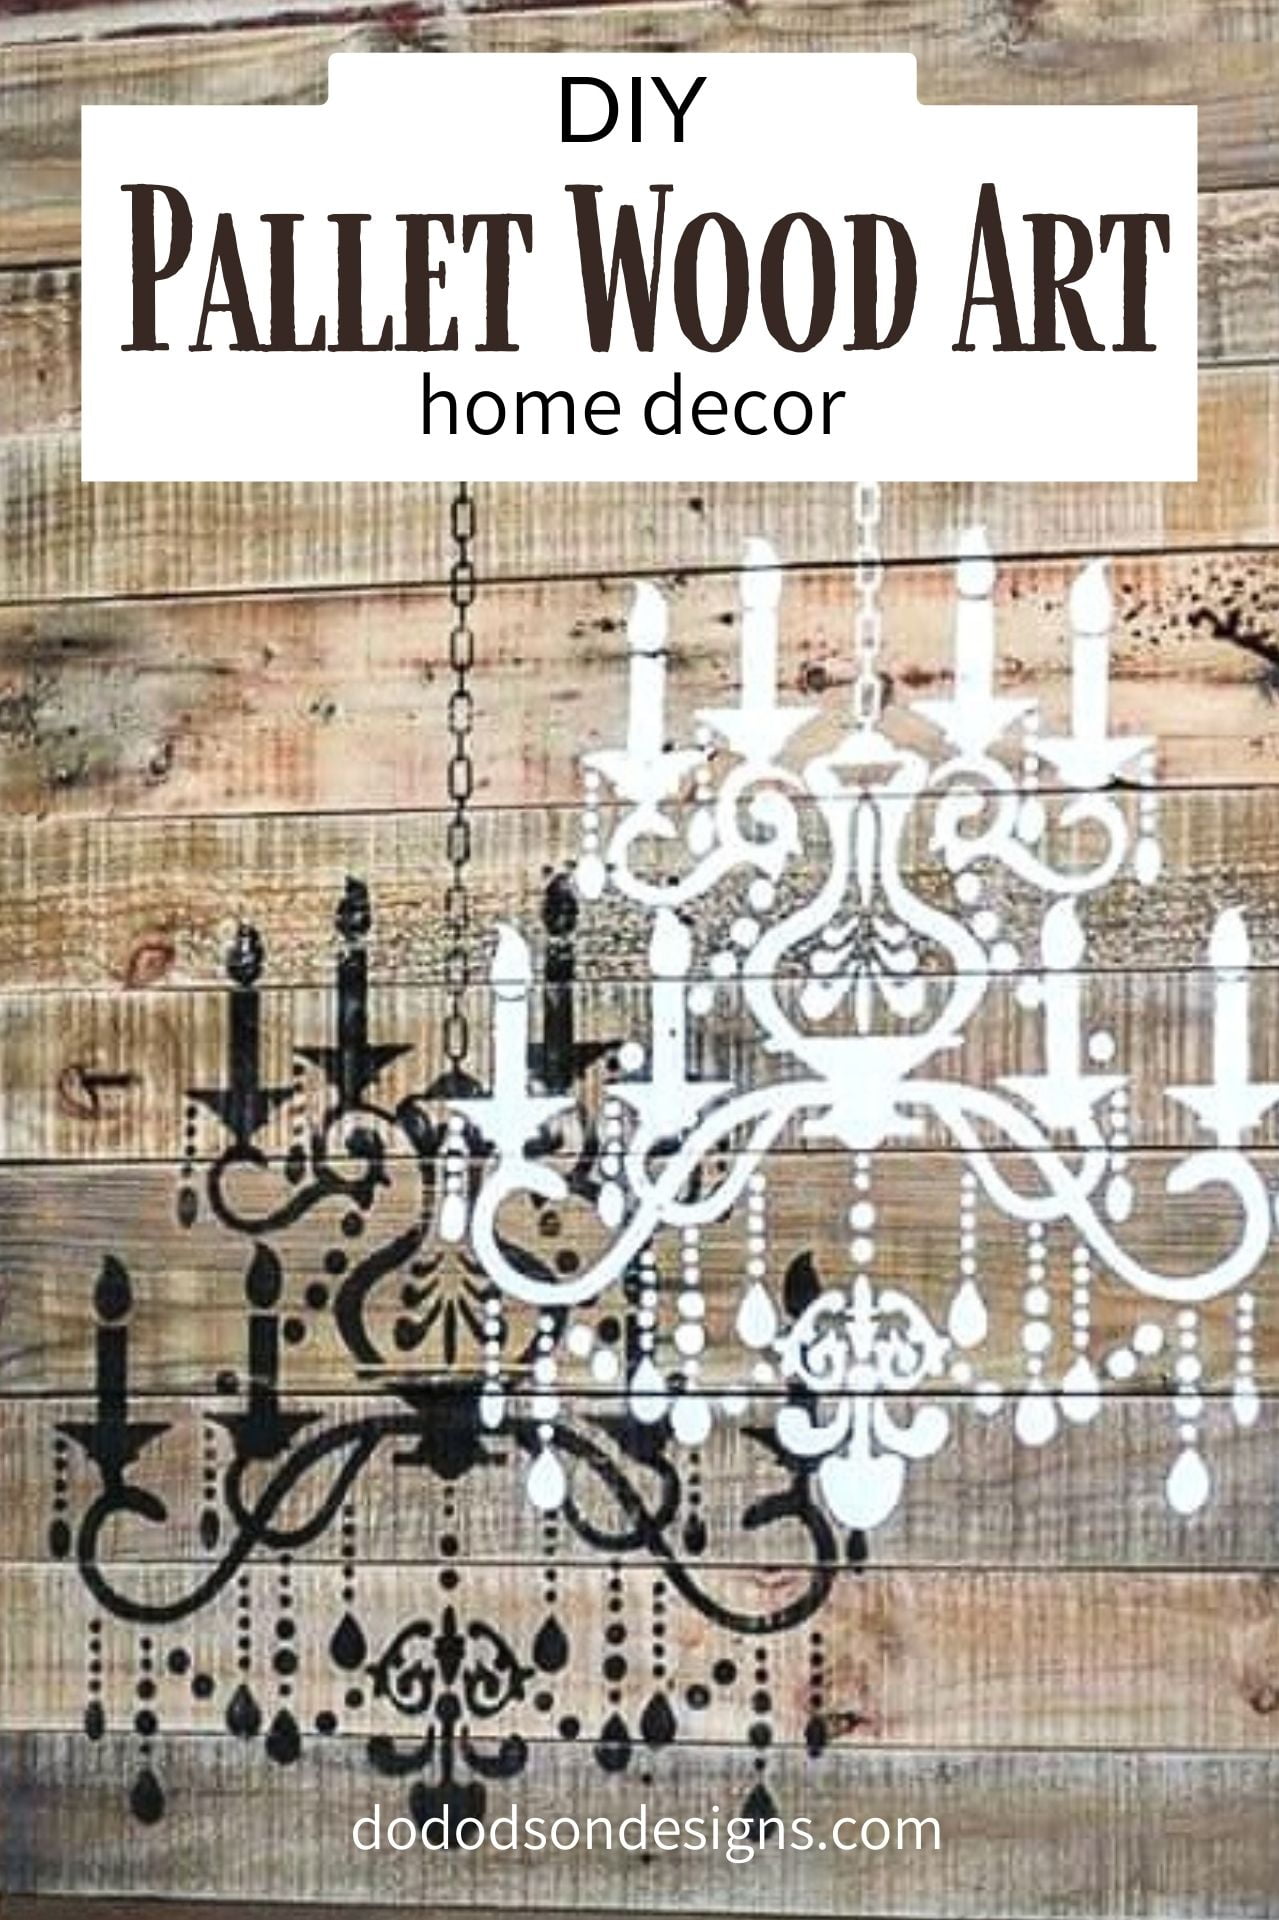
In the last few months, I have been playing around with making wall art decor from an old wood pallet. I also have a graveyard (that’s what I call it) of repurposed weathered fence pickets. It’s a gold mine and I have so many ideas for other DIY projects. But for this project, I chose to use a wood pallet, but either will work just fine.
This post contains a few affiliate links to help you find the products I use. You are not charged extra to use any of the links, but any income I make will be used for more fun projects! To see my full disclaimer, click here.
Re-purposed Wood Pallet Art Decor

Supply List
- repurposed wood pallet or fence pickets
- orbital sander
- 150 grit sandpaper
- pneumatic staple gun (or screws)
- wood glue
- mod podge
- glass crystals
- cup hooks
- chandelier stencil
- folk art acrylic paint
- makeup sponges
- artist brush
- 220 grit sandpaper
Picking Your Wood Pallet Or Fence Pickets
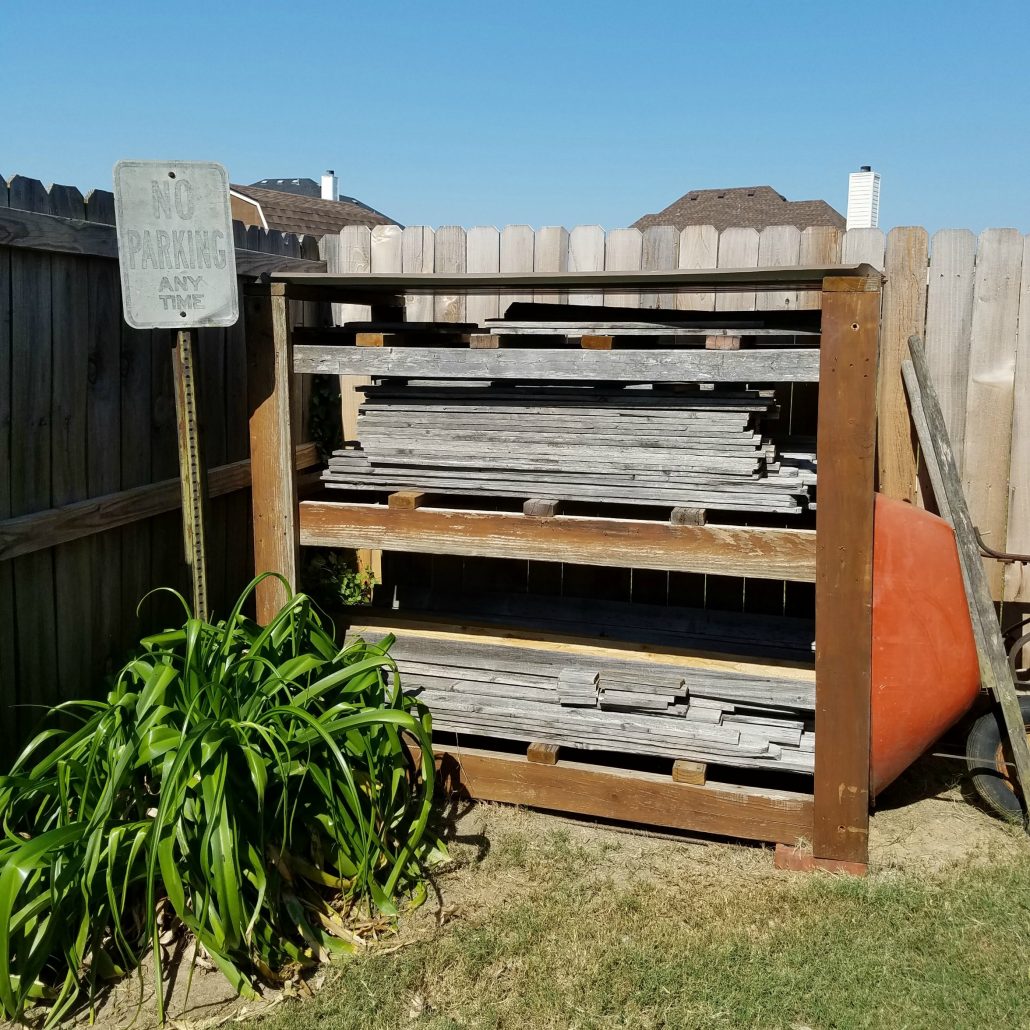
Step #1 For the best results, hand-selected each and every board… paying close attention to details. Knotholes are a good thing. Rusty nails can be good too. All will add character and that rustic look if that’s what you’re after.
Step #2 Remove all nails from the pallet wood. Depending on the condition of the nails, this can be quite an undertaking. You’ll find a lot of rusty nails if the pallet is old and even some that may be broken off in the wood. It’s best to remove them all.
Step #3 Sand the pallet wood with an orbital sander. I used 150-grit paper due to the rough texture of the boards. Some were smooth and some were rough cut. Stenciling on rough boards can be tricky so I got them semi-smooth.
Step #4 Lay all the boards out until you’re happy with the way they look. This can be achieved by laying them on a flat surface and butting them up next to each other. It may be necessary to trim or cut the boards to the length that you desire. I suggest you lay them out first and lay the stencil over them to see if you need to make adjustments.
Step #5 I used my pneumatic staple gun and wood glue to secure the boards with 2 cross pieces on the back.
*Here’s a quick video of a small sign with the exact same method of construction.
Chandelier Stencil
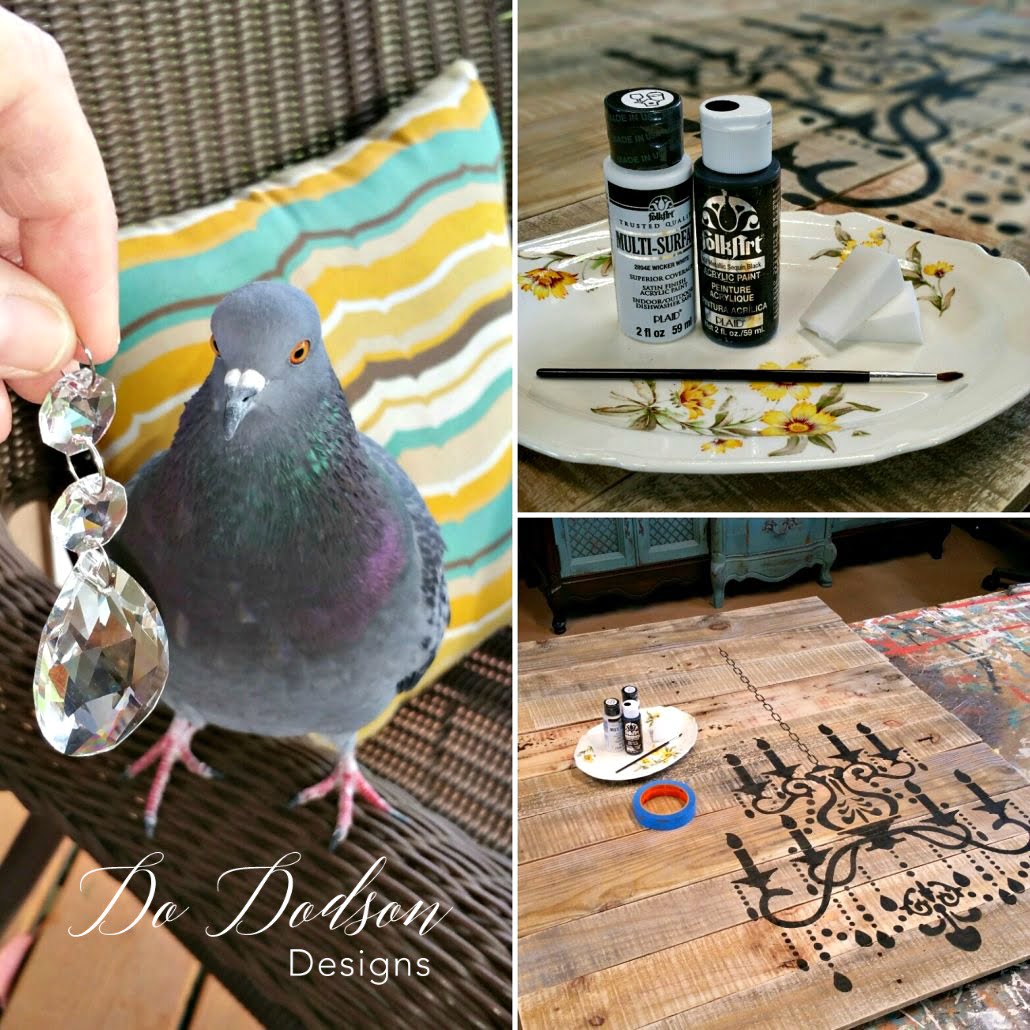
Ha! Yes, you’re seeing right. Meet Walter. Better known as the neighborhood pigeon. He comes to visit me frequently in the studio. Today, he was particularly attracted to the glass crystals that I plan on using to add a little bling to this wood pallet.
Chandelier Stencil
The chandelier stencil was purchased from Amazon and you can find it by CLICKING HERE. It’s been in my studio for a couple of years now waiting for the right project. It is a thick reusable stencil so I can use it over and over. It would be great for a raised stencil as well. The entire design size is 21.2″x 36.7″. I actually made two of these signs at once since I had all the supplies readily available.
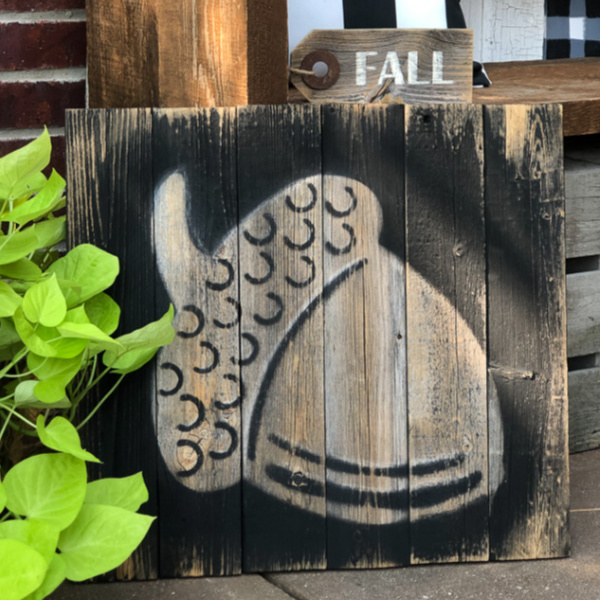
Creating a shadow with Your Stencil
The first wood pallet I did had a double stencil with one done in white and the overlapping stencil in black. This created a shadow effect and gave it a 3D look. I used Folk Art craft paint and makeup sponges to carefully blot the paint over the stencil. Be careful not to push the paint into the board, but simply tap it on lightly. The rough texture of the boards can cause leaks under the stencil. You can also Mod Podge as your first layer before your color over the stencil. This will create a seal that will keep the paint from leaking under the rough surface of the wood pallet. Fill in the gaps (bridges) from the stencil with an artist brush and lightly sand after the paint has dried with 220 grit sandpaper.
Add Crystals To The Wood Pallet Chandelier Art
Chandeliers need crystals, right? But it stumped me how to attach them until my hubby suggested this.
Cup Hooks For The Win!
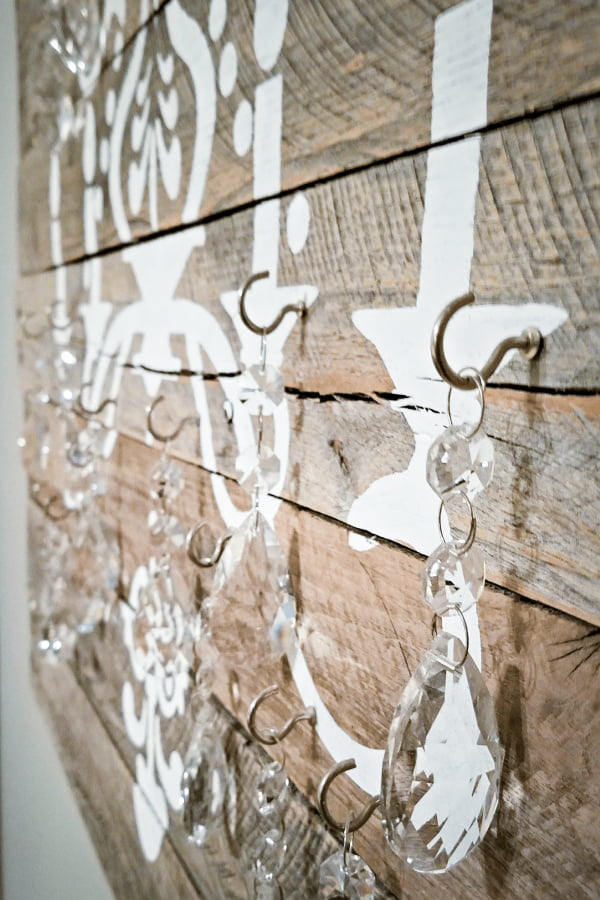
“Why don’t you just add cup hooks where you want the crystals to be displayed”, he said. The man is brilliant! It added a 3-D effect that looks amazing!. The cup hooks will allow you to remove the crystals for easy cleaning too. L-O-V-E this so much!
How To Create A Shadow Effect With Your Stencil

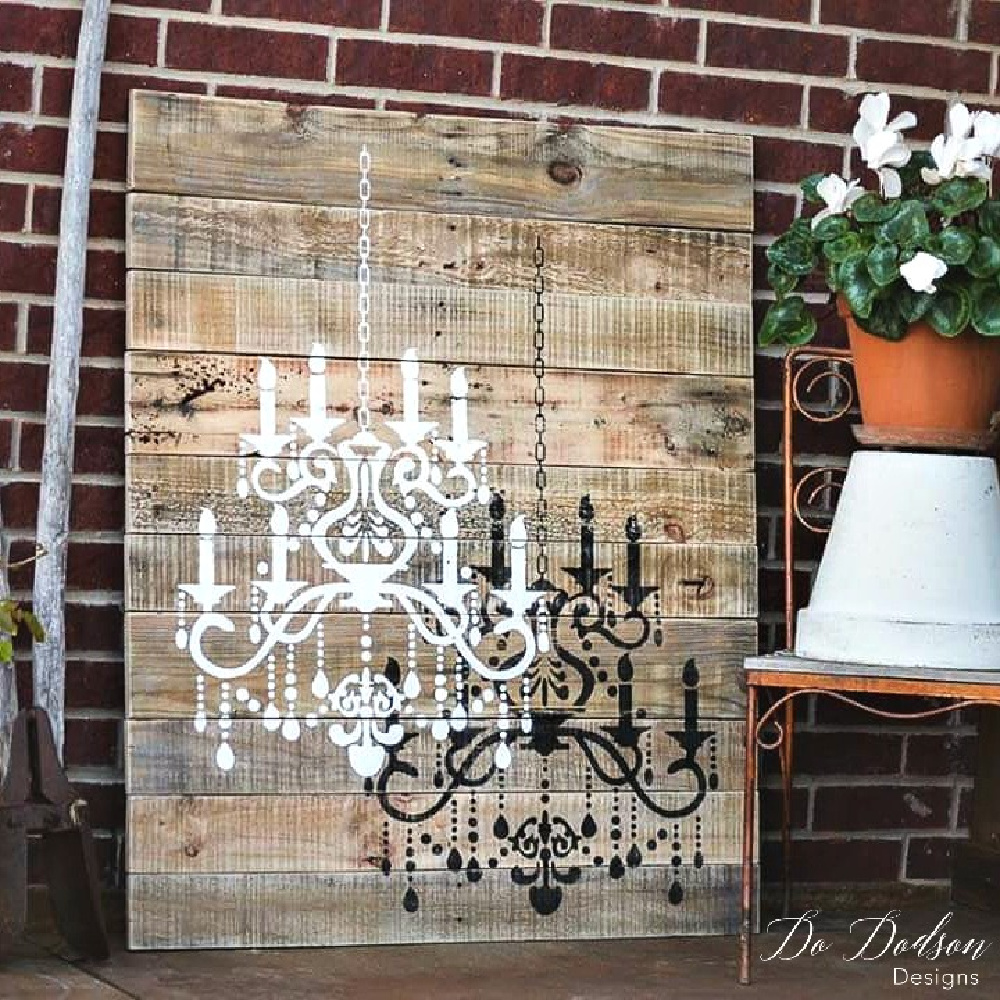
This chandelier wood pallet wall art above was done with the same stencil. This look can be created by stenciling in black first (the shadow) and then overlaying the same stencil in white. The distance that you overlay depends on the amount of shadow you desire.
Wood Pallet Chandelier Wall Art
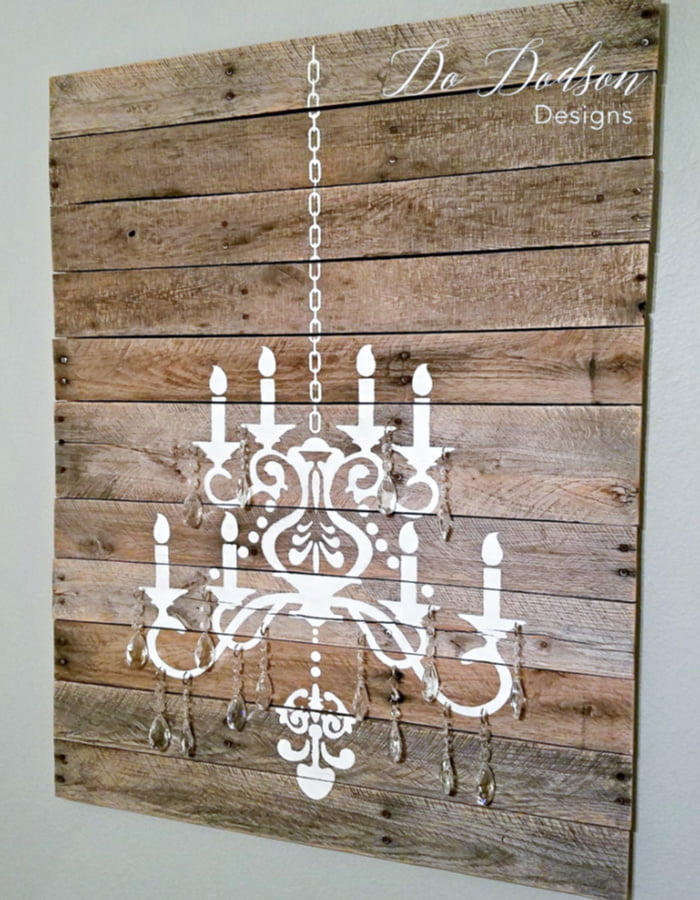
These wood pallet chandeliers were a real hit! Since making these two, I have made many more and donated a few to different fundraisers in town. You can only imagine the bidding wars the ladies got into with these rustic beauties. Great fun and a worthy cause. Thanks so much for stopping by. If you like what you see, give me a shout-out! I’d love to hear from you.
Until the next project… xo, Do
These are stunning!! What a wonderful idea! Thank you so much for generously sharing your unique talents and techniques. Beautiful work!!♥️
Hi, Sarah! I appreciate your kind comments and I hope you’ll visit more of my DIY projects. I love sharing my work. 🙂
xo, Do
Do these are so awesome. I must make some. Thank you for sharing I’m sure they were a hit
Thank you, Mary! This was a fun girly project. 🙂 xo, Do
Beautiful! As always, love your work, love you and thank you very much for all you teach us! XO, Wen Golten
Hey Wendy! So glad you stopped by. It’s so good to hear from you. xo 🙂
Hello Do, I love your work!!! Could you please give me the exact measurements of both of the chandelier projects you did from this post. Thank you soo much! xoxo CKM
Hi Crystal,
Thank you! The last photo in the post is a 40X30. I have since sold the other one so I don’t have the exact measurements. They were both similar in size. 🙂 xo
Thank you for your quick reply! xoxo CKM